Installation Procedure
Follow the steps in this document to install Test Studio. The installation procedure is identical for the trial and the purchased version of the product.
In this article, you can find details about the following topics:
Prerequisites
Before you continue, make sure that you already have the installation file available.
Start the Installation
Once you have downloaded the Test Studio *.exe (or *.msi file), double click it to start the Installation wizard.
Important
Test Studio installation must be configured from a Windows Administrator account.
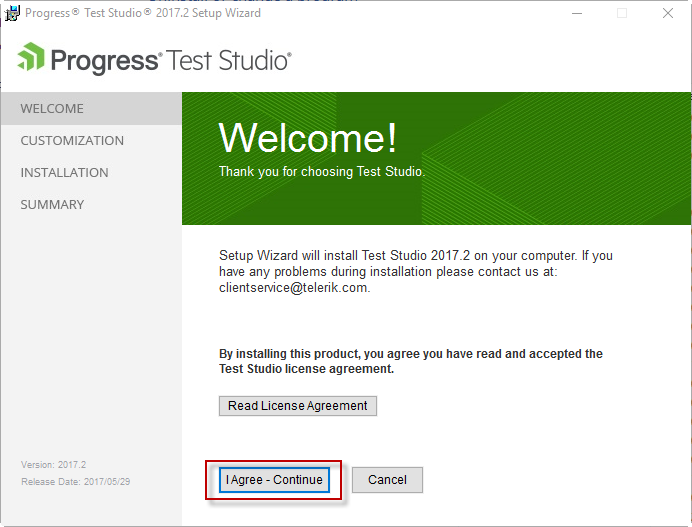
Click the 'Read License Agreement' button to get familiar with it and confirm you read it with the 'OK' button. If you need to read it again after the installation process is finished, you can find it available on the Progress Telerik site here.
By clicking the 'I Agree and Continue' button you confirm you agree to the terms and conditions listed in the Test Studio EULA.
On the next screen, click the 'Install' button to perform a default installation and skip to Finish Installation.
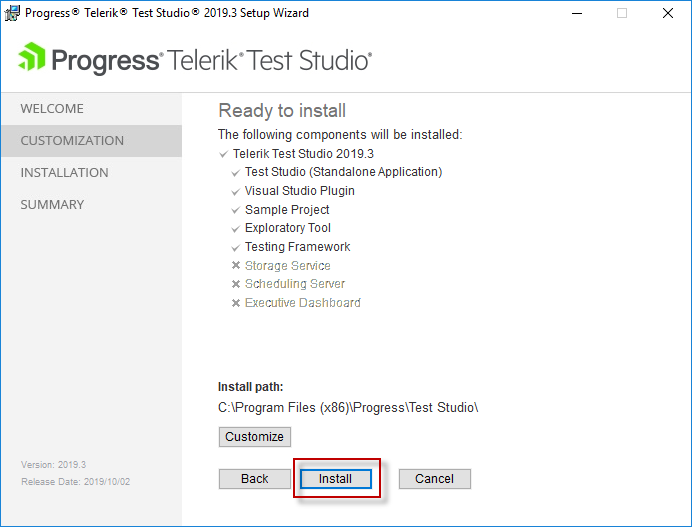
If you need to check what components are selected for installation and change these, click the 'Customize' button.
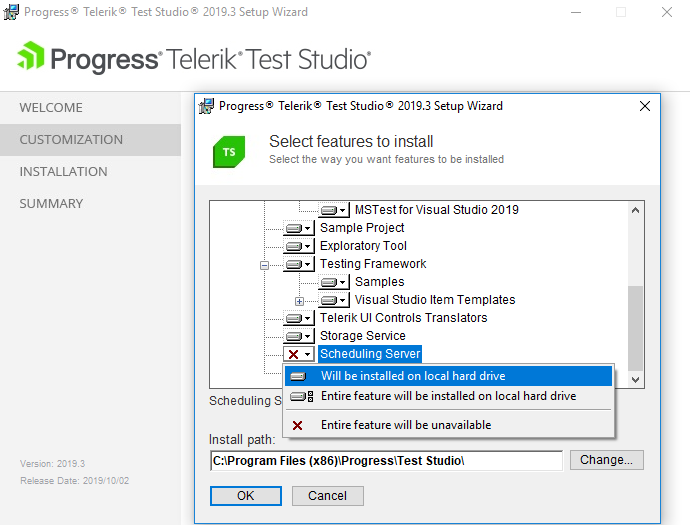
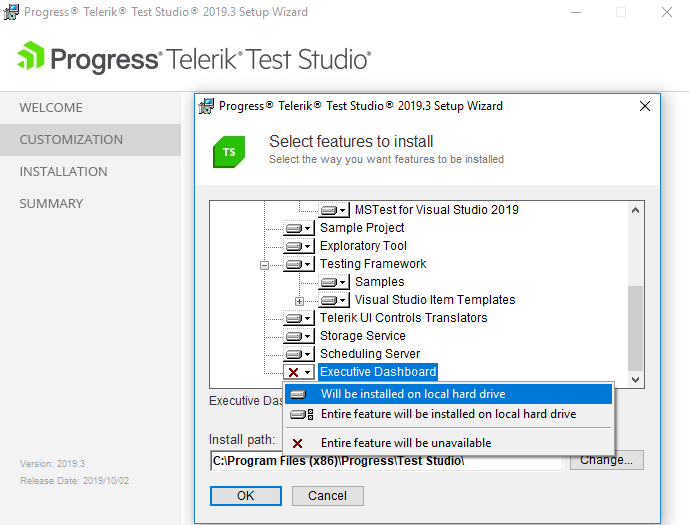
Customize Installation
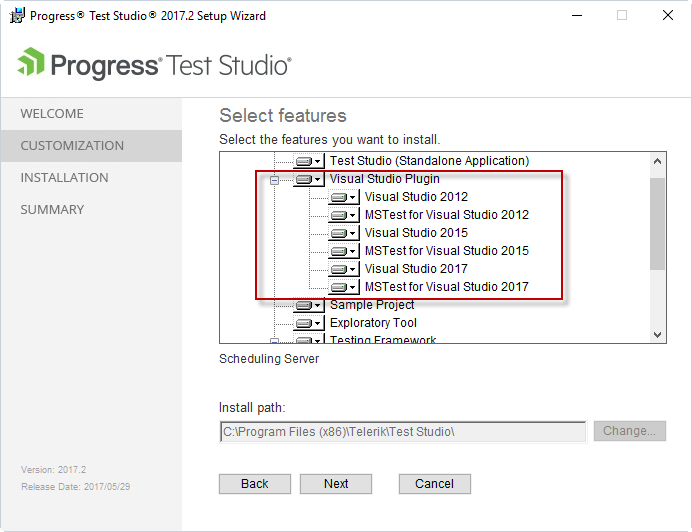
In the Customize screen you can see each separate component, which the installer wizard can add to the Test Studio installation:
- Visual Studio Plugin for the compatible Visual Studio installations on the computer,
- Sample project folder,
- Testing Framework Samples and Templates,
- Telerik Controls Translators and
- Test Studio Services.
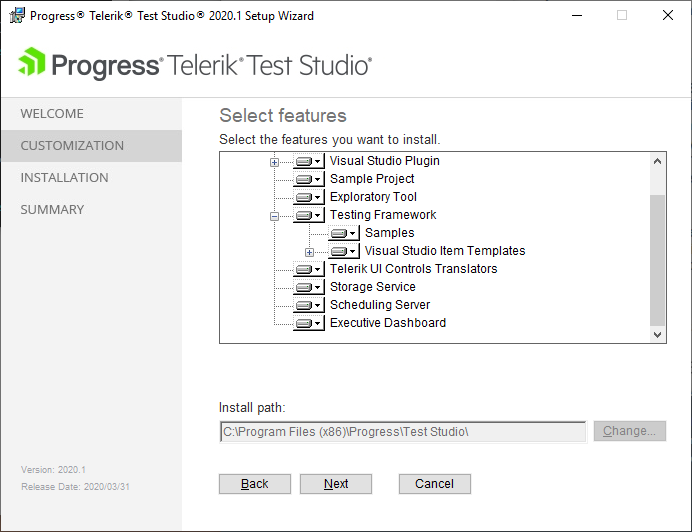
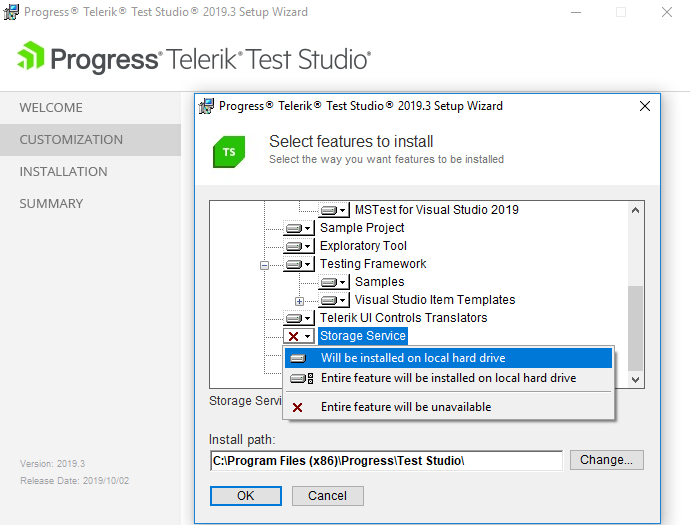
Any of these can be removed or added in the Customize screen. You are also allowed to change the default installation path. After making your selections, click the 'OK' button to continue.
There are a few important notes to consider if you select some of the below components:
- If you have Visual Studio Professional or higher installation on the machine, Test Studio plugin for Visual Studio will be automatically selected for installation.
- To use this machine as a Storage or Scheduling Server in a Test Studio Scheduling setup, you must select the respective components to install the Test Studio services during initial installation or when changing the existing.
- To add the Storage, Scheduling and Executive Dashboard features at a later stage, you must change the existing installation and select the respective components in the Customize screen.
- Storage service uses MongoDB as storage database and this gets automatically installed, if not available on the machine. MongoDB requires at least 4Gb free hard drive space to operate normally.
You can review all the selections and click the 'Install' button to start the installation process.

Finish Installation
When the installation process is complete, the Installation Successful screen is displayed and you can choose whether you want the wizard to launch the Test Studio tool and/or the Test Studio Services config wizard.
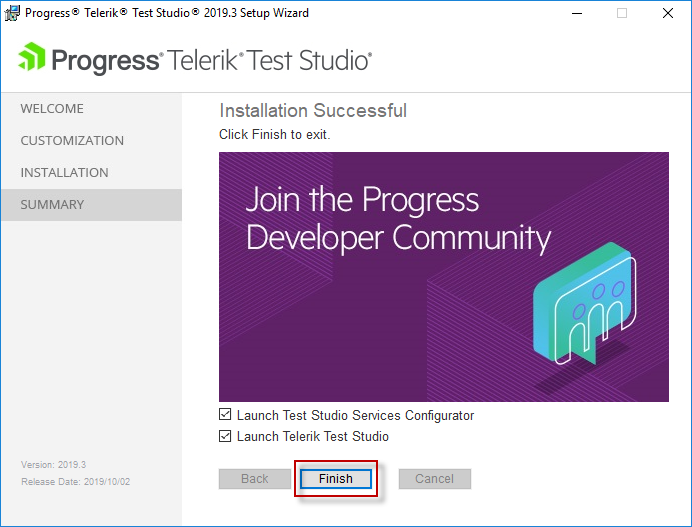
Click the 'Finish' button to exit the installation.
Note! When upgrading, users may encounter an error: "Service 'Telerik Scheduling Service' (Telerik Scheduling Service) failed to start. Verify that you have sufficient privileges to start system services." See Error Starting Services troubleshooting article.