Connect Project To Git
Connect project to Git in the terms of Test Studio is used when you need to push an existing local project for first time to an empty remote repository. This option syncs the tracking of the main branch and lets you push all changes to the remote repo.
The Connect to Git option can be used also to reconnect a project to its corresponding remote repository when the project's source control binding was removed. However if any changes made while the project was disconnected are conflicting with the repo, you need to manually resolve these conflicting project files.
Connect To Remote Repository
Open a project in Test Studio Standalone version.
-
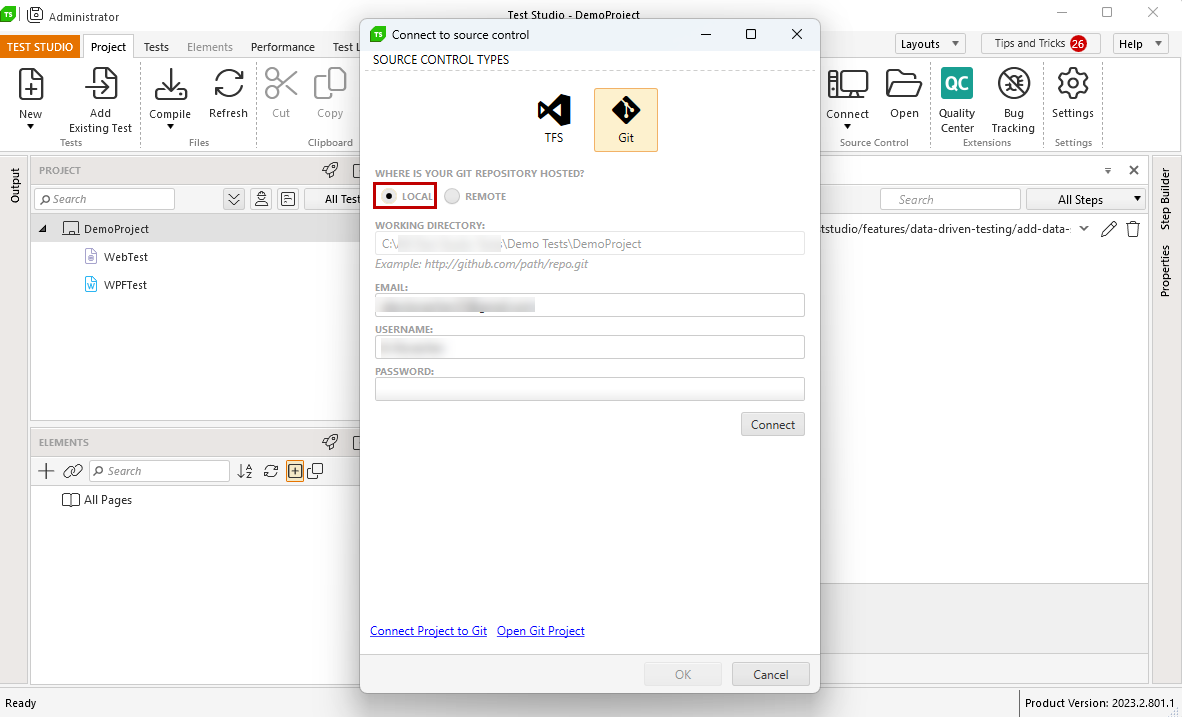
On the Project tab, click the Connect button in the Source Control ribbon.

-
The Connect to Source Control dialog appears. Select Git, fill in the authentication details, click Connect and OK.
Important
We strongly recommend to generate a PAT (Personal Access Token) scoped for accessing the testing project repository only and use it to connect to the remote repo. -
You can choose between local and remote repository. For the local repository the local project path is set by default.
An empty remote repository should have already been created as described in the Overview page. A Test Studio project is mapped to a single remote repository.

Note
If you are not able to connect to the Git system and get a message Error connecting to Git, too many redirects or authentication replays, check if the remote repository requires 2FA to be accessed. Generate a personal access token in your Git account for this repository and use that token instead of the account password. -
The project and project files are now marked with a
 icon. This indicates it is bound to Source Control.
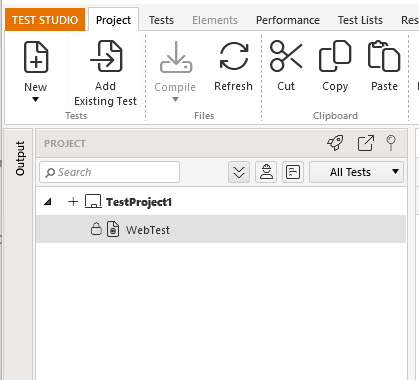
The Output panel includes Source Control tab where you can find additional info for the outcome of commands while using the source control features.
Connect To Local Repository
-
Open a project in Test Studio, click the Connect button in the Source Control ribbon. Select Git, choose Local and fill in the appropriate information click Connect and OK. Working directory will be set automatically to the local project path.
Connect Local Git Enabled Project To An Empty Remote Repository
You can connect a local Git project to a remote repository at any time. Our recommendation is to use an empty repository to avoid conflicts. If you decide otherwise you need to resolve all possible conflicts manually.
-
Open the local Git project and remove the Source Control Binding.
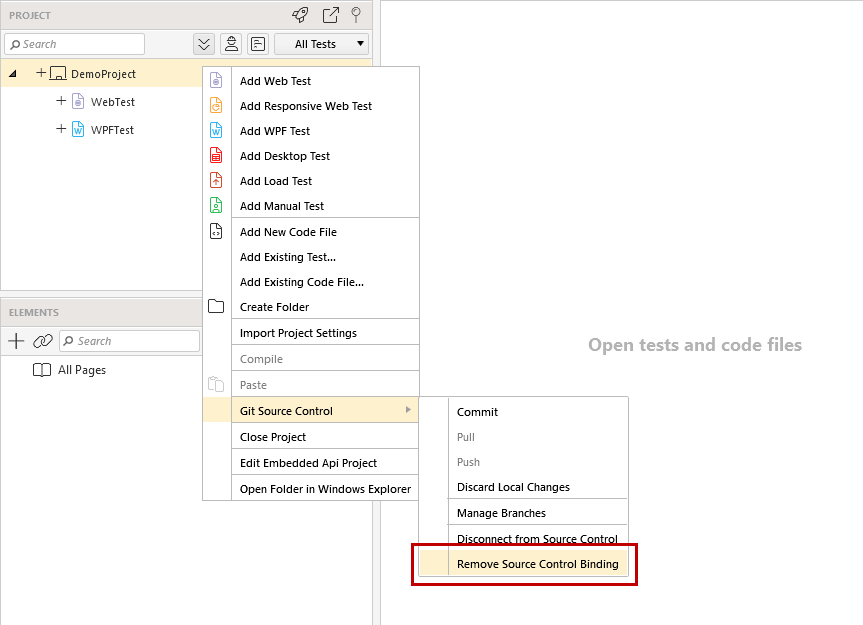
Once the local binding is removed follow the above described steps to connect a project to a remote repository.