Element Options in the Hihglighting Menu
The Highlighting menu provides a powerful set of options related to the targeted element. It brings additional options to interact with an element in the terms of test recording, apart from clicking or entering text.
You can read further about the Element options:
Tip
Check out this neat video tutorial which will help in analyzing the elements in the tested application.
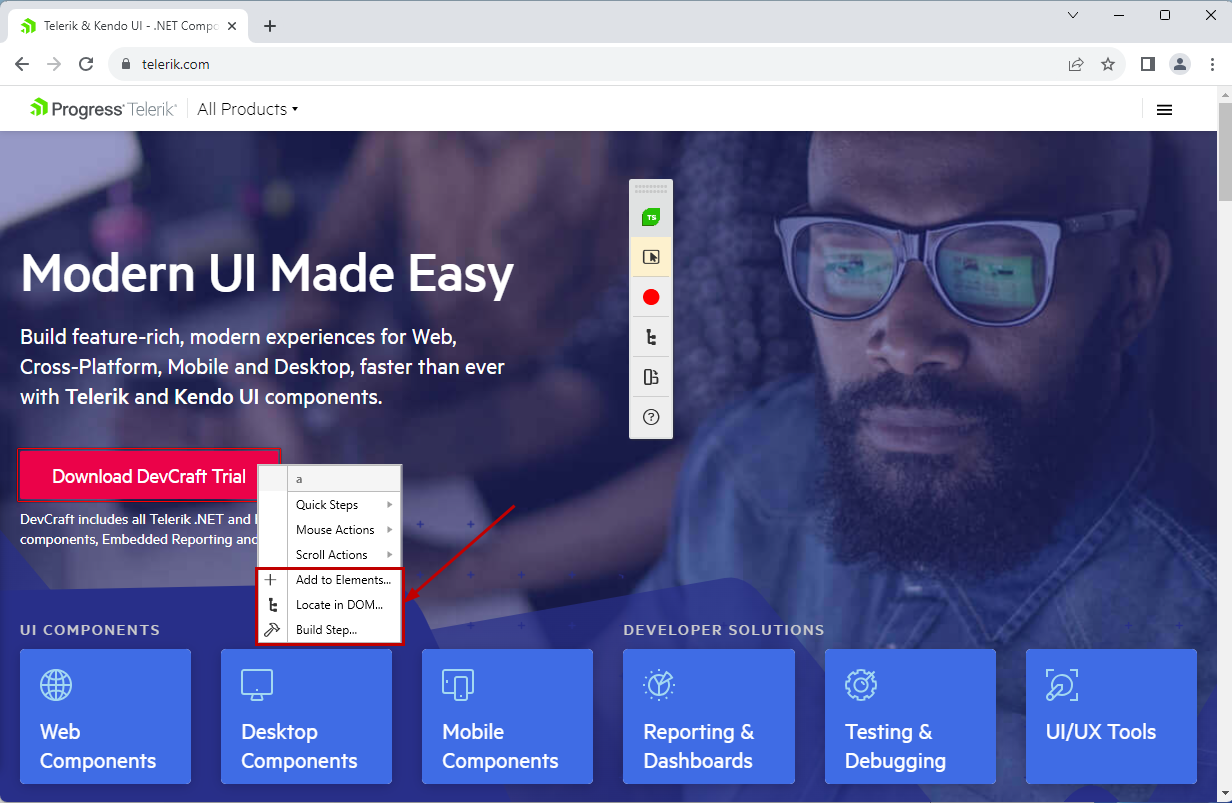
Add to Elements
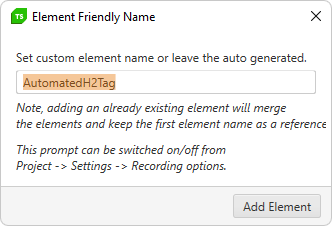
Add to Elements option allows you to add the highlighted element to the Elements Explorer. It is referenced in the selected test in project as an 'external reference' - that means the element is not related to a particular step from the test, but is still listed in it and can be referred from a coded step, for example.
Locate in DOM
Locate in DOM is the option, which directly opens the Advanced Recording Tools window with its DOM Explorer tab active. The highlighted element is selected in the DOM structure of the application. That way you can explore the surrounding elements. It can be useful when you need to change the find expression of an element and need to get familiar with its attributes and parent elements.

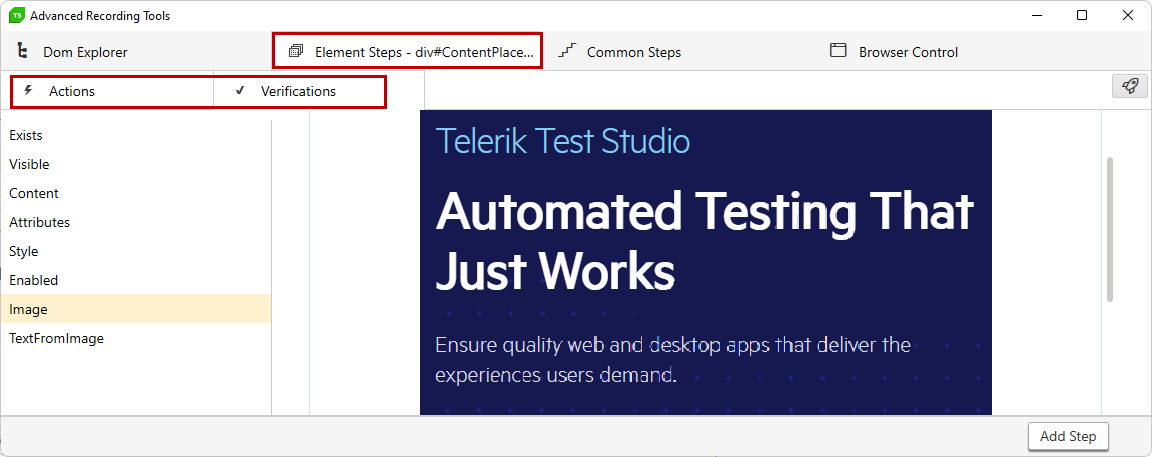
Build Step
Build Step... is the option, which selects the highlighted element in the DOM tree and switches to the Element Steps tab in the Advanced Recording Tools. It is useful when you need to build an advanced step against the element such as image verification or a mouse click step which clicks on specific point of the target element.