Azure Test Plans Mapper
Telerik.TestStudio.AzureTestPlansMapper.exe is GUI tool that allows you to map Test Studio test from a particular project to predefined Azure DevOps test cases.
To use the tool you will need a Azure DevOps personal access token (PAT) with full Work Items and Test Management permissions.
Create New Mappings
Go to C:\Program Files (x86)\Progress\Test Studio\Bin\AzureTestCaseMapper folder and start Telerik.TestStudio.AzureTestPlansMapper.exe.
-
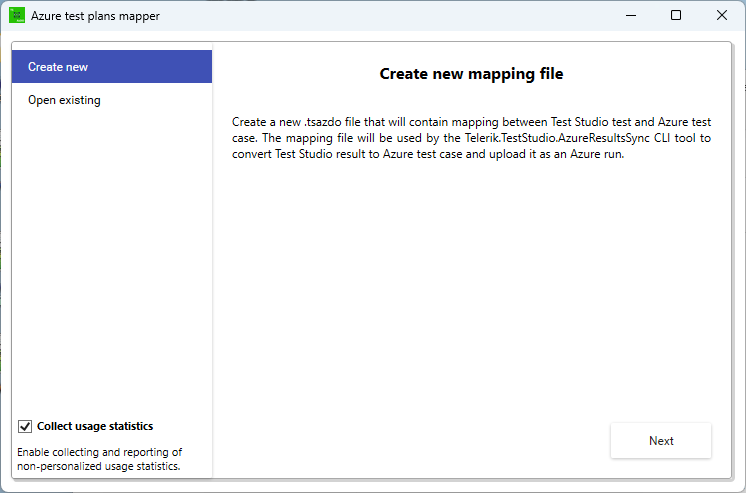
Select 'Create new' option and press 'Next' button.
-
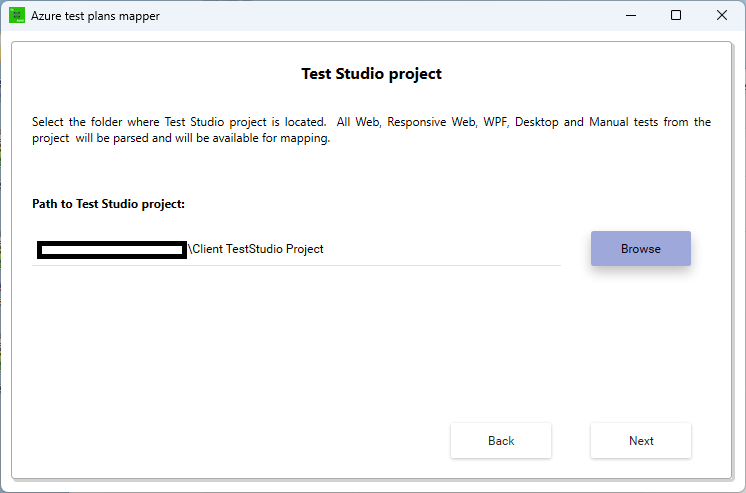
Enter the folder where your Test Studio project is stored locally. Press the 'Next' button.
-
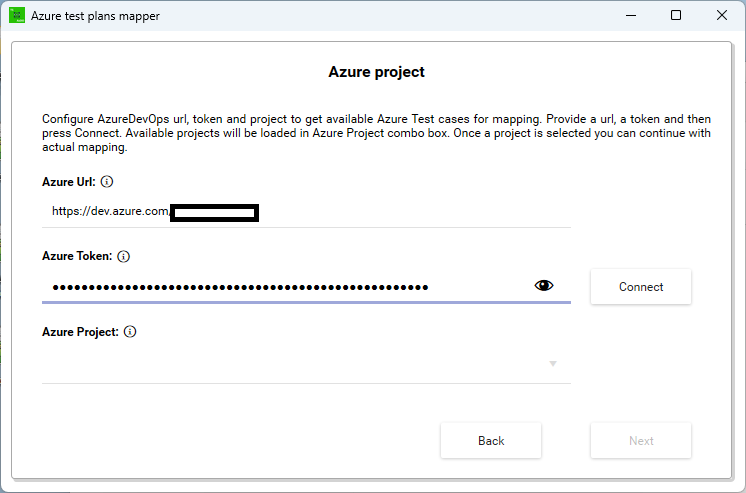
Specify the URL of your Azure DevOps location (e.g. https://dev.azure.com/my-org) and a valid token. Press 'Connect' and wait for the tool to establish connection with Azure DevOps.
-
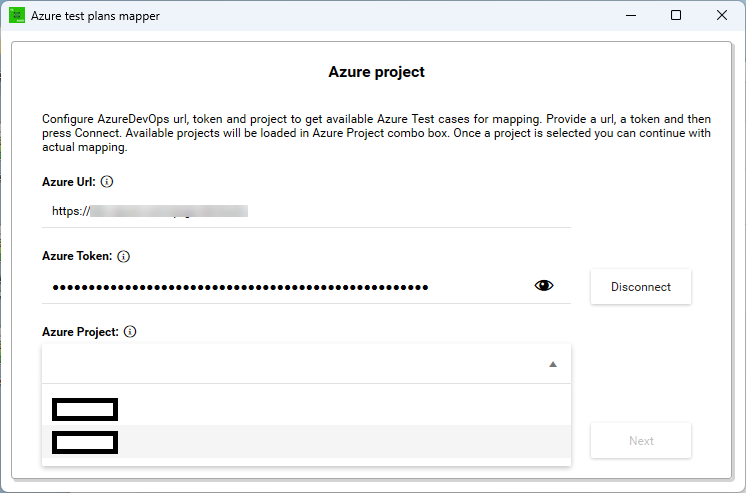
Once the connection is established, select the project where your test plan is located and then press 'Next'.
-
A mapping table is displayed. In the first column you see all tests from selected Test Studio project. The second column shows an associated test case when available.
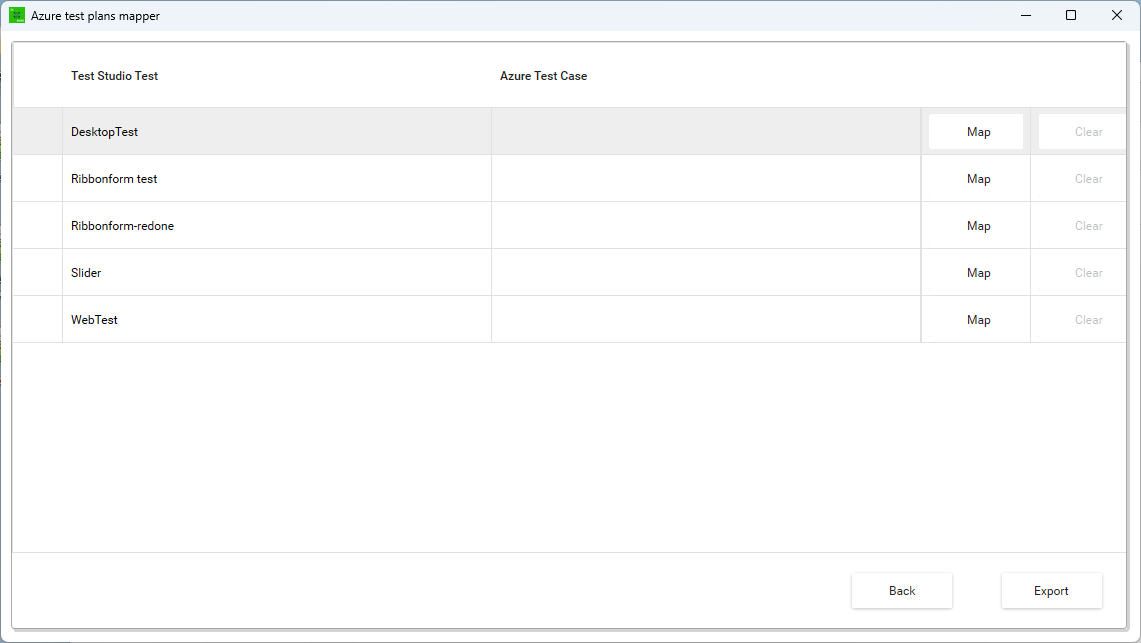
To create a new mapping between a test and a test case press the 'Map' button in the third column.
-
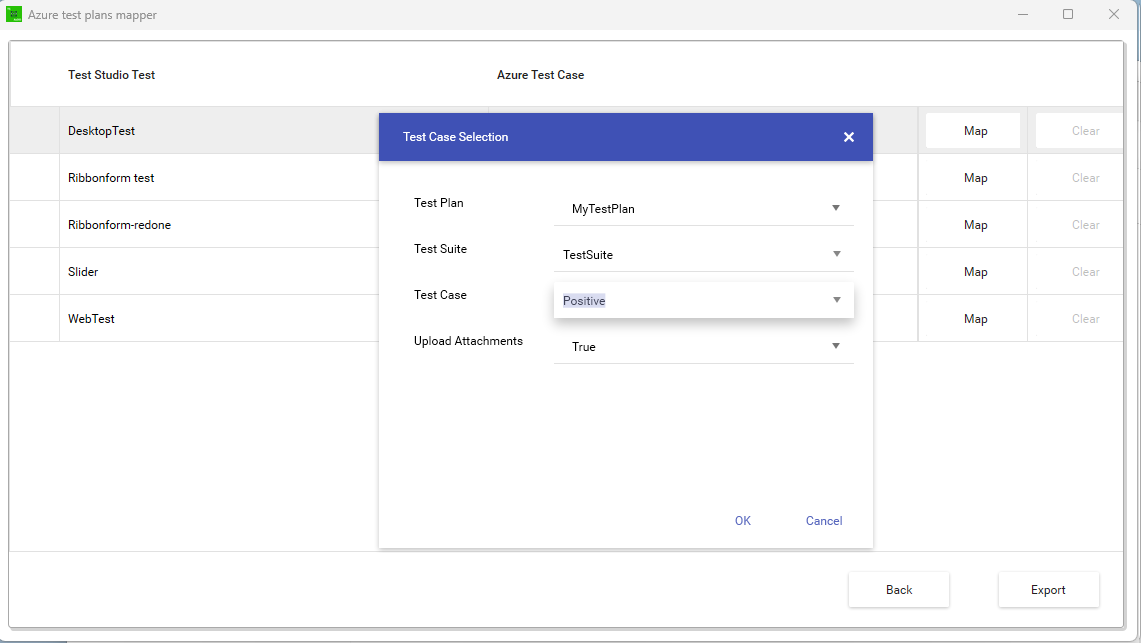
From the mapping dialog select the Azure DevOps test case and owner test suite and test plan. You can choose whether to upload artifacts like failure image and log files as well.
-
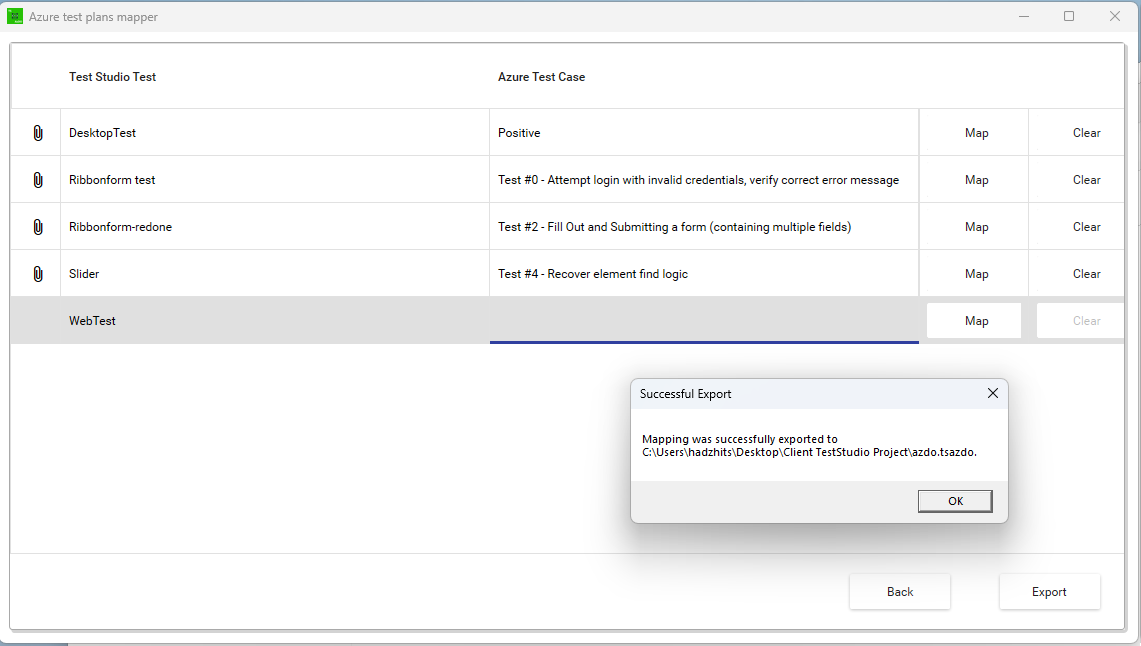
Repeat the step above for all tests that need to be mapped. When all tests are mapped press the ‘Export' button to generate the mapping file needed for the results synchronization.

-
We recommend to keep the exported mapping file in the root folder of your Test Studio project, but you have the option to choose another location on your hard drive. Finally, you see a success message.
Congratulations! Your mapping is complete.