Local Scheduled Test List Execution
With Test Studio you can schedule tests and test lists on a single machine. The local scheduling setup keeps the test list results in the local project root folder. The below article describe the necessary steps to enable scheduling for a Standalone Test Studio installation.
Installing Test Studio for Local Scheduled Runs
1. Install the default Test Studio configuration (The Telerik Scheduling and Storage services are not selected).
2. Start Test Studio - this will also start the Test Runner process, which will appear in your System Tray. This is the process that handles the scheduled test execution in the local setup. If this is not running, no scheduled tests will be started.
Setting Up a Project for Local Scheduled Runs
1. Open any project that contains the test list you wish to schedule for execution, or create a new empty project and create a sample test list in it.
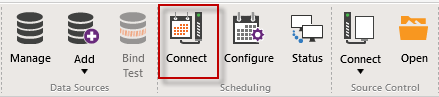
2. Under the Project tab click the Connect option in the Scheduling section of the ribbon.
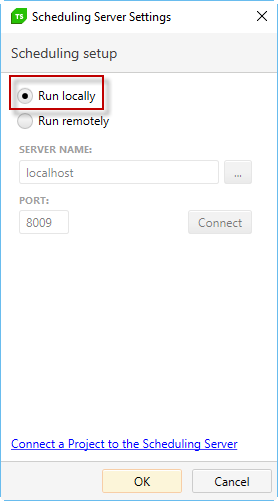
3. Ensure the project is connected to run locally - in the Scheduling Server Settings dialog, click Run Locally, then OK.
Schedule a Test List
Schedule Test List execution in the Test Lists view. Your local machine is selected as the execution machine by default.
View Results of Local Scheduled Run
View Scheduling Results after the scheduled test execution time. As this is a local test list run, the result files are physically stored on the local disk under the Results sub-folder in the project root one.
Note If the used machine has an active firewall, ensure that the following ports are unblocked: 55555, 8009.