(Archive) Element's Find Expressions
Note
The workflow described below is valid, if editing elements in Test Studio Dev Edition (Visual Studio Plugin).
Read here for editing elements in Test Studio IDE.
In certain scenarios the automatically generated find expression may be ineffective, because locates multiple elements on the active window, or may use dynamically generated attributes, which are unreliable by the next test execution. In such cases you may require adjusting the find expression manually, so that it reflects the specifics of the application under test.
Version 2018 R3 and Earlier (Both Standalone Application and Visual Studio Plugin)
When a web page element has an action recorded against it, or you explicitly add an element to the Elements pane, a Find Expression is generated that Test Studio uses to find that specific element on the web page.
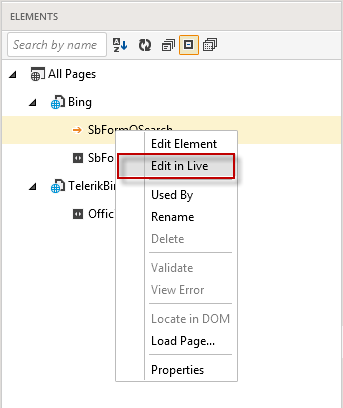
To change how an element is found, right click on the element in the Explorer and select Edit Element.
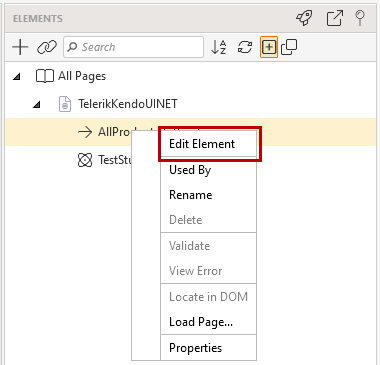
In the VS plugin, click the Show Element Explorer icon in the toolbar and locate the Explorer at the bottom of the screen.

Select Edit in Live to directly open the Find element dialog for the page open in the current recorder.
The Find Element splash screen appears. You have three options for how to locate the element:
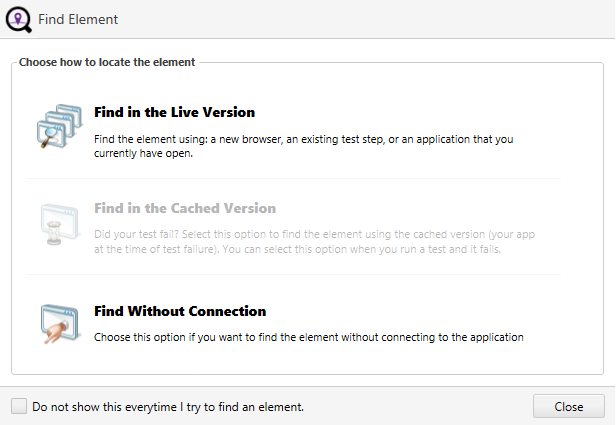
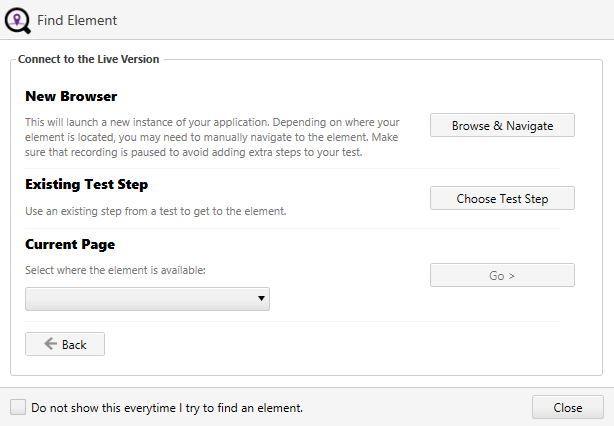
Find in the Live Version - find the element using the latest version of a new browser window, an existing test step, or an application that you currently have open.
- New Browser - this will launch a new instance of your application. You may need to manually navigate to the element. Click Browse & Navigate to proceed.
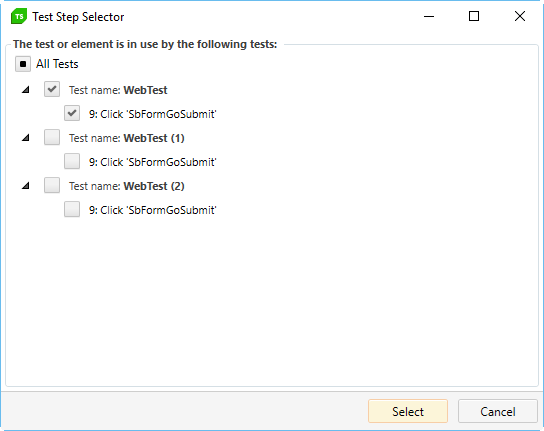
- Existing Test Step - use an existing step from a test to get to the element. Click Choose Test Step to proceed.
- Current Page - select where the element is available from a list of currently running browser instances or WPF applications. Click Go to proceed.
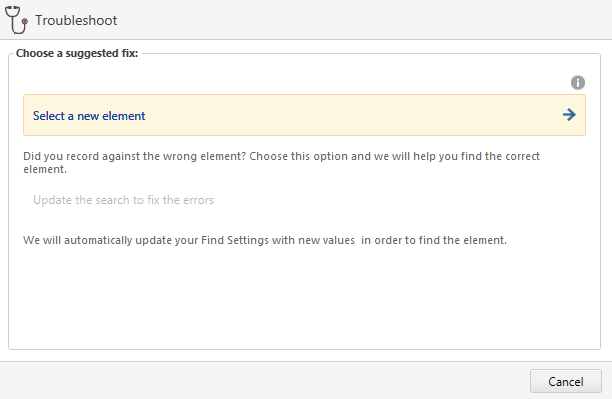
Find in the Cached Version - if your test failed, you can find the element using the cached version of the application at the time of failure. Accessible only through the Resolve Failure tab in the Step Failure Details.
Find Without Connection - choose this option to find the element without connecting to the application.
To skip this splash screen the next time you load the Find Element dialog, check the box at the bottom and click Close.
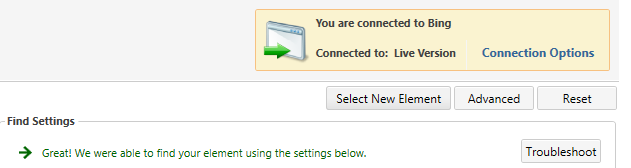
The Find Element dialog appears. The Element Name, Element Type, and Connection Status are at the top.
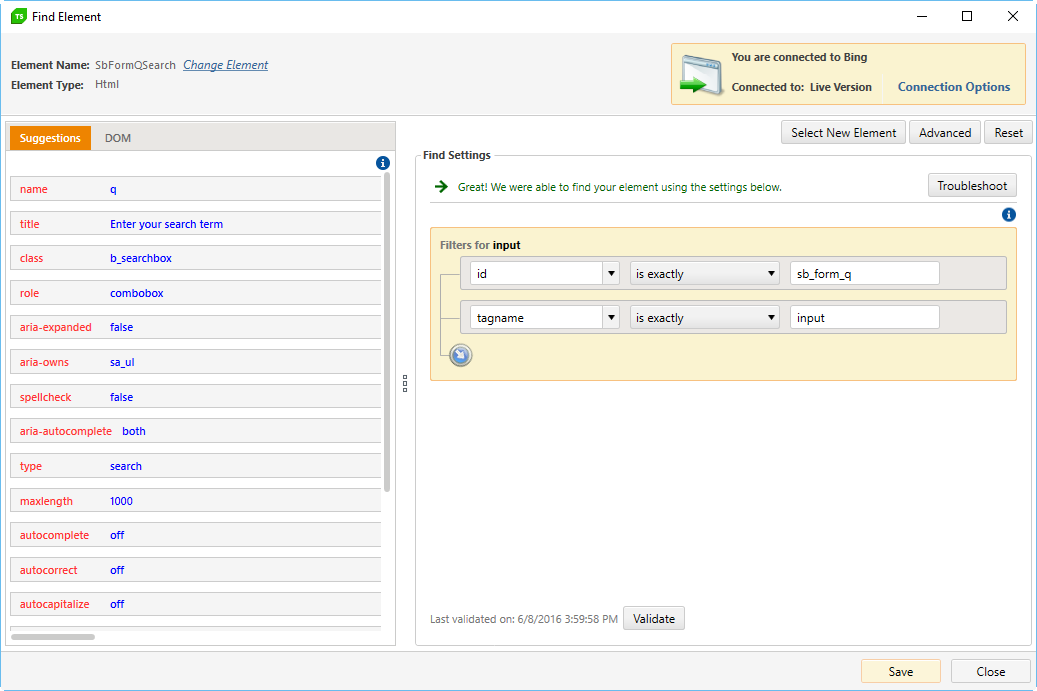
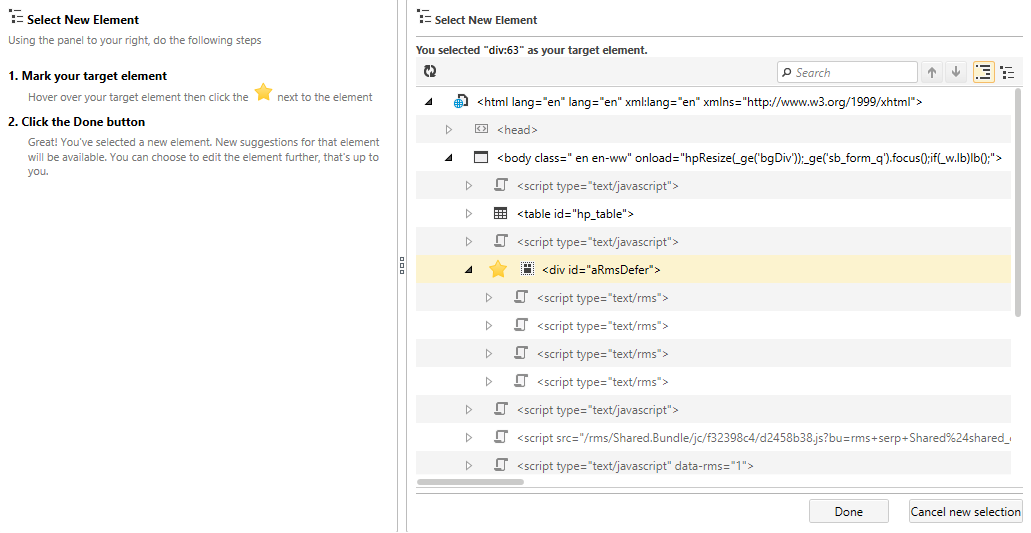
The Change Element link opens the Select New Element dialog.
In the Select Html Element dialog, you can open the Find Element dialog for a different element in the Elements Repository.
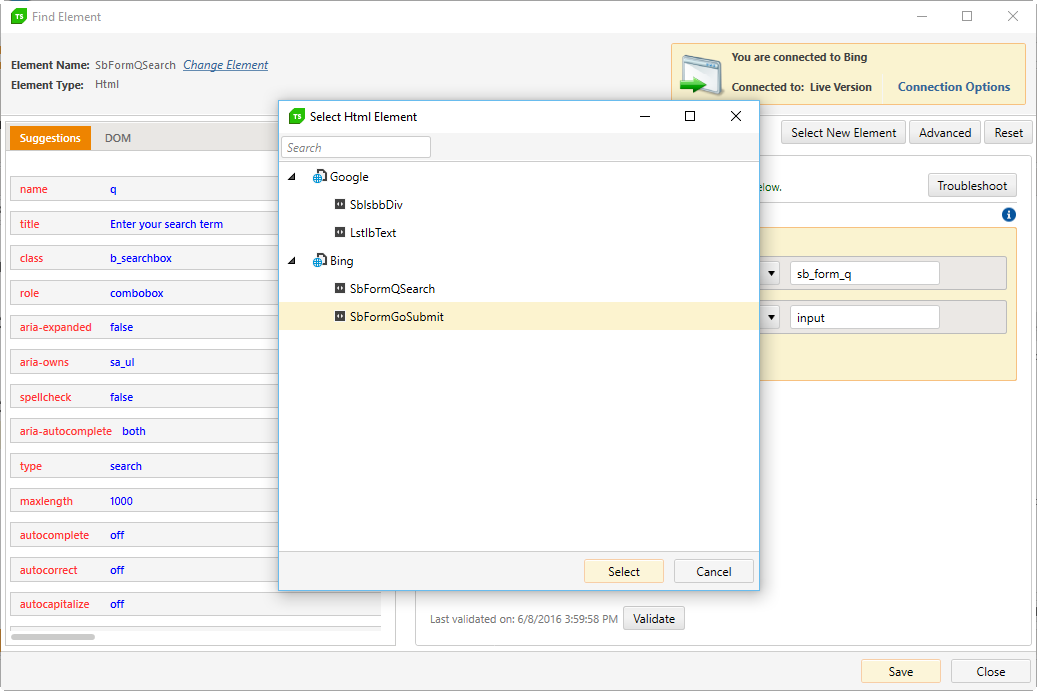
The Connection Options button takes you back to the Find Element splash screen.

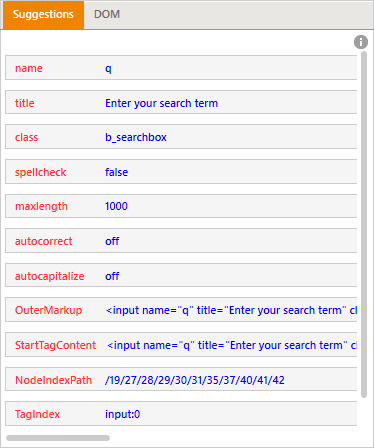
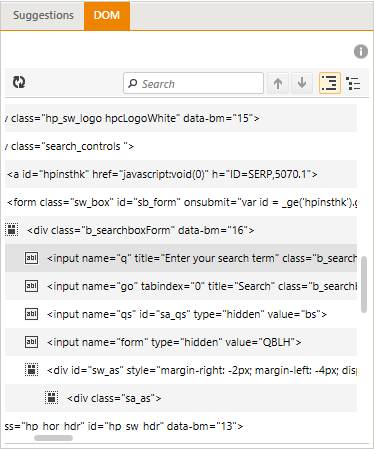
The Suggestions and DOM views are on the left side.
- Suggestions - these are the suggested items to help you find the element in the application. Click an item to add it to your Find Settings.
- DOM - use the DOM as a reference when creating your Find Settings. This view is helpful in determining where your element is located relative to the DOM tree.
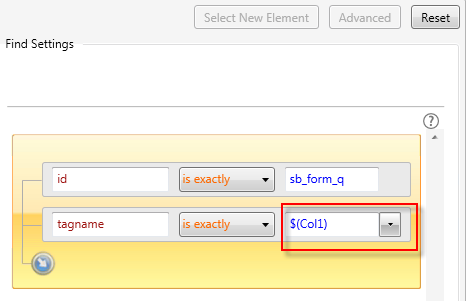
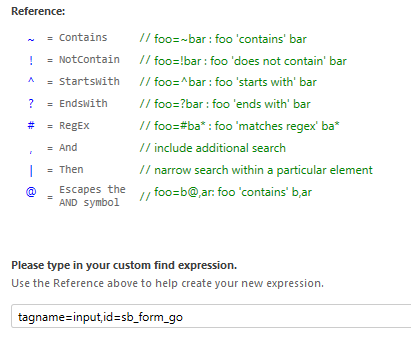
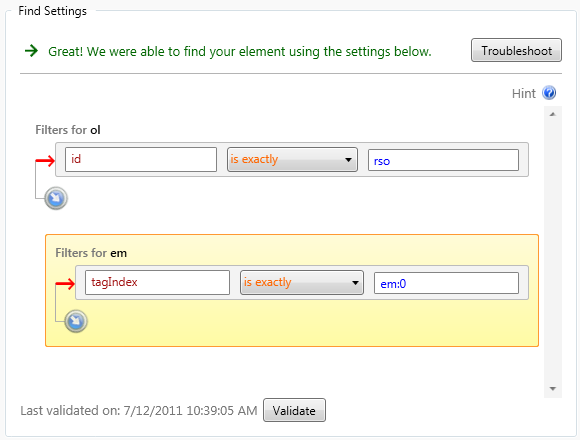
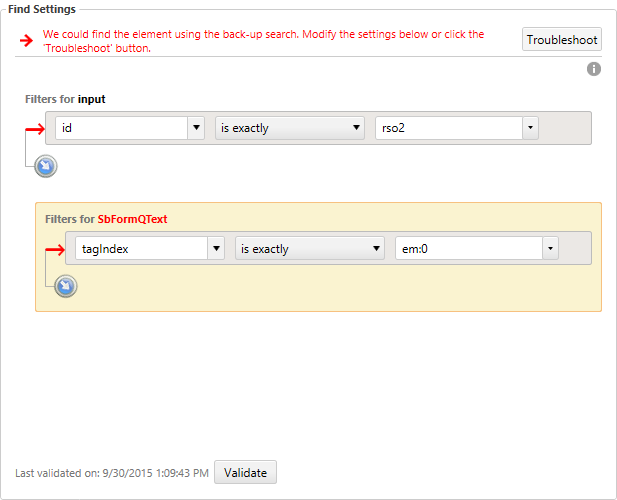
The Find Settings view is on the right side. You can edit these settings by typing in new properties, selecting a new modifier in the drop-down menu, or changing the values. Click Validate to confirm whether the element can be found using the current Find Settings.
 |
 |