Report Server for .NET: Installation on Linux
Starting with the 2025 Q3 release of the Telerik Report Server, you can download a separate installer for Linux operating systems.
The CLI installer is configured for Ubuntu and Ubuntu-based distributions.
Installation Process
-
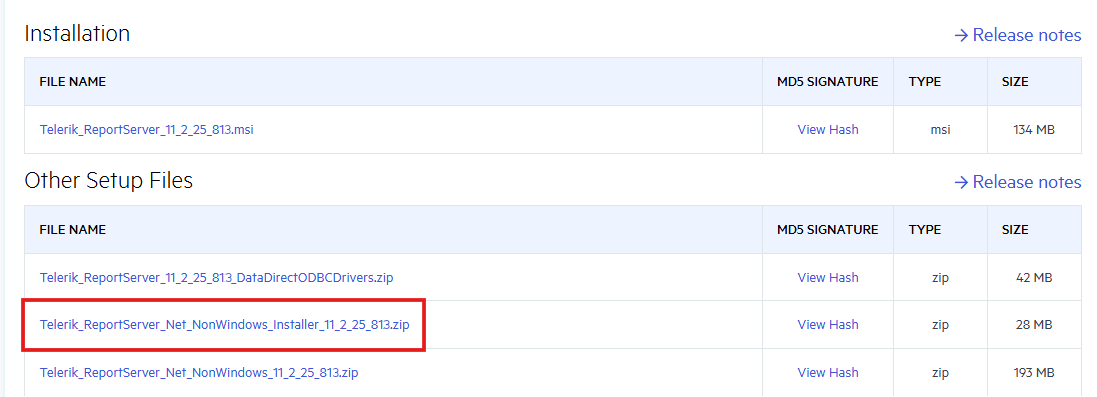
Navigate to the Progress® Telerik® Report Server download page, where you should find the zipped installer file.
-
If the
unzipcommand isn't already installed on the system (usewhich unzipto check), run the following command to install it:sudo apt-get install unzip -
After installing the unzip utility, use the following command to extract the installer into a new directory:
unzip Telerik_ReportServer_Net_NonWindows_Installer_11_2_25_813.zip -d reportserver -
Navigate to the newly created reportserver directory and then use the
lscommand to ensure that the Telerik.ReportServer.Installer file is present:cd reportserver ls -
Make the Telerik.ReportServer.Installer file an executable using the
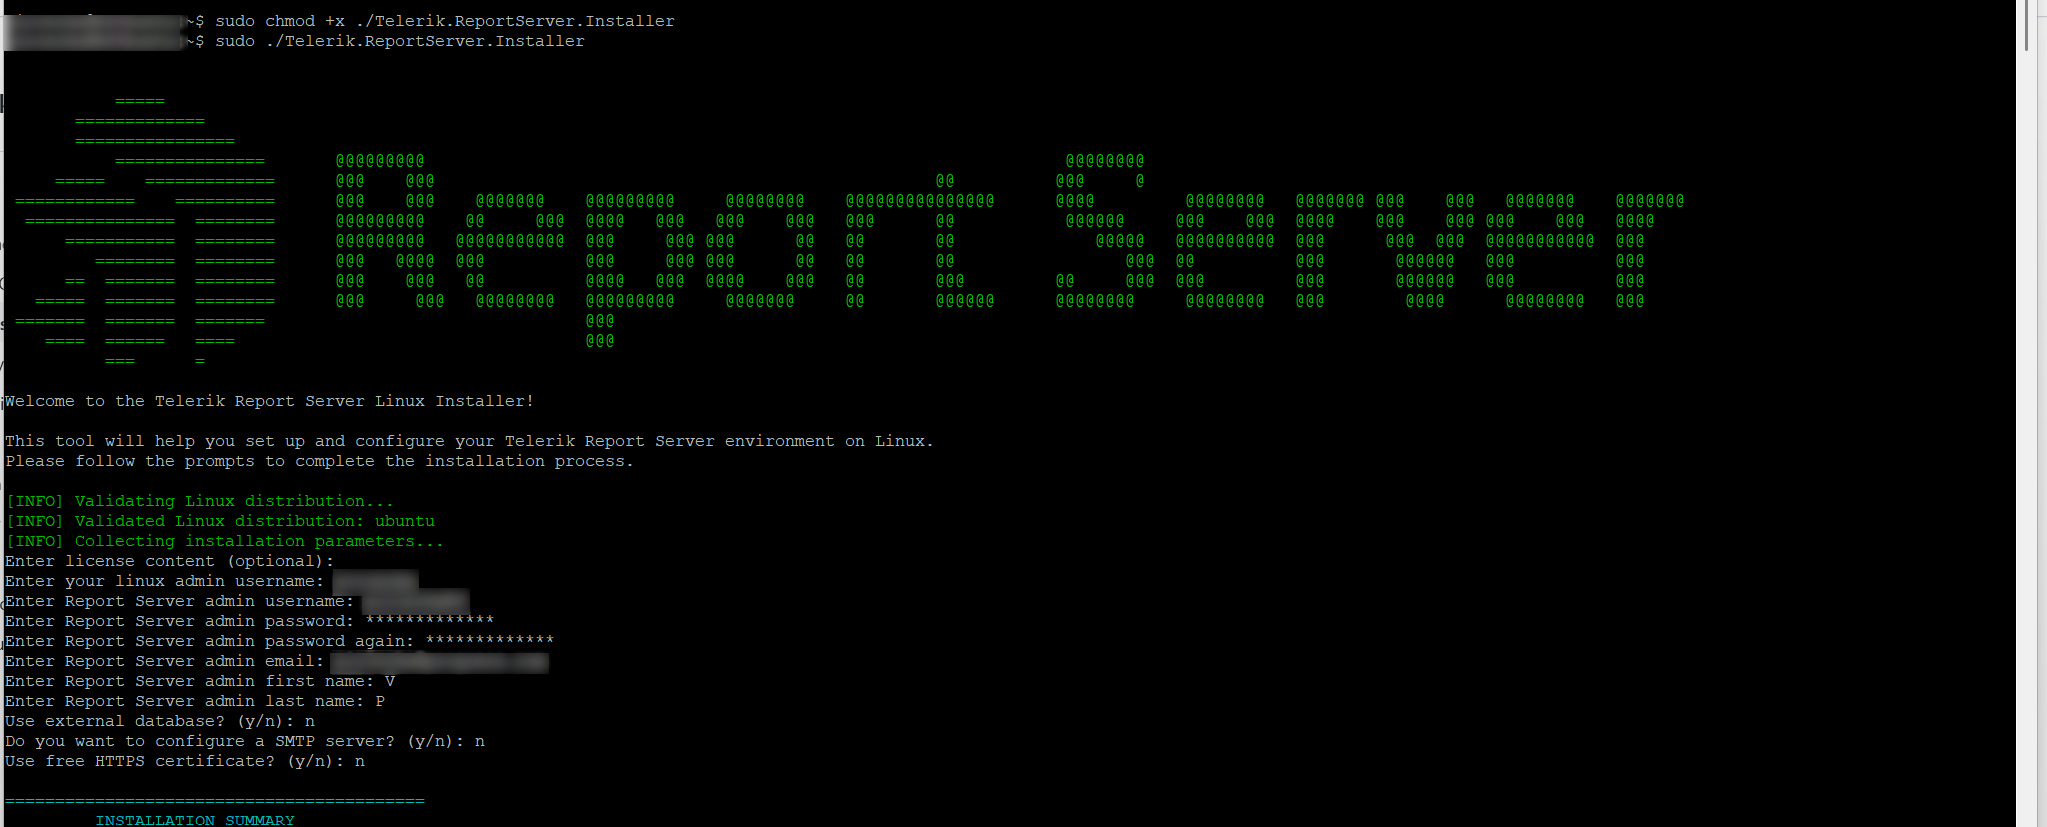
chmodcommand to give it the +x permission:sudo chmod +x ./Telerik.ReportServer.Installer -
Run the executable file to begin the installation:
sudo ./Telerik.ReportServer.Installer -
If the previous steps were executed successfully, the installer will begin, and during the rest of the installation process, you will be asked to configure the Telerik Report Server for .NET via the CLI. This includes providing the operating system account that should be used by the installer, credentials for the admin user in the Report Server, and so on.
Post-Installation
Once the installation is complete, navigate to the /Account/Login page of the Report Server for .NET in your browser to verify that the application is up and running.
Any configuration settings skipped during the CLI installation can be completed post-installation from the /Configuration page.
Internally, the installer uses the ready-to-use Docker Images introduced in 2025 Q2 (11.1.25.521):
- https://hub.docker.com/r/progressofficial/telerik-reportserver-app
- https://hub.docker.com/r/progressofficial/telerik-reportserver-agent
The above images are downloaded automatically during the installation. If Docker is not present on the system, it will be automatically installed, as the installer uses Docker to host the application.
In the installation directory, you will find the docker-compose.yml file, which contains valuable information such as the main and backup encryption keys.
The installer will also automatically create a single Report Server Agent, the configuration for which can also be found in the docker-compose.yml file.
Upgrading
Use the following commands to upgrade your Report Server for .NET Docker image to the latest one we have released:
docker service update --image progressofficial/telerik-reportserver-app:latest report-server_telerik-report-server
docker service update --image progressofficial/telerik-reportserver-agent:latest report-server_telerik-report-server-agent
If you need to revert to an older Report Server for .NET version, replace the tag latest in the above commands with the corresponding version tag.