Deploying WPF .NET Application
This article shows how to deploy a WPF .NET Application using Visual Studio.
Create an Application
If you already have a WPF project, you can go directly to the Deploy the Application section of this article.
-
Create a new WPF project using the Telerik Visual Studio Extensions (VSX). If the VSX is installed you will see the Telerik C# WPF Application template in the Visual Studio's project templates list.

-
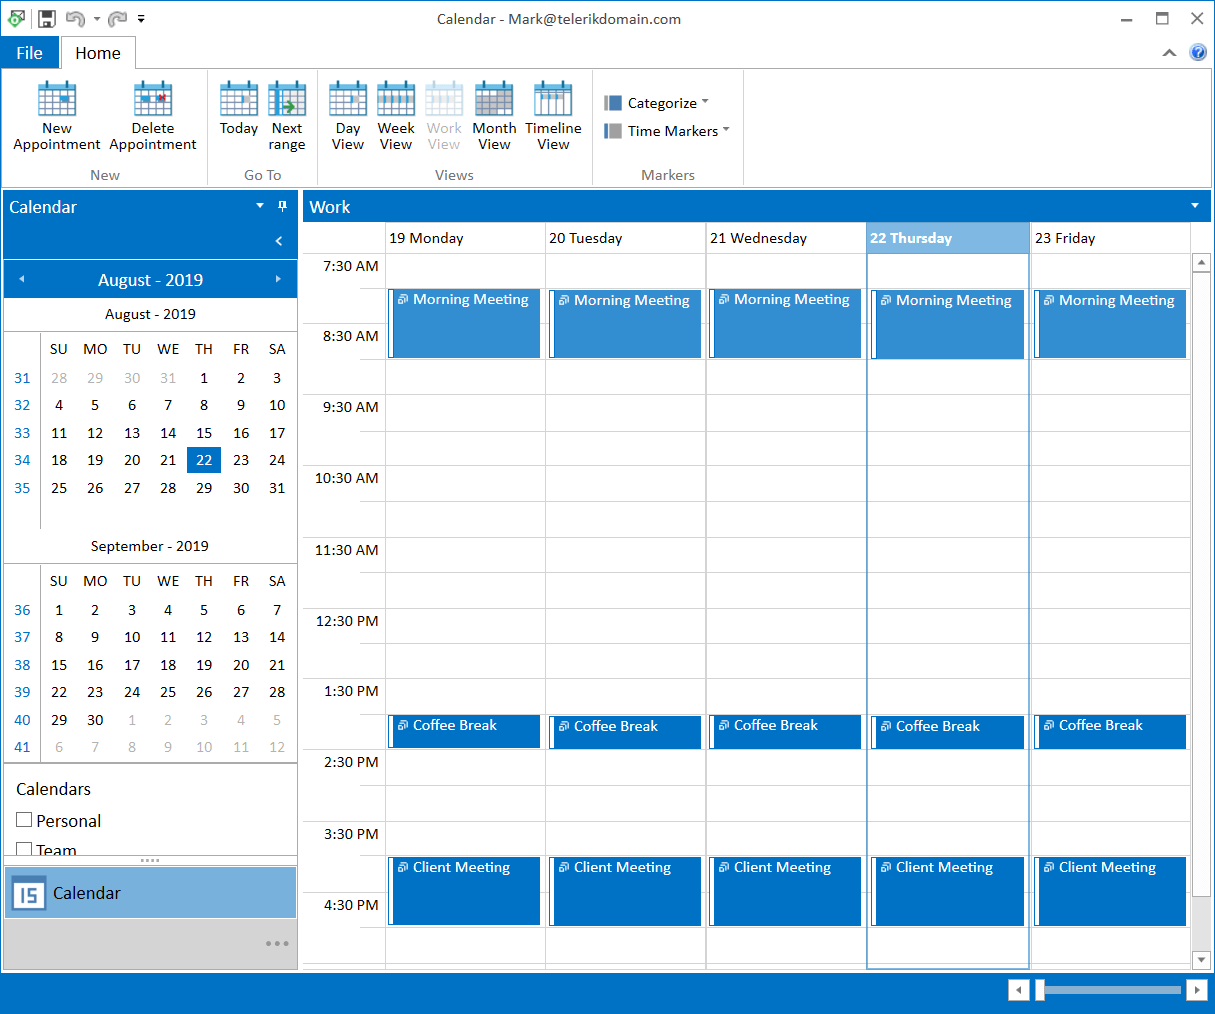
Select one of the application templates from the New Project Wizard. For this example, use the Calendar template.
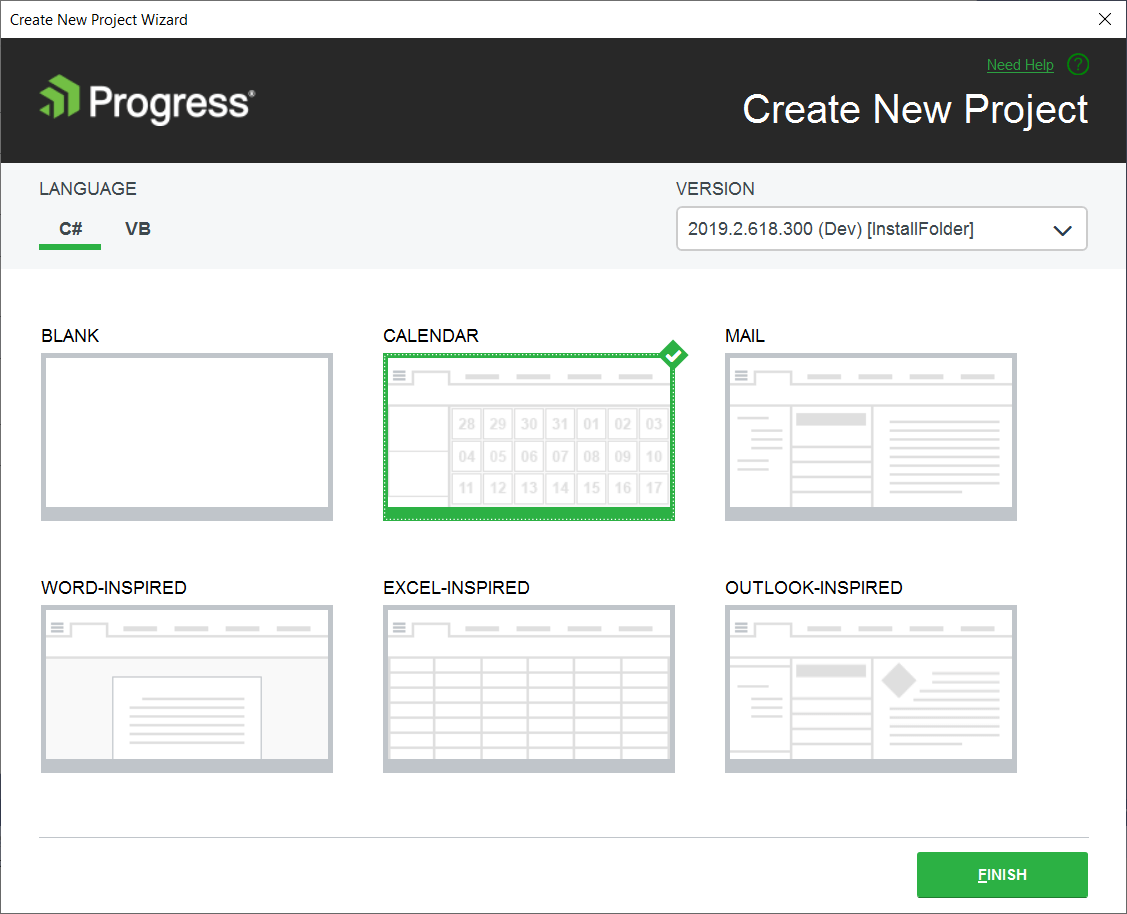
Figure 1: Calendar application created with the New Project Wizard
Deploy the Application
-
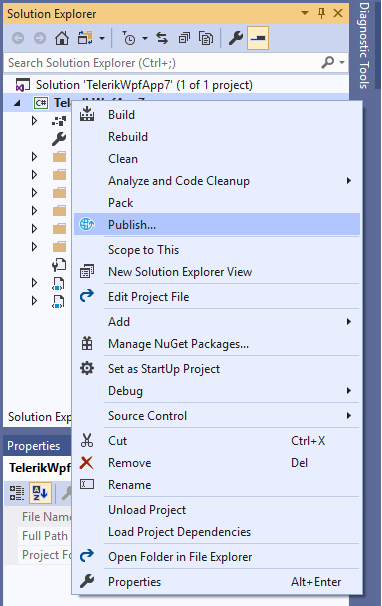
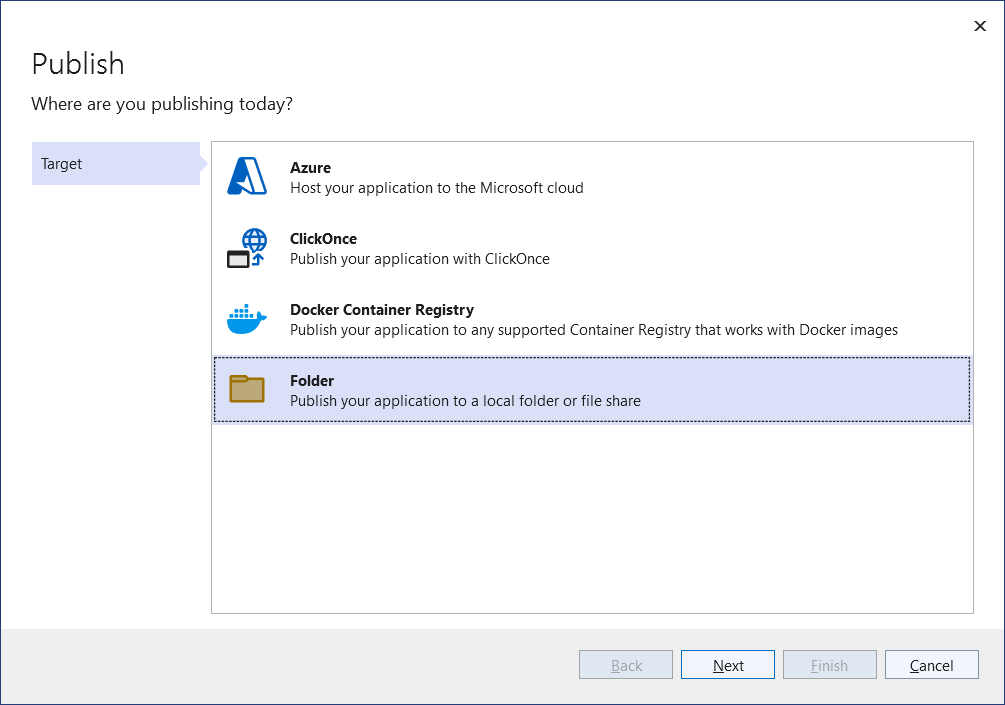
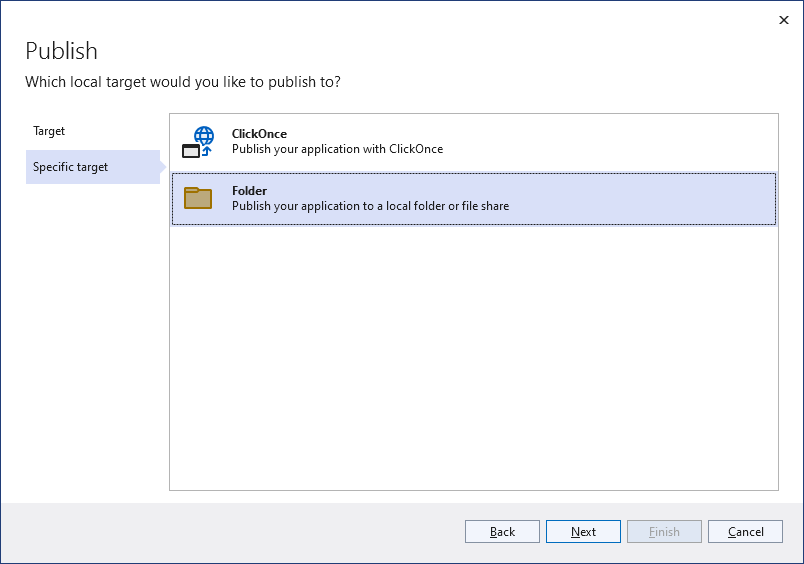
Right click the project in Visual Studio and select the Publish option. This will open the Pick a publish taget dialog.
-
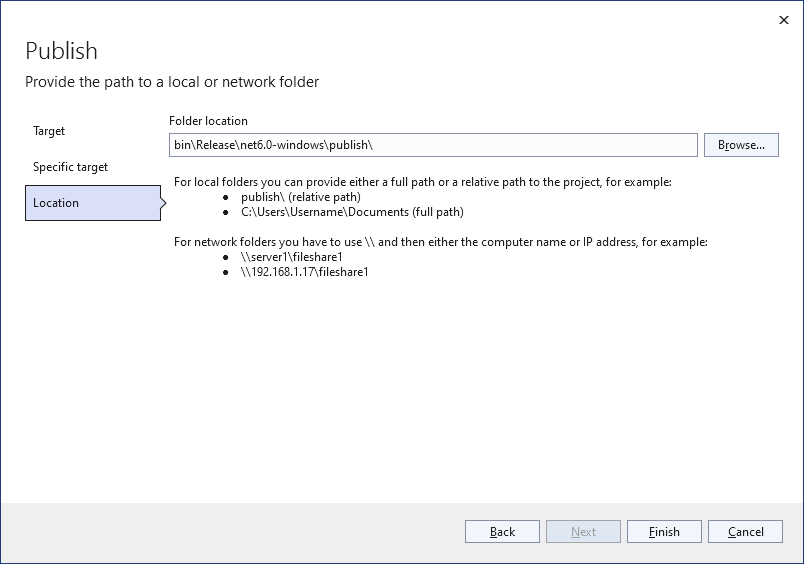
Choose the publishing approach and location. Then click Finish.
-
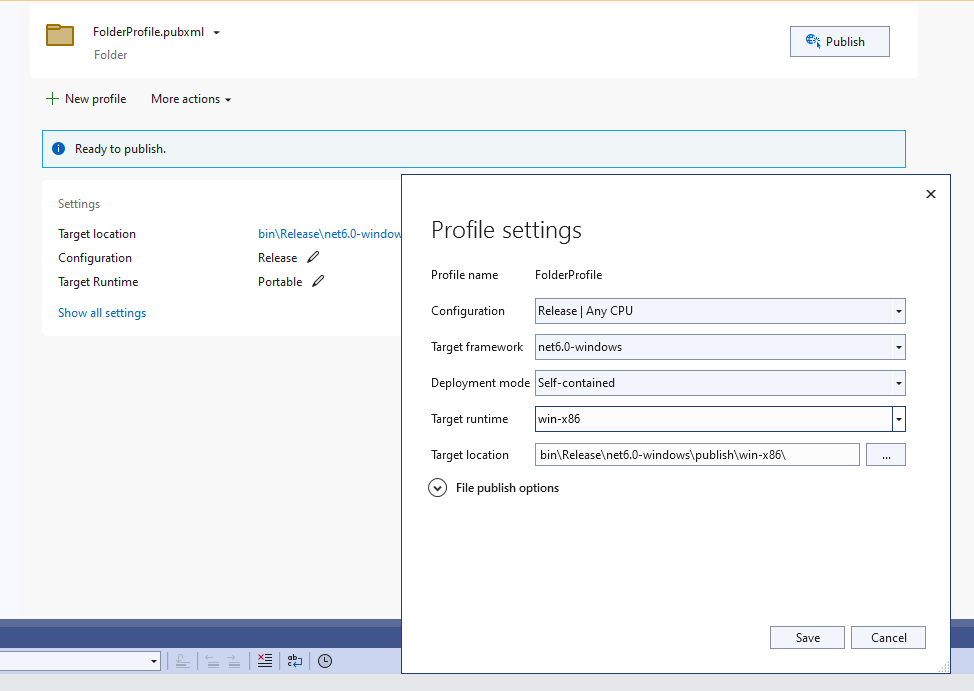
In the publish page, you can find the profile settings. Click on Show all settings and change the Deployment mode to Self-contained. Then select a Target Runtime.
-
Save the configuration and click the Publish button. This will generate files in the publish location.
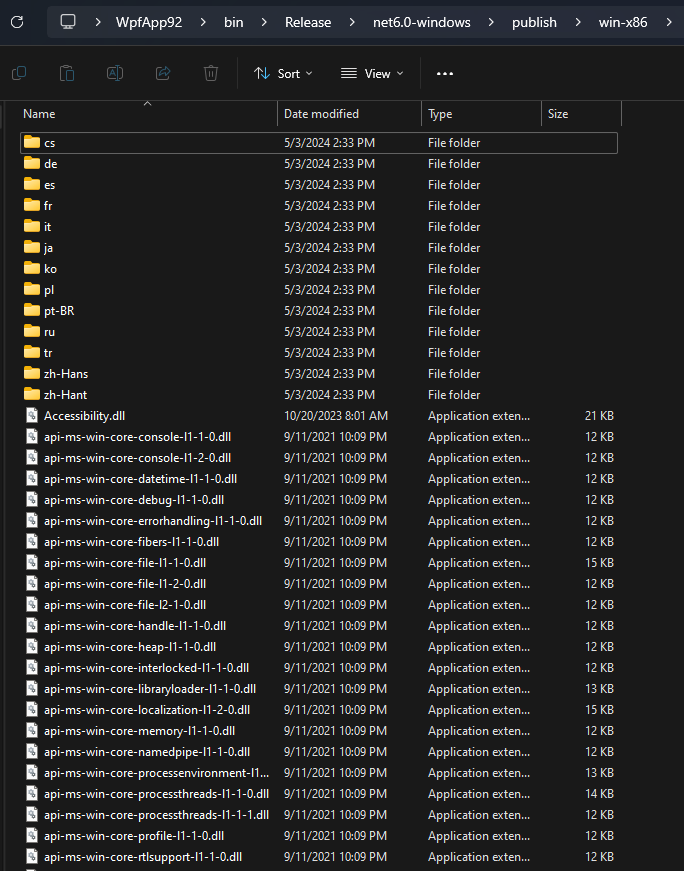
Copy the output files from the publish location to your deployment environment.
You can package your application using the MSIX format. Read more, in the What is MSIX? MSDN article.