Add and Remove Tabs
This tutorial will walk you through the common tasks of adding and removing RadTabItem to RadTabControl programmatically and declaratively.
Adding And Removing Tabs Programmatically
- Add Tabs In order to add new tab item to a tab control, first you have to create instance of the class Telerik.Windows.Controls.RadTabItem, set its properties like Header, Content, ToolTip etc, and then add it to the tab control items collection.
private void AddTab()
{
    RadTabItem itemToAdd = new RadTabItem()
    {
        Header = "New Tab"
    };
    radTabControl.Items.Add(itemToAdd);
}
Private Sub AddTab()
    Dim itemToAdd As New RadTabItem()
    itemToAdd.Header = "New Tab"
    radTabControl.Items.Add(itemToAdd)
End Sub
- Remove Tabs In order to remove a tab item you have to remove it from the tab control items collection.
private void RemoveTab( RadTabItem tabItemToRemove )
{
    radTabControl.Items.Remove( tabItemToRemove );
}
Private Sub RemoveTab( ByVal tabItemToRemove As RadTabItem )
    radTabControl.Items.Remove( tabItemToRemove )
End Sub
Adding And Removing Tabs Declaratively
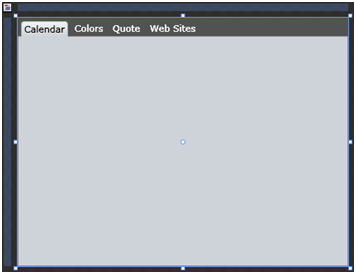
This is snapshot of a regular RadTabControl with four tab items.

And here is its XAML declaration:
<telerik:RadTabControl x:Name="radTabControl">
    <telerik:RadTabItem Header="Calendar"/>
    <telerik:RadTabItem Header="Colors"/>
    <telerik:RadTabItem Header="Quote"/>
    <telerik:RadTabItem Header="Web Sites"/>
</telerik:RadTabControl>
Each one of the RadTabItem nodes in the example above represents declaration of a single tab item that will be created and added to your tab control at run time. Just insert or delete RadTabItem child nodes to/from your tab control declaration and see how the tab structure changes.
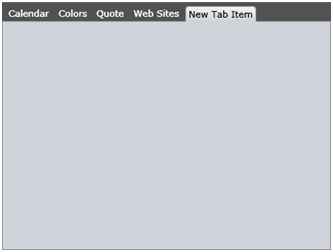
For example insert the following line 
Consider declaring tabs in XAML instead of adding them by code whenever it’s possible. This includes situations when you know what tabs you need at design time.Declaring tabs in XAML is also a preferable choice when you are working with a designer that will style the control using Expression Blend.