How to use different custom nodes in RadTreeView
Environment
| Product | RadTreeView for WinForms |
Description
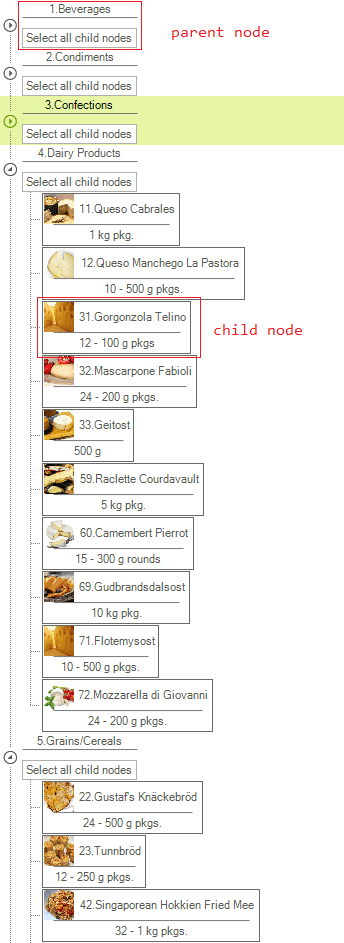
By design, RadTreeView allows customizing the visual node elements. The Custom Nodes help article demonstrates a step-by-step tutorial how to use a custom TreeNodeElement for all nodes in the tree view. However, a common scenario is to use different custom node elements for the different levels in the tree view.
Solution
The aforementioned help article explains detailed steps how to create a custom node element. If you wish to have different custom node elements for the first and second levels in the tree view, you just need to implement two different custom TreeNodeElement derivatives with the relevant custom TreeNodeContentElement classes.
Thanks to the UI virtualization mechanism only the currently visible node elements are created and they are further reused when needed. A node element is reused in other nodes if they are compatible with them. The important part here is to override the IsCompatible method of the TreeNodeElement. This method expects a Boolean result indicating whether the visual node element is applicable to the passed RadTreeNode. Thus, you can check the RadTreeNode.Level property indicating the hierarchical level of the node and determine which visual node element to use.
A complete solution providing a C# and VB.NET project is available here.