Add Telerik JustMock to Test Project
This topic demonstrates how to use JustMock in a new test project or integrate it in your existing project.
Important!
Before proceeding further, make sure you have successfully completed Installation on Windows.
Create New Project with JustMock Visual Studio Test Project Template
-
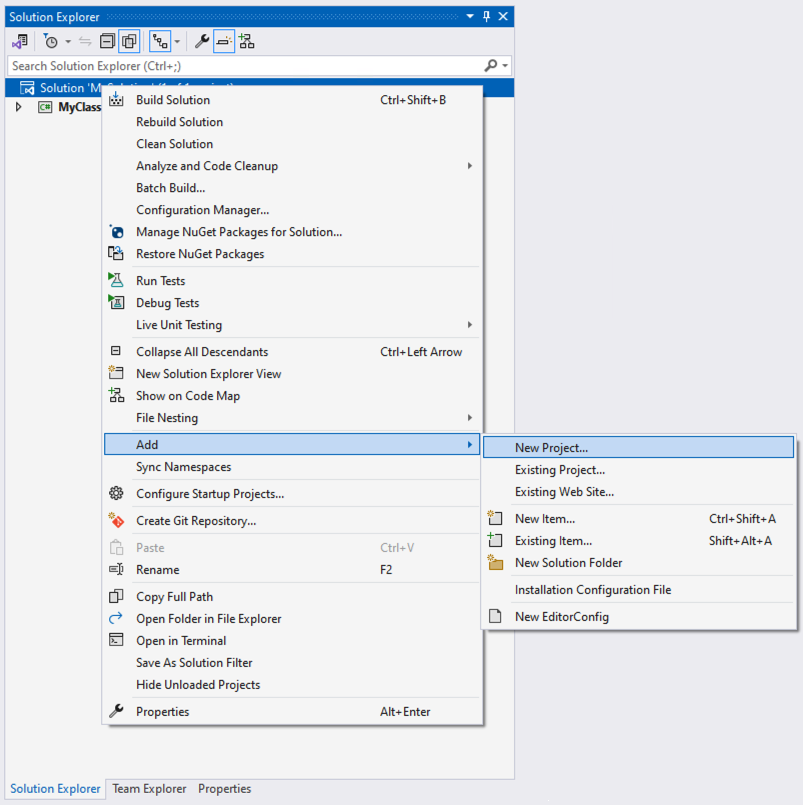
Start by adding a new test project to your Solution. Right click on the Solution, select Add, then New Project....
-
Select the Test Project template or search for it by typing
JustMock. Once you have selected the desired template, click Next.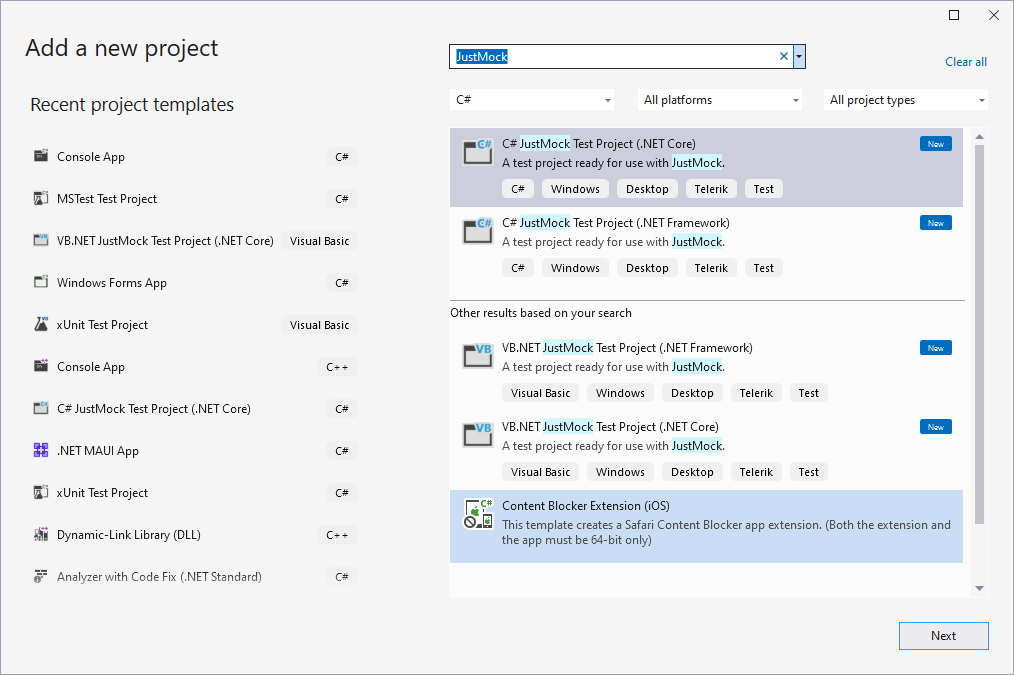
-
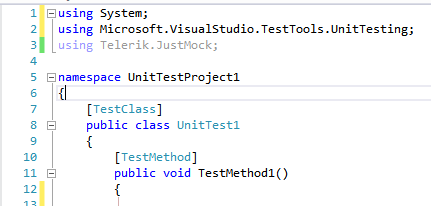
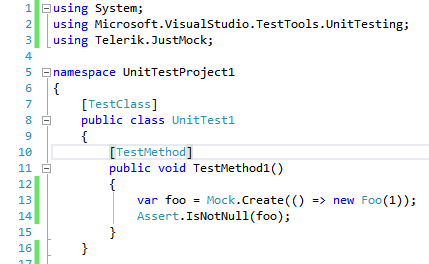
Using the default JustMock Test Project template, you can start writing JustMock tests right away.
See an example how to use JustMock in JustMock API Basics
Add JustMock to an existing Visual Studio Test Project
If you want to use JustMock in an existing unit test project, you should add a reference to Telerik.JustMock.dll.
-
Right click on your test project and select Add Project Reference.

-
Go to the Browse tab and navigate to the Libraries folder in the JustMock installation directory (by default C:\Program Files (x86)\Progress\Telerik JustMock\Libraries). Select Telerik.JustMock.dll and click OK.
Important!
For projects compatible with .NET Standard 2.1, the required assembly is located at "C:\Program Files (x86)\Progress\Telerik JustMock\Libraries\netstandard2.1\"

-
Further, you will need to include the Telerik.JustMock namespace into your test project.
-
Finally, you are ready to create your first test with JustMock.
Tip!
As an altrernative you can use NuGet packages, check Installation using NuGet package topic for details.