Getting Started with the Telerik WebForms Chat
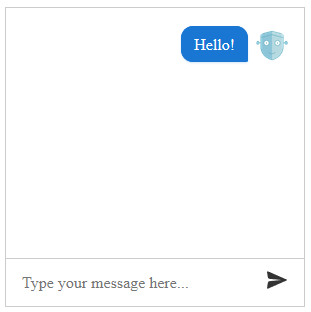
The following tutorial demonstrates how you can add a simple RadChat control. The end result will be similar to Figure 1:
Figure 1: A RadChat configuration with declared client-side event handlers

Add a ScriptManager control on a Web Form.
-
Add a RadChat control on this Web Form:
Example 1: Declaration of a RadChat control.
<asp:ScriptManager runat="server" ID="ScriptManager1" /> <telerik:RadChat ID="RadChat1" runat="server"> </telerik:RadChat> -
Set some of the messages and user settings like Placeholder, Name and IconUrl.
Example 2: The chat now has a custom placeholder message, username and avatar
<asp:ScriptManager runat="server" ID="ScriptManager1" /> <telerik:RadChat runat="server" ID="RadChat1"> <MessagesSettings Placeholder="Type your message here..." /> <UserSettings Name="John" IconUrl="avatar.png" /> </telerik:RadChat> -
Press F5 to run the application. You will see the chat that is displayed in Figure 1. From this point you can start interacting with the chat.
Example 3: Assigning the client-side event handlers:
<asp:ScriptManager runat="server" ID="ScriptManager1"  />
<telerik:RadChat runat="server" ID="RadChat1" Width="300px" Height="300px">
    <ClientEvents
        OnActionClick="OnActionClick"
        OnInitialize="OnInitialize"
        OnLoad="OnLoad"
        OnPost="OnPost"
        OnSendMessage="OnSendMessage"
        OnTypingEnd="OnTypingEnd"
        OnTypingStart="OnTypingStart" />
    <MessagesSettings Placeholder="Type your message here..." />
    <UserSettings Name="John" IconUrl="avatar.png" />
</telerik:RadChat>
function OnActionClick(sender, args) { } function OnInitialize(sender, args) { } function OnLoad(sender) { sender.postMessage("Hello!"); } function OnPost(sender) { } function OnSendMessage(sender, args) { } function OnTypingEnd(sender, args) { } function OnTypingStart(sender, args) { }Once you have a working Chat control, you can use the client-side API of the chat to connect it to a Chatbot service.