Getting Started with the DataSource
This tutorial explains how to set up the Telerik UI for ASP.NET MVC DataSource and highlights the major steps in the configuration of the component.
You will declare a view model for the DataSource and initialize a shared component. Then, you will bind the DataSource to visualize the returned data. To show if the server timed out before responding, you will handle the Error event. Finally, you will see how to send additional data to the controller, disable the server operations, and reference a client-side instance of the component.
After completing this guide, you will achieve the following results:
Prerequisites
To successfully complete the tutorial, you need a project that is already configured to use the Telerik UI for ASP.NET MVC components:
To create a new pre-configured project for the Telerik UI for ASP.NET MVC components, you can use a project template.
To manually configure an existing project by using NuGet, see the Adding Telerik UI through NuGet.
1. Prepare the CSHTML File
The first step is to add the required directives at the top of the .cshtml document:
-
To use the Telerik UI for ASP.NET MVC HtmlHelpers:
@using Kendo.Mvc.UI
Optionally, you can structure the document by adding the desired HTML elements like headings, divs, paragraphs, and others.
2. Declare the View Model
Declare the ProductViewModel view model.
public class ProductViewModel
{
    public int ProductID
    {
        get;
        set;
    }

    [Required]
    [DisplayName("Product name")]
    public string ProductName
    {
        get;
        set;
    }

    [DisplayName("Unit price")]
    [DataType(DataType.Currency)]
    [Range(0, int.MaxValue)]
    public decimal UnitPrice
    {
        get;
        set;
    }

    [DisplayName("Units in stock")]
    [DataType("Integer")]
    [Range(0, int.MaxValue)]
    public int UnitsInStock
    {
        get;
        set;
    }

    public bool Discontinued
    {
        get;
        set;
    }

    [DataType("Integer")]
    public int UnitsOnOrder
    {
        get;
        set;
    }
}
3. Initialize the DataSource
Use the DataSource HtmlHelper to add the component to a page and set some of its options:
- Use the
Name()configuration method to assign a name to the instance of the helper—this is mandatory as its value is used for thenameof the DataSource element. - Add the
Ajax()configuration option—this formats the request filter, sort, group, page, page size, and aggregates and requires you to configure a[DataSourceRequest]DataSourceRequest requestparameter in the controller action and extend the response with theToDataSourceResult, which will handle data operations automatically. - Configure the
Readtransport and set the end point for the Read operation.
- Set the
PageSizeto determine how many items to include in each response of the server.
@using Kendo.Mvc.UI

@(Html.Kendo().DataSource<Kendo.Mvc.Examples.Models.ProductViewModel>()
    .Name("dataSource1")
    .Ajax(dataSource => dataSource
    .Read(read => read.Action("Products_Read", "DataSource"))
    .PageSize(12)
    )
)
4. Declare the Read Action
In the Home controller, declare the Read action. Use the name of the action you set in the DataSource configuration in the previous step.
public ActionResult Index()
{
    return View();
}

private List<ProductViewModel> products = new List<ProductViewModel> {
    new ProductViewModel { ProductID = 1, ProductName = "Chai", UnitPrice = 18, UnitsInStock = 39, Discontinued = false },
    new ProductViewModel { ProductID = 2, ProductName = "Chang", UnitPrice = 19, UnitsInStock = 17, Discontinued = false },
    new ProductViewModel { ProductID = 3, ProductName = "Aniseed Syrup", UnitPrice = 10, UnitsInStock = 13, Discontinued = false },
    new ProductViewModel { ProductID = 4, ProductName = "Chef Anton's Cajun Seasoning", UnitPrice = 21, UnitsInStock = 53, Discontinued = false },
    new ProductViewModel { ProductID = 5, ProductName = "Chef Anton's Gumbo Mix", UnitPrice = 18, UnitsInStock = 0, Discontinued = true },
    new ProductViewModel { ProductID = 6, ProductName = "Grandma's Boysenberry Spread", UnitPrice = 25, UnitsInStock = 120, Discontinued = false },
    new ProductViewModel { ProductID = 7, ProductName = "Uncle Bob's Organic Dried Pears", UnitPrice = 30, UnitsInStock = 15, Discontinued = false },
    new ProductViewModel { ProductID = 8, ProductName = "Northwoods Cranberry Sauce", UnitPrice = 40, UnitsInStock = 6, Discontinued = false },
    new ProductViewModel { ProductID = 9, ProductName = "Mishi Kobe Niku", UnitPrice = 97, UnitsInStock = 29, Discontinued = true },
    new ProductViewModel { ProductID = 10, ProductName = "Ikura", UnitPrice = 31, UnitsInStock = 31, Discontinued = false },
    new ProductViewModel { ProductID = 11, ProductName = "Queso Cabrales", UnitPrice = 21, UnitsInStock = 22, Discontinued = false },
    new ProductViewModel { ProductID = 12, ProductName = "Queso Manchego La Pastora", UnitPrice = 38, UnitsInStock = 86, Discontinued = false }
};

public ActionResult Products_Read([DataSourceRequest] DataSourceRequest request)
{
    return Json(products.ToDataSourceResult(request));
}
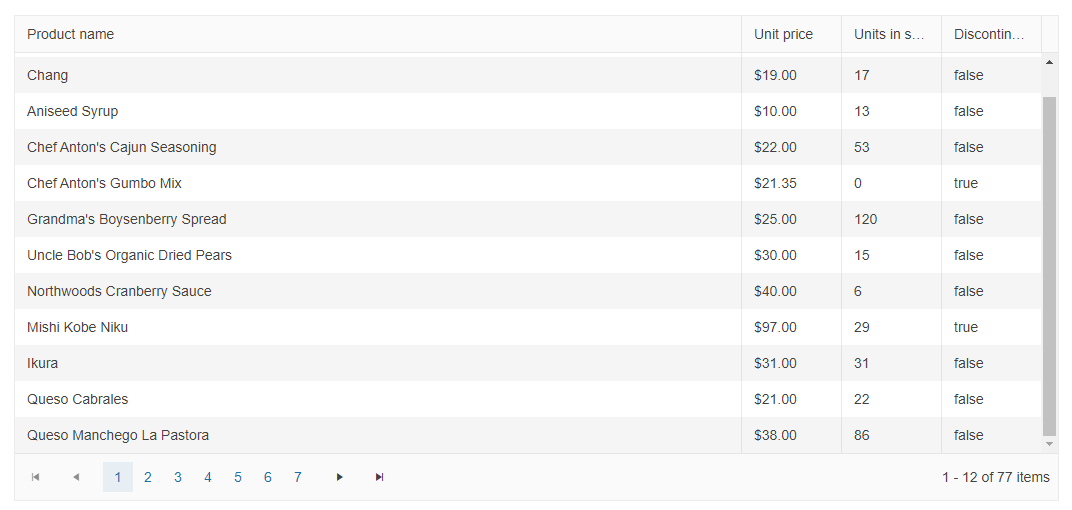
5. Bind a Component to the DataSource
- Initialize a Grid component.
- To bind the Grid to the DataSource, pass the name of the DataSource to the
.DataSource()configuration property of the Grid.
The demonstrated data binding approach allows you to bind the same DataSource to other data-bound components and let them share the same data.
@using Kendo.Mvc.UI

@(Html.Kendo().DataSource<Kendo.Mvc.Examples.Models.ProductViewModel>()
    .Name("dataSource1")
    .Ajax(dataSource => dataSource
    .Read(read => read.Action("Products_Read", "DataSource"))
    .PageSize(12)
    )
)

@(Html.Kendo().Grid<Kendo.Mvc.Examples.Models.ProductViewModel>()
    .Name("grid")
    .Columns(columns =>
    {
        columns.Bound(p => p.ProductName);
        columns.Bound(p => p.UnitPrice).Format("{0:c}").Width(100);
        columns.Bound(p => p.UnitsInStock).Width(100);
        columns.Bound(p => p.Discontinued).Width(100);
    })
    .Pageable()
    .Scrollable()
    .DataSource("dataSource1")
)
For a complete tutorial on how to configure the Grid component, refer to the Grid's Getting Started article.
6. Handle a DataSource Event
The DataSource exposes different client-side events that you can handle and use to customize the component's functions. In this tutorial, you will use the Error event to show the user a message if an error occurs on the server while accessing the data.
To achieve the desired behavior, attach a handler in the declaration of the DataSource and declare the error_handler JavaScript function.
@using Kendo.Mvc.UI

@(Html.Kendo().DataSource<Kendo.Mvc.Examples.Models.ProductViewModel>()
    .Name("dataSource1")
    .Ajax(dataSource => dataSource
    .Read(read => read.Action("Products_Read", "DataSource"))
    .ServerOperation(true)
    .PageSize(12)
    .Events(e=>e.Error("error_handler"))
    )
)
@(Html.Kendo().Grid<Kendo.Mvc.Examples.Models.ProductViewModel>()
    .Name("grid")
    .Columns(columns =>
    {
        columns.Bound(p => p.ProductName);
        columns.Bound(p => p.UnitPrice).Format("{0:c}").Width(100);
        columns.Bound(p => p.UnitsInStock).Width(100);
        columns.Bound(p => p.Discontinued).Width(100);
    })
    .Pageable()
    .Scrollable()
    .DataSource("dataSource1")
)
    function error_handler(e){
        if (e.errors) {
            var message = "Errors:\n";
            $.each(e.errors, function (key, value) {
                if ('errors' in value) {
                    $.each(value.errors, function () {
                        message += this + "\n";
                    });
                }
            });
            alert(message);
        }
    }
(Optional) Pass Additional Data to Action Methods
Optionally, you can pass additional parameters to the action by using the Data method of the Transport properties. To accomplish this, provide the name of a JavaScript function that will return a JavaScript object with the additional data.
The custom parameter names must not match reserved words, which are used by the Kendo UI DataSource for jQuery for sorting, filtering, paging, and grouping.
The following code demonstrates how to add the additional parameters to the action method.
public ActionResult Products_Read([DataSourceRequest]DataSourceRequest request, string firstName, string lastName)
{
    // The implementation is omitted.
}
The following snippet demonstrates how to specify the JavaScript function which returns additional data.
    .Ajax()
    .PageSize(20)
    .Read(read => read
        .Action("Products_Read", "Home") // Set the action method which will return the data in JSON format.
        .Data("productsReadData") // Specify the JavaScript function which will return the data.
    )
    function productsReadData() {
        return {
            firstName: "John",
            lastName: "Doe"
        };
    }
(Optional) Enable Client Data Processing
By default, the Telerik UI Grid for ASP.NET MVC makes an AJAX request to the Action method every time the user sorts, filters, groups or changes the page. To perform these operations on the client disable the ServerOperation option.
    .Ajax()
    .PageSize(20)
    .ServerOperation(false) // Paging, sorting, filtering, and grouping will be done client-side.
    .Read(read => read.Action("Products_Read", "Home"))
(Optional) Reference Existing DataSource Instances
Referencing existing instances of a component allows you to build on top of their configuration.
-
To reference an existing DataSource instance, use the
Nameprovided to the component.<script> $(document).ready(function(){ console.log(dataSource1) }) </script> -
Use the DataSource client-side API to control the behavior of the widget. In this example, you will force the DataSource to send a new read request to the backend with the
readmethod. Then, you will handle the returned promise to access the data item of the returned page with theviewmethod of the DataSource.<script> dataSource1.read().then(function() { var view = dataSource1.view(); console.log(view[0].ProductName); // displays "Chai" }); </script>
Next Steps
- Choosing the Appropriate DataSource Type
- Configuring the CRUD Operations
- Handling DataSource Events
- Configuring the Model