RadRichTextBoxRibbonUI
This topic explains how the predefined UI of RadRichTextBox - RadRichTextBoxRibbonUI - can be used.
RadRichTextBoxRibbonUI is a ribbon control that has been wired to work with the commands that RadRichTextBox exposes. The control is based on RadRibbonView.
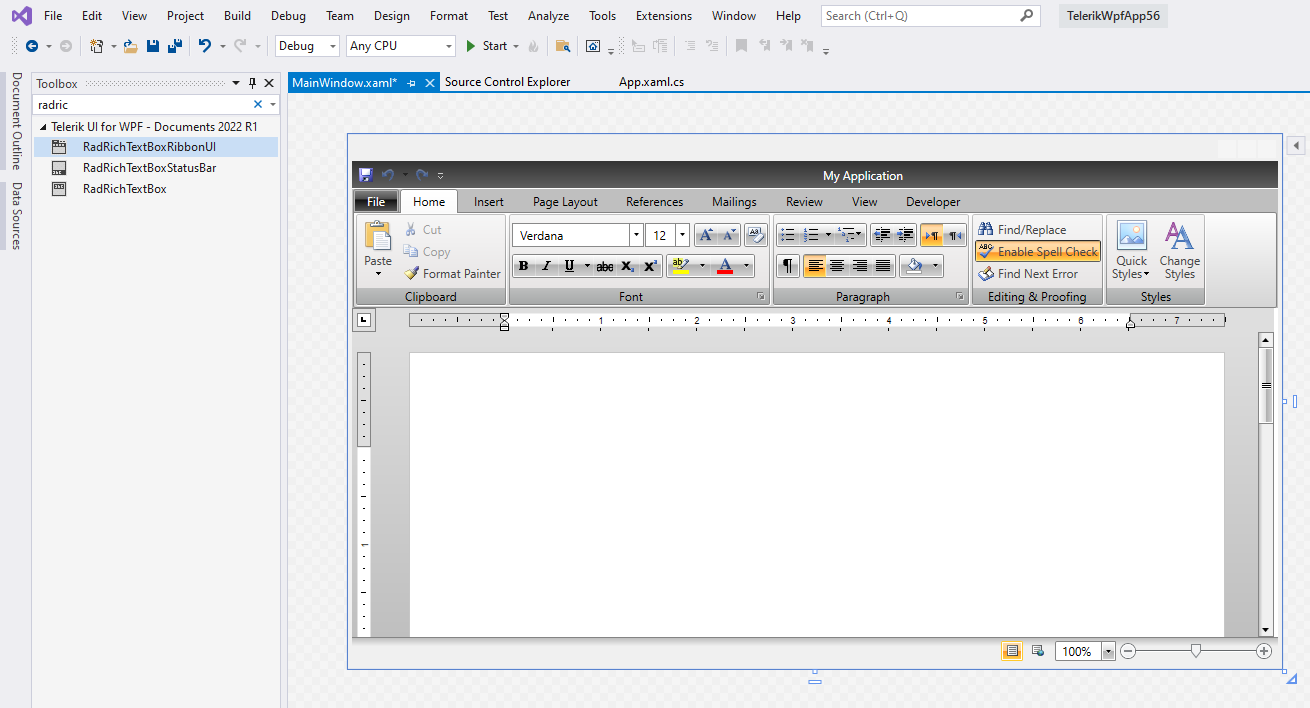
Using RadRichTextBoxRibbonUI
RadRichTextBoxRibbonUI can be found in the Toolbox of Visual Studio, if you have installed the controls automatically.
If you have not installed the Telerik UI automatically or the assemblies you are using are placed in another folder, you have to manually add the RadRichTextBoxRibbonUI to the Toolbox. Here are the steps you have to follow in order to do this:
1. Add references to the following DLLs in your project:
Telerik.Windows.Controls
Telerik.Windows.Controls.Input
Telerik.Windows.Controls.Navigation
Telerik.Windows.Controls.RibbonView
Telerik.Windows.Controls.RichTextBoxUI
2. Drag Telerik.Windows.Controls.RichTextBoxUI.dll to your toolbox. Ensure that Telerik.Windows.Controls.RichTextBoxUI.VisualStudio.Design.dll assembly is in the same directory as Telerik.Windows.Controls.RichTextBoxUI.dll, so the Visual Studio can load it (actually it could be placed one level deeper in a subfolder named Design).
Now you should be able to drag the RadRichTextBoxRibbonUI from the toolbox to the design surface.
In order to use it, you have to open the desired UserControl and choose Designer View. Drag an instance of the RadRichTextBoxRibbonUI in the designer area and drop it. Wait for a few seconds. After that all the XAML will be generated automatically and you will get a fully functional and fully customizable UI for your RadRichTextBox.
The generated UI will automatically get attached to the first RadRichTextBox control inside the UserControl.
If you take a closer look at the generated code there are a few things that must be mentioned:
The UI is represented by a RadRibbonView control. You can freely add, remove or modify the elements in it.
To associate the UI with the RadRichTextBox, the latter one is passed as DataContext of the RadRichTextBoxRibbonUI.
The functional elements (buttons, etc) have their RadRichTextBoxRibbonUI.RichTextCommand property bound to a command exposed by the RadRichTextBox, which, as mentioned above, is set as DataContext of the RadRichTextBoxRibbonUI.
You can take a look at the XAML that is generated by following the steps in this topic in the Telerik Editor SDK example.
To learn more about the commands exposed by the RadRichTextBox and how to use them read here.
By knowing that the UI is connected to the RadRichTextBox via its DataContext, you can easily implement a scenario where you have more than one RadRichTextBox controls ruled by one UI. You just have to change the DataContext of the UI depending on which RadRichTextBox is active. An example implementation of this scenario is available in our SDK repository: ChangeRibbonUIDataContext
Adding the RadRichTextBoxRibbonBar via the Design Time Wizard
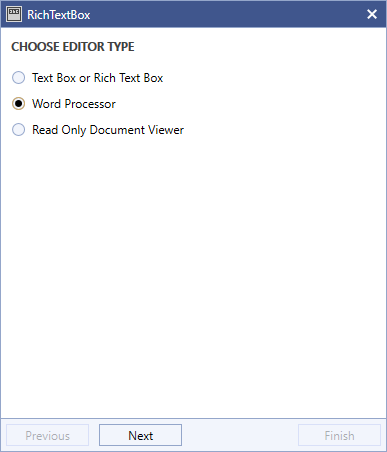
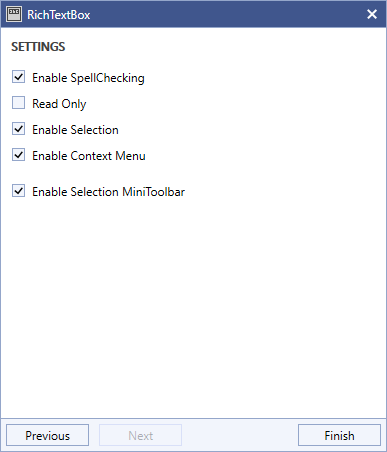
When adding RadRichTextBox from the toolbox, a wizard appears and it allows you to add the ribbon as well. To include the ribbon you should choose the "Word Processor" option.
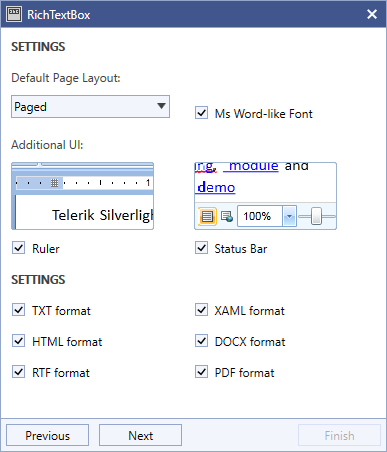
In the next steps, you can set several settings including which tabs to be added.
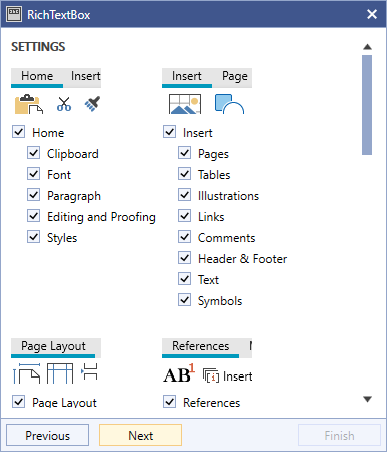
When you are finished you will see the result in the window.
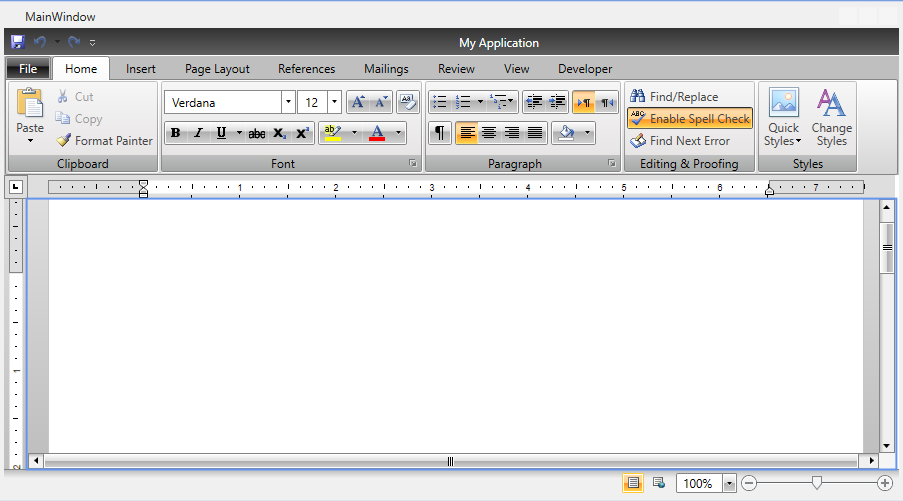
To make this work the "design" folder (coming from the Telerik UI for WPF installation) should be presented in the directory where the referenced Telerik dlls are placed.
Customizing the Ribbon
When the control is added at design time, the entire XAML for all elements is added as well. This allows you to customize the ribbon. For example you can delete tabs and other elements by selecting them and removing their XAML code. You can customize the elements actions by unbinding them from the default commands and adding custom event handlers. You can change any visual properties as well.
Manually adding the RadRichTextBoxRibbonBar
If you do not have an option to add the ribbon from the toolbox, you can manually copy the entire XAML and paste it. The entire XAML is available in the following SDK repository: Telerik Editor
Alternatives
If you do not wish to use the ribbon, there are other options for using the RichTextBox. For example, you can use the toolbar or no UI at all. Examples are available in the following SDK repositories: