Pin Points
The MapPinPoint class is designed to represent Point objects from KML files. However, it can be also used outside the KML context in order to mark points of interest (POIs) or something else.
This topic will focus on the following:
Adding a MapPinPoint
To insert a pin point on your map you have to add a MapPinPoint object to your InformationLayer.
To learn more about the Information Layer read here.
Here is an example:
<telerik:RadMap x:Name="radMap"
                Width="600"
                Height="480">
    <telerik:InformationLayer>
        <telerik:MapPinPoint>
        </telerik:MapPinPoint>
    </telerik:InformationLayer>
</telerik:RadMap>
Configuring the MapPinPoint
In order to configure the position of the MapPinPoint you have to set the Location attached property of the MapLayer class. Here is an example:
<telerik:RadMap x:Name="radMap"
                Width="600"
                Height="480">
    <telerik:InformationLayer>
        <telerik:MapPinPoint telerik:MapLayer.Location="42.6957539183824, 23.3327663758679">
        </telerik:MapPinPoint>
    </telerik:InformationLayer>
</telerik:RadMap>
In order to position the pin point more precisely you can use the MapLayer.HotSpot attached property. Here is an example.
To learn more about the HotSpot functionality read here.
<telerik:RadMap x:Name="radMap"
                Width="600"
                Height="480">
    <telerik:InformationLayer>
        <telerik:MapPinPoint telerik:MapLayer.Location="42.6957539183824, 23.3327663758679">
            <telerik:MapLayer.HotSpot>
                <telerik:HotSpot X="0.5"
                                    Y="1" />
            </telerik:MapLayer.HotSpot>
        </telerik:MapPinPoint>
    </telerik:InformationLayer>
</telerik:RadMap>
With these values defined, the MapPinPoint will be placed above the location and will be centered towards it.
Setting MapPinPoint's Content
By default the MapPinPoint exposes two properties that allow you to set its content. The Text property allows you to specify a string for the MapPinPoint and the ImageSource allows you to specify an image to display.
Here is an example:
<telerik:RadMap x:Name="radMap"
                Width="600"
                Height="480">
    <telerik:InformationLayer>
        <telerik:MapPinPoint telerik:MapLayer.Location="42.6957539183824, 23.3327663758679"
                                Text="Sofia"
                                ImageSource="/Resources/Images/flag_bg.png">
            <telerik:MapLayer.HotSpot>
                <telerik:HotSpot X="0.5"
                                    Y="0" />
            </telerik:MapLayer.HotSpot>
        </telerik:MapPinPoint>
    </telerik:InformationLayer>
</telerik:RadMap>
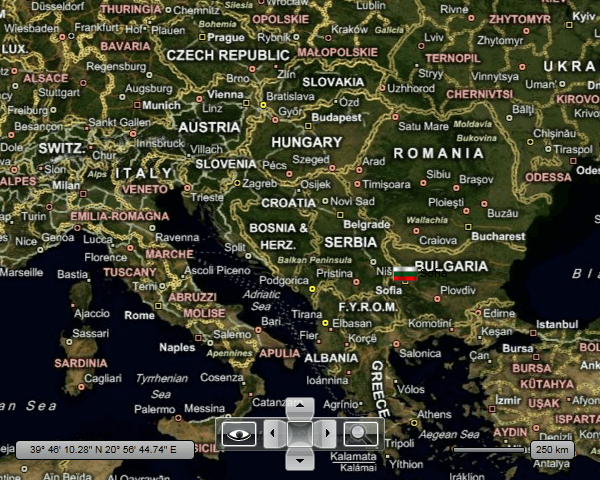
Here is a snapshot of the result:

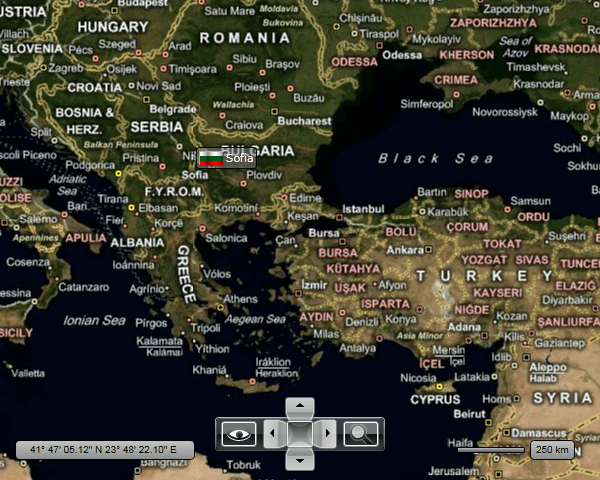
Modifying the MapPinPoint's appearance
As you can see in the previous section the MapPinPoint doesn't look very good. In order to boost its appearance you can use the standard properties:
Background
Foreground
BorderBrush
BorderThickness
Here is an example:
<telerik:RadMap x:Name="radMap"
                Width="600"
                Height="480">
    <telerik:InformationLayer>
        <telerik:MapPinPoint telerik:MapLayer.Location="42.6957539183824, 23.3327663758679"
                                Background="#80808080"
                                Foreground="White"
                                BorderBrush="Black"
                                BorderThickness="1"
                                Text="Sofia"
                                ImageSource="/Resources/Images/flag_bg.png">
            <telerik:MapLayer.HotSpot>
                <telerik:HotSpot X="0.5"
                                    Y="1" />
            </telerik:MapLayer.HotSpot>
        </telerik:MapPinPoint>
    </telerik:InformationLayer>
</telerik:RadMap>
Here is a snapshot of the final result:
