Getting Started
This tutorial demonstrates modifying the shape of a RadButton.
Select a RadButton control.
Open the RadButton Smart Tag and select Edit UI Elements which will open the Element Hierarchy Editor.
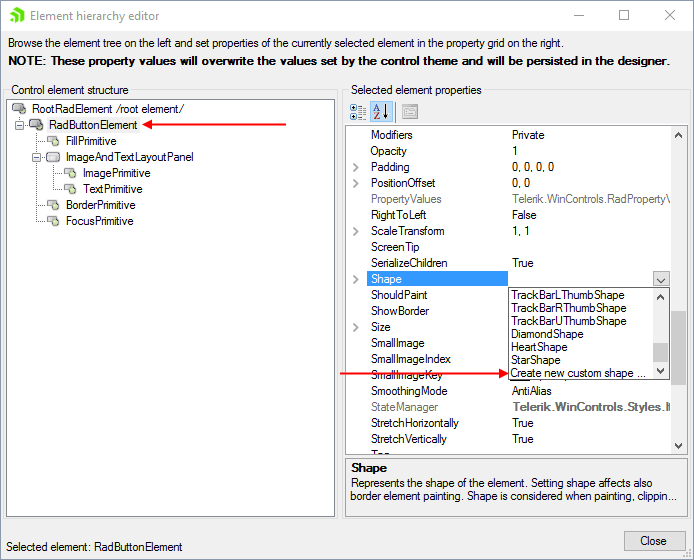
Click on the RadButtonElement.
Navigate to the Shape property, and then select Create new custom shape... from the drop down list. This step will launch the Custom Shape Editor dialog.
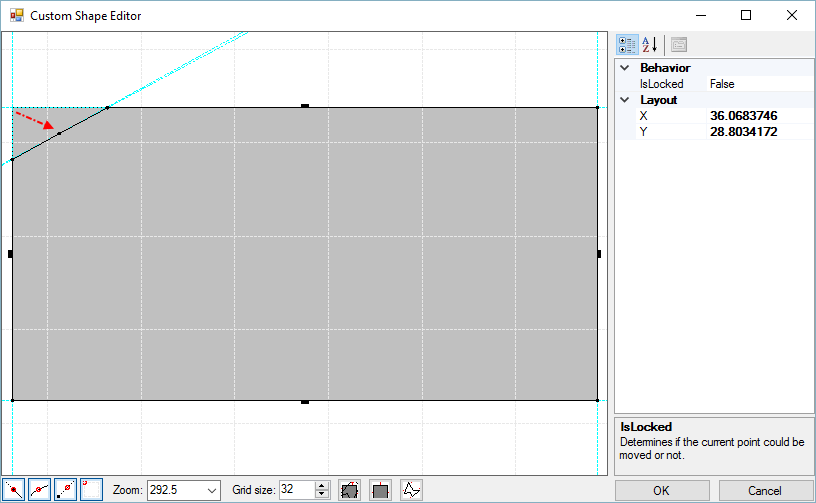
Right-click the upper line and select Insert Point.
Right-click the left line and select Insert Point.
-
Move the upper left corner in to form a new shape (see screen shot below).
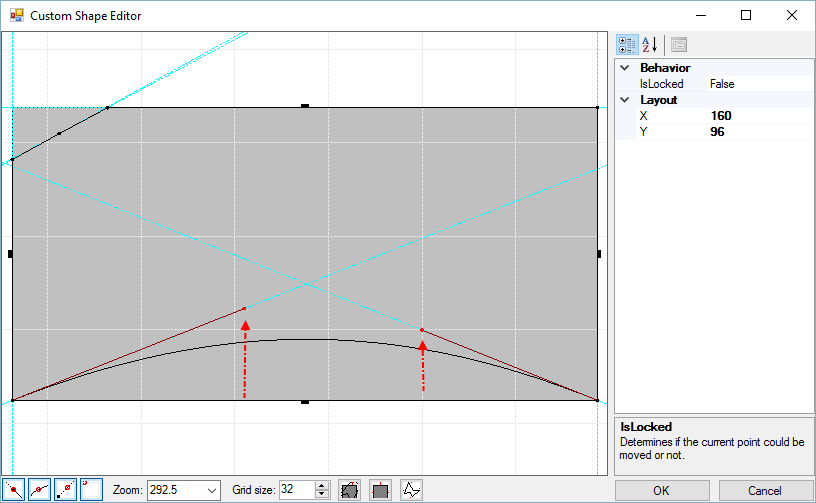
Right-click the bottom line and select Convert from the context menu. This step converts the line to a Bezier curve.
-
Drag the two control points up slightly.
 >
> Click OK to close the Custom Shape Editor dialog.
Click Close to close the Element Hierarchy Editor.
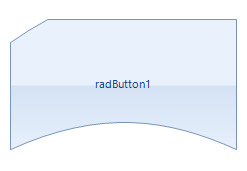
-
The new shape will be applied to the button.