Create Advanced Test Verifications
An advanced verification allows you to interactively build verification rules and validate them against a live web document or WPF application. In order to create custom verification you need to locate the target element in the DOM tree and use the Step Builder and its Verification section.
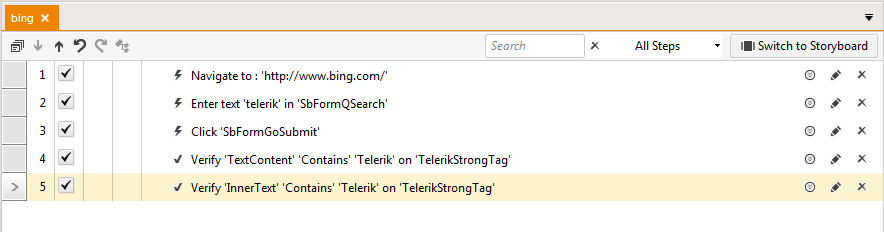
1. Create a Web Test and click Record.
2. Navigate to www.bing.com
3. Enter Telerik in the search box and click the Search button.
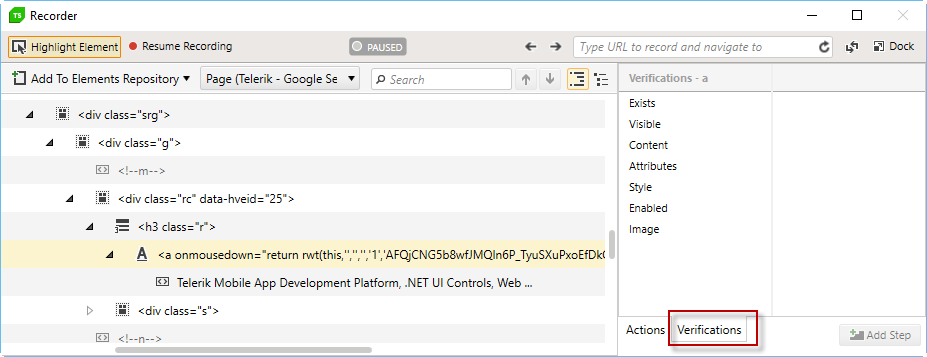
4. Enable hover over highlighting by clicking Highlight Element in the Test Studio Dev Recorder.
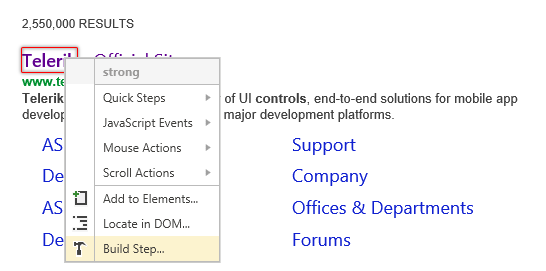
5. Choose Build Step... from the context menu which will locate the element in the DOM tree and display the available options in the Step Builder to add a custom step.
6. Select the Verifications tab in the Step Builder.
7. Start by selecting a type of available Verifications for the selected element:
- IsVisible
- Content
- Attributes
- Style
- IsEnabled
- Image
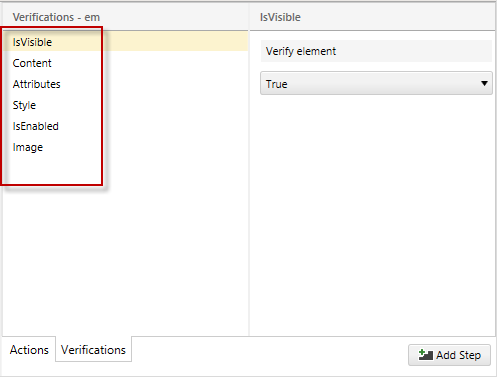
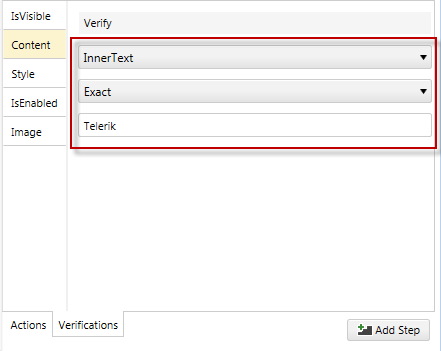
When crafting verifications, content is dynamically built against the currently selected element. As selections are made, default values are populated according to values the element contains. For example, choose Content as the verification type and three menu options appear.
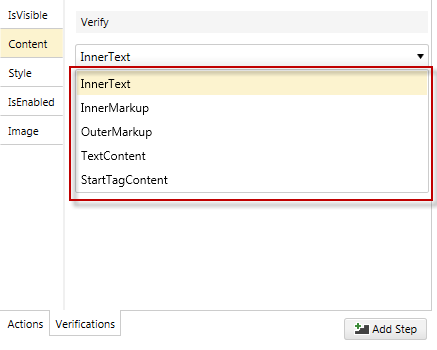
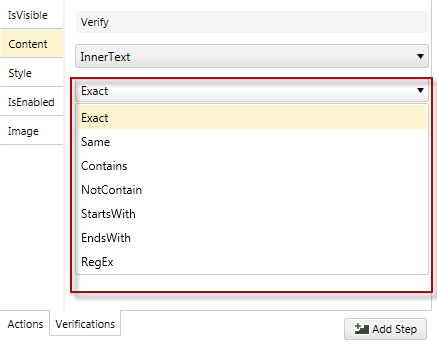
Click on the drop downs for each option to see a list of possible values.
 |
 |