Add Telerik JustMock to Your Test Project
This topic demonstrates how to use Telerik® JustMock in a new test project or integrate it in your existing project.
Before proceeding further, make sure you have successfully completed Installation and Setup.
Create New Project with JustMock Test Project Template
-
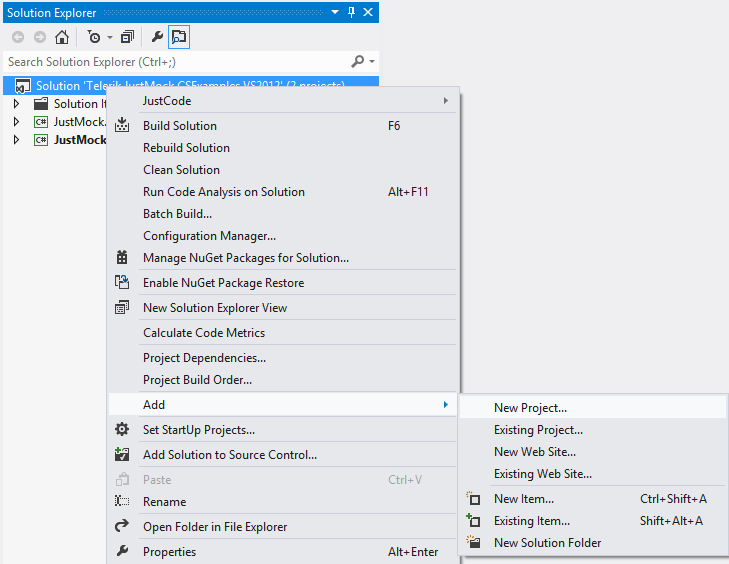
Start by adding a new test project to your Solution. Right click on the Solution, select Add, then New Project....
Figure 1: Add new project
-
Select the Test Project template or search for it by typing "JustMock test". Once you have selected the desired template, click OK.
Figure 2: Choose the JustMock Test Project template

-
Using the default JustMock Test Project template, you can start writing JustMock tests right away.
See an example how to use JustMock in JustMock API Basics
Add JustMock to a Test Project
If you want to use JustMock in an existing unit test project, you should add a reference to Telerik.JustMock.dll.
NuGet packages are available as well. If you prefer using them, check the Installation and Setup topic for details.
-
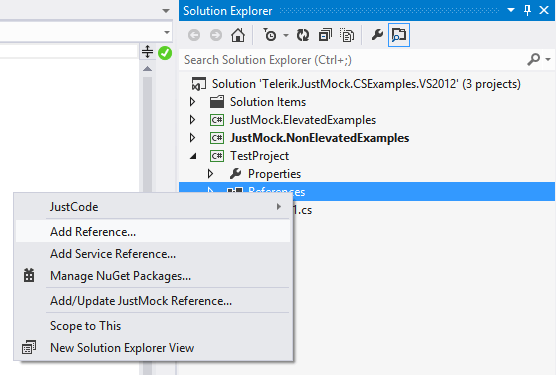
Right click on your test project and select Add Reference.
Figure 3: Add reference to a project
-
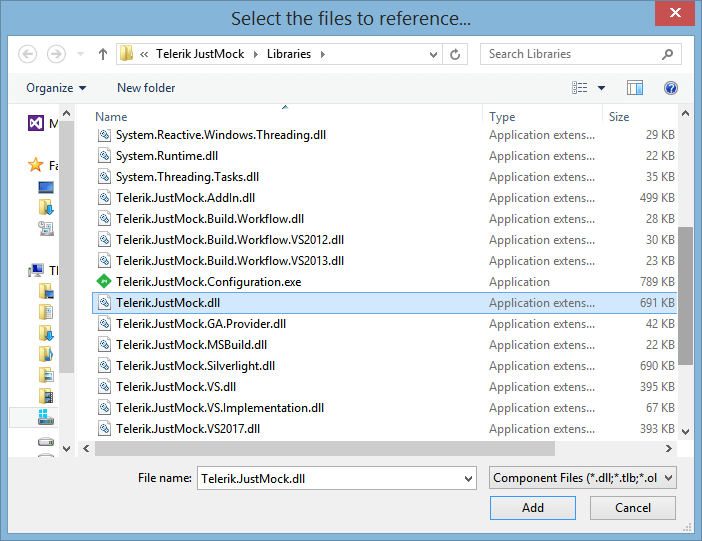
Go to the Browse tab and navigate to the Libraries folder in the JustMock installation directory (by default C:\Program Files (x86)\Progress\Telerik JustMock\Libraries). Select Telerik.JustMock.dll and click OK.
For .NET Core and .NET 5, the required assembly is located at "C:\Program Files (x86)\Progress\Telerik JustMock\Libraries\netcoreapp2.0\"
Figure 4: Select Telerik.JustMock.dll reference
-
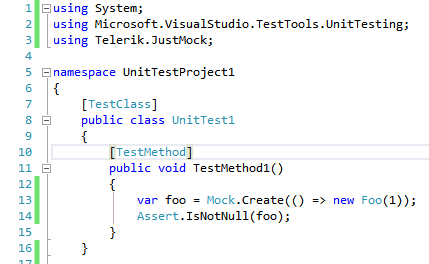
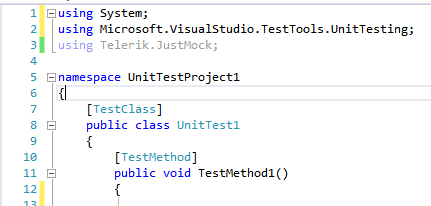
Further, you will need to include the Telerik.JustMock namespace into your test project.
Figure 5: Include TelerikJustMockNamespace namespace
-
Finally, you are ready to create your first test with JustMock.
Figure 6: Write your first test
