Building a Simple TreeView
The following tutorial will demonstrate how to create a simple TreeView using the designer and shows how to:
Create root level nodes.
Create child nodes.
Apply a pre-defined style to the TreeView.
Display checkboxes next to nodes.
In a new AJAX Enabled Web Application, drop a RadTreeView to the default form.
-
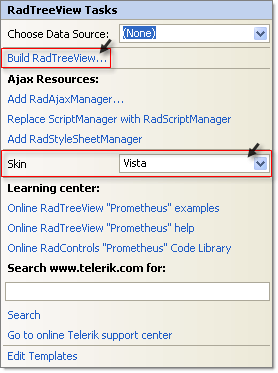
Open the Smart Tag and set the Skin to Vista from the drop down list. Then select the Build RadTreeView link. This step will display the RadTreeView Item Builder Dialog.
-
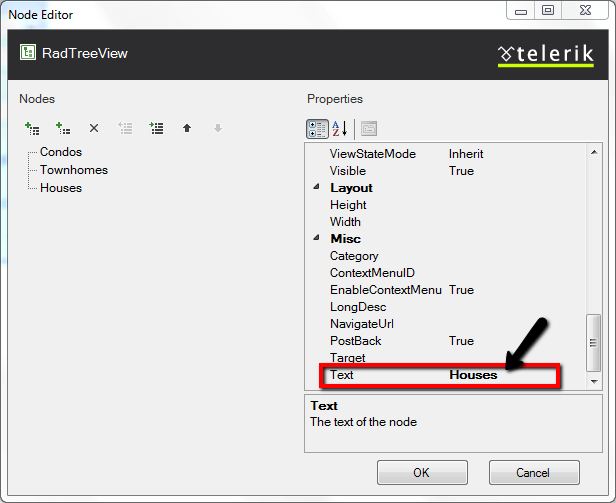
In the RadTreeView Item Builder dialog click the Add Root Node button to add three nodes.

Click the first node and set the Text property to "Condos". Set the Checkable property to False.
Click the second node and set the Text property to "Townhomes". Set the Checkable property to False.
-
Click the third node and set the Text property to "Houses". Set the Checkable property to False.
-
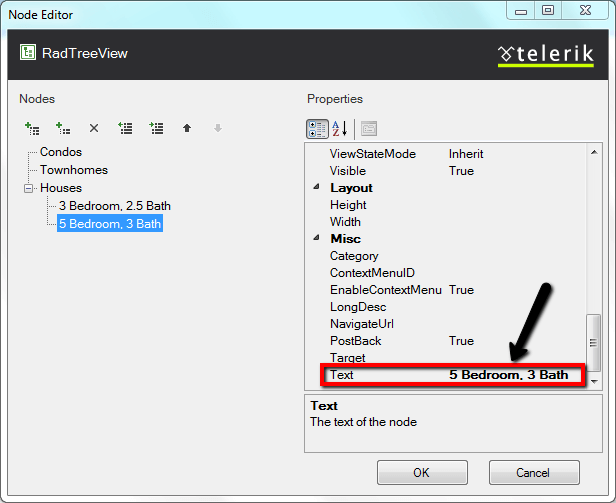
While the third node, "Houses", is still selected, click the Add Child Item button twice.
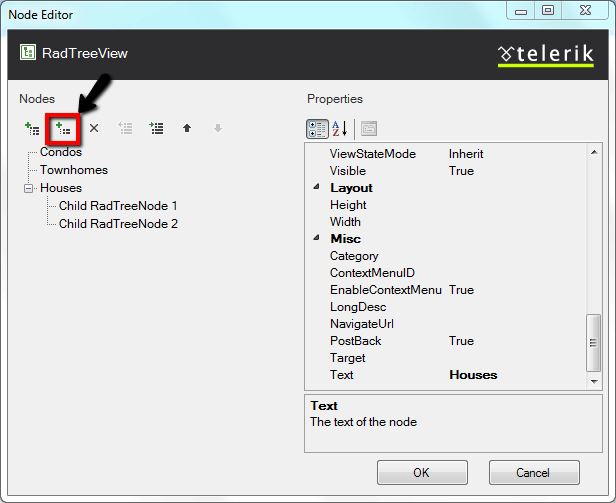
Select the first child item and set the Text property to "3 Bedroom, 2.5 Baths".
-
Select the second child item and set the Text property to "5 Bedroom, 3 Baths".
Click OK to close the RadTreeView Item Builder dialog.
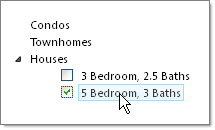
In the Properties Window, set the RadTreeView CheckBoxes property to true.
Press F5 to run the application.