Skins
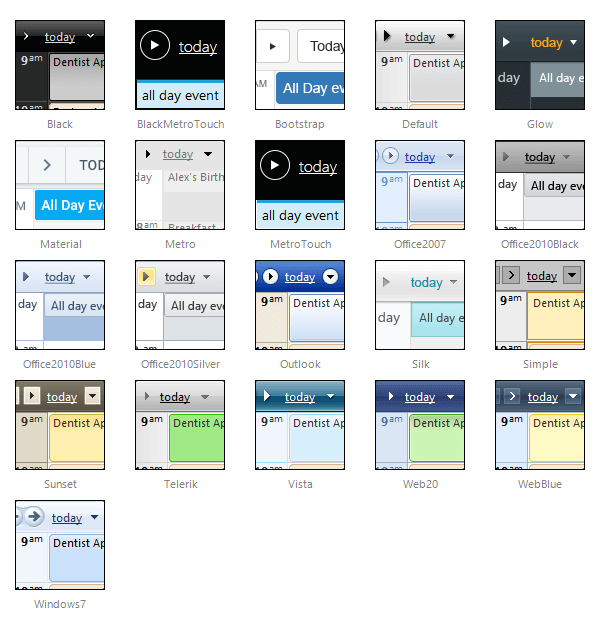
The visual appearance of RadScheduler can be changed by applying different skins.Specify a skin for the scheduler by setting the Skin property. RadScheduler supports a number of built-in skins:

The Material skin is available for the Lightweight RenderMode only. If you experience visual issues with it, make sure your controls are not using the default Classic mode.
Customizing Skins
You can tweak the existing skins, or create your own. Each skin has two main elements: images and a stylesheet. When creating your own, it is a good idea to start by copyingthe stylesheet of an existing skin and alter the copy. To use your own skin:
Add the new CSS file to your project.
Drag and drop the CSS file from the Project Explorer onto your Web page.
Set the EnableEmbeddedSkins property of the RadScheduler to False.
The stylesheet for a RadScheduler skin has the name Scheduler.[SkinName].css and can be found in the ...Skins/[SkinName] directory.The images are found in the ...Skins/[SkinName]/Scheduler directory. For example, the stylesheet for the "Black" skin is called Scheduler.Black.cssand is located in the ...Skins/Black directory.The images are found in the ...Skins/Black/Scheduler directory. The images are referenced by name from within the stylesheet.