Binding to a Data Source
This tutorial will show how to bind RadMenu to an AccessDataSource:
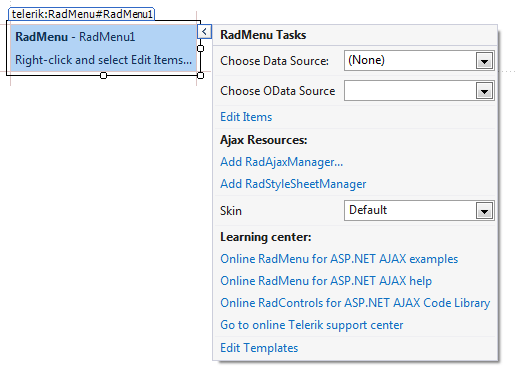
Drag a RadMenu component from the toolbox onto your Web page. The RadMenu Smart Tag should appear automatically:
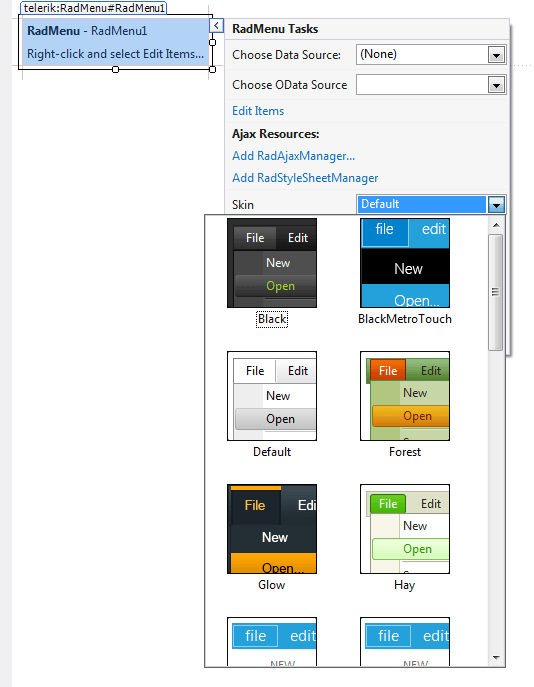
In the RadMenu Smart Tag, use the Skin drop-down to change the skin for the RadMenu to "Outlook":
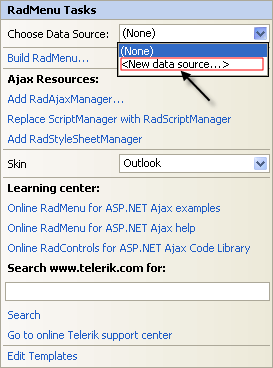
Still in the Smart Tag, open the Choose Data Source drop-down and select New Data Source.
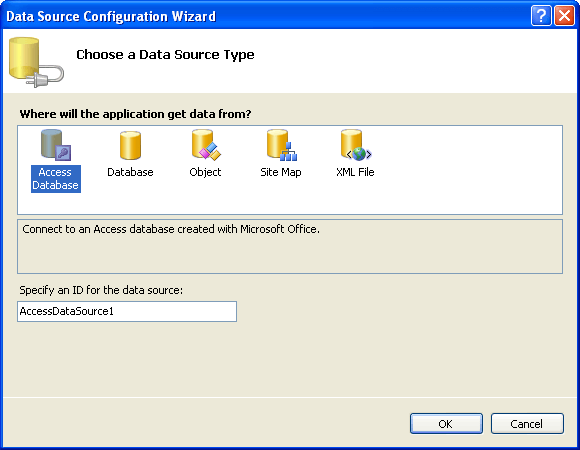
The Data Source Configuration Wizard appears. In the Select a DataSource Type screen, specify an AccessDataSource and click OK.
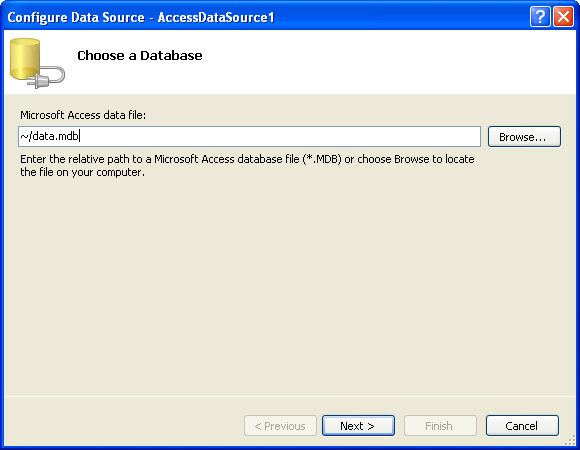
In the Choose a Database screen, click the Browse button, and select a data file. Then choose Next to continue:
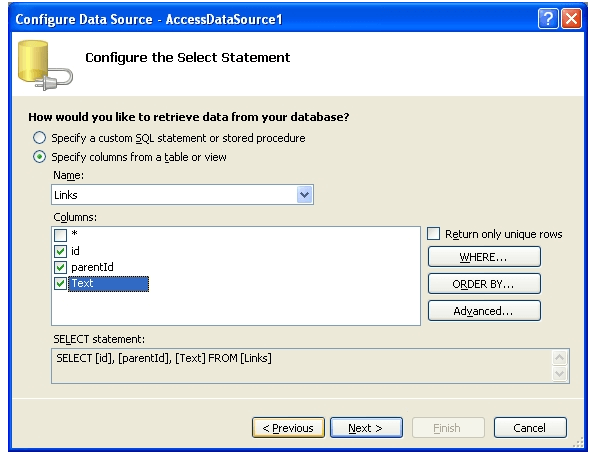
In the Configure the Select Statement screen, choose Specify columns from a table or view, and select the columns for the RadMenuItem ID, parent RadMenuItem ID, and RadMenuItem Text properties. Then choose Next to continue:
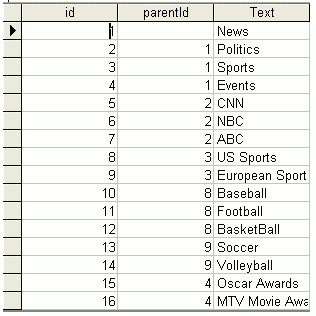
The data should have a structure something like the following:
Click the Finish button to exit the Wizard.
In the Properties pane for the RadMenu component, set the DataFieldId, DataFieldParentId and DataTextField properties by selecting the appropriate fields from the drop-down list:! RadMenu Data Fields
Run the application. The final result should look like the following:! DataBound RadMenu