Add Controls to Column Templates
This tutorial shows how to:
Add controls to a RadGrid template column's ItemTemplate and EditItemTemplate.
Enable the grid control for editing using automatic updates.
Set RadGrid's skin using the Smart Tag.
Enable paging for RadGrid and changing its page size with the design editor.
Creating and Binding the Grid
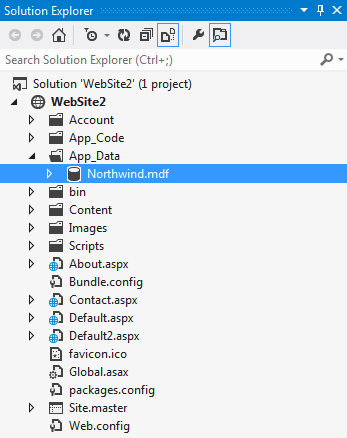
- Locate the "..\Live Demos\App_Data" folder underneath the folder where you have installed yourcontrols. In this folder, find the Northwind.mdf file, and copy it into theApp_Data folder of your Web application. The Solution Explorer for you application should look something like the following:
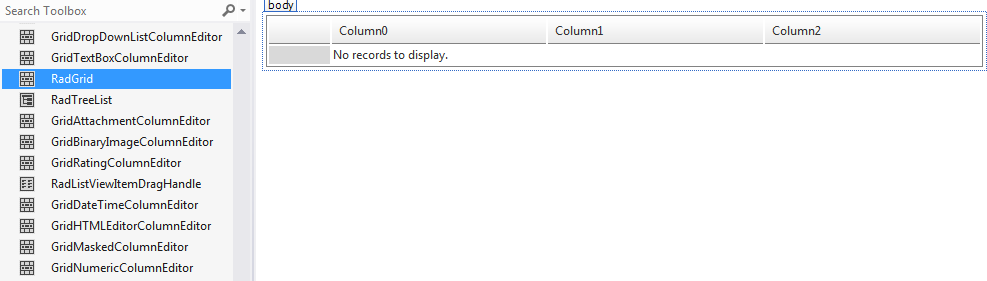
- Drag and drop a RadGrid control from Visual Studio's toolbox onto your Web page:
- Using the RadGrid's Smart Tag, expand the drop-down listlabelled Choose Data Source and select <New data source...>:

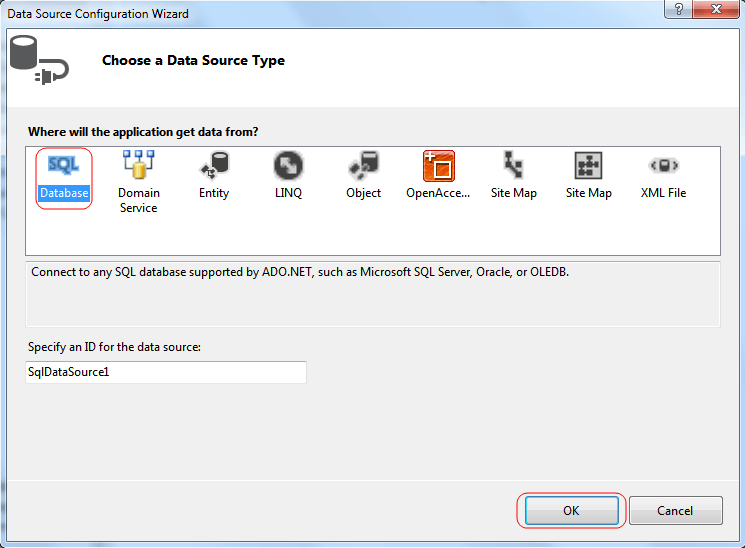
- The Data Source Configuration Wizard appears. On the Choose a Data Source Type page, select SQL Database andclick OK:
- On the Choose Your Data Connection page, expand the drop-down list by clicking the little triangle on the right side and select the Northwind.mdf from the available options. Then click the Next button:

If you happen to encounter a "Database schema could not be retrieved" exception, please follow the guide in this help topic.
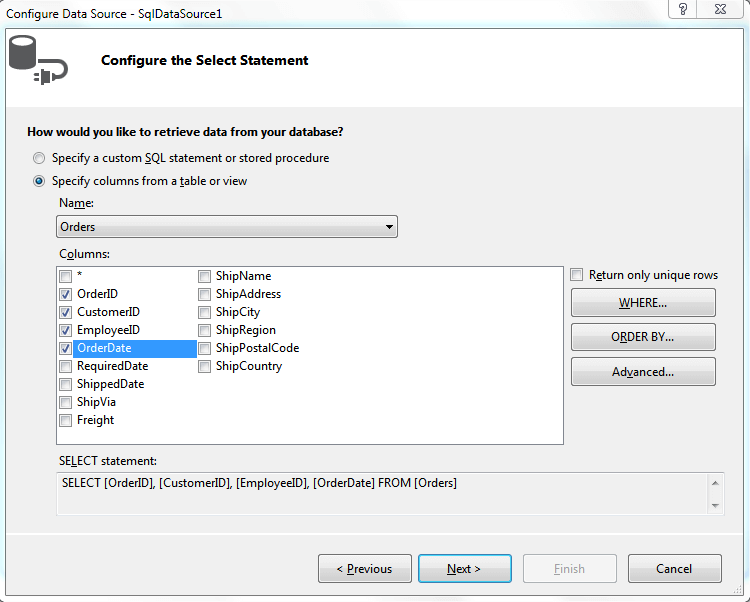
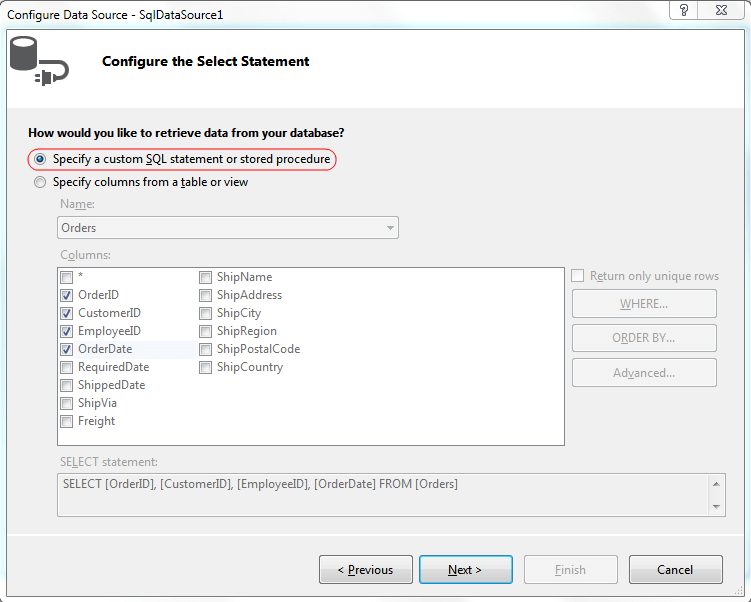
- On the Configure Select Statement page, select the Orders table from thedrop-down list, and select theOrderID, CustomerID, EmployeeID, and OrderDate fields and then click Next button:
- Click the Specify a custom SQL statement or stored procedure radio button.Then choose Next:
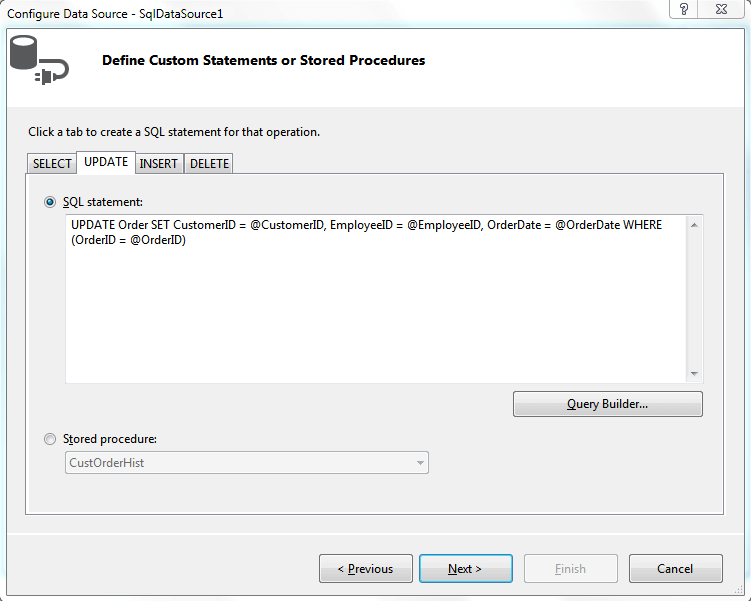
- Add an Update statement to the data source:
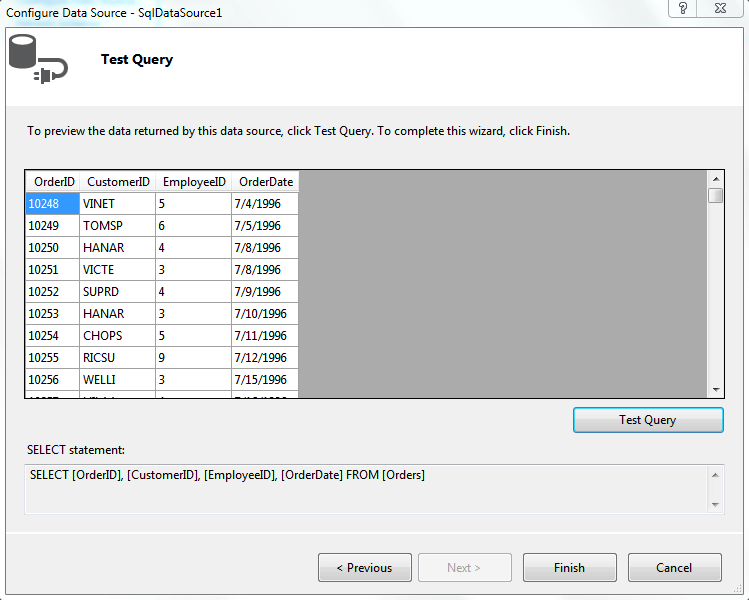
- On the Test Query page, click the Test Query button to see the data. Then click Finish, to exit the Configure Data Source wizard:
Adding Template columns
-
Using the RadGrid's Editor, add a template column to the grid:
-
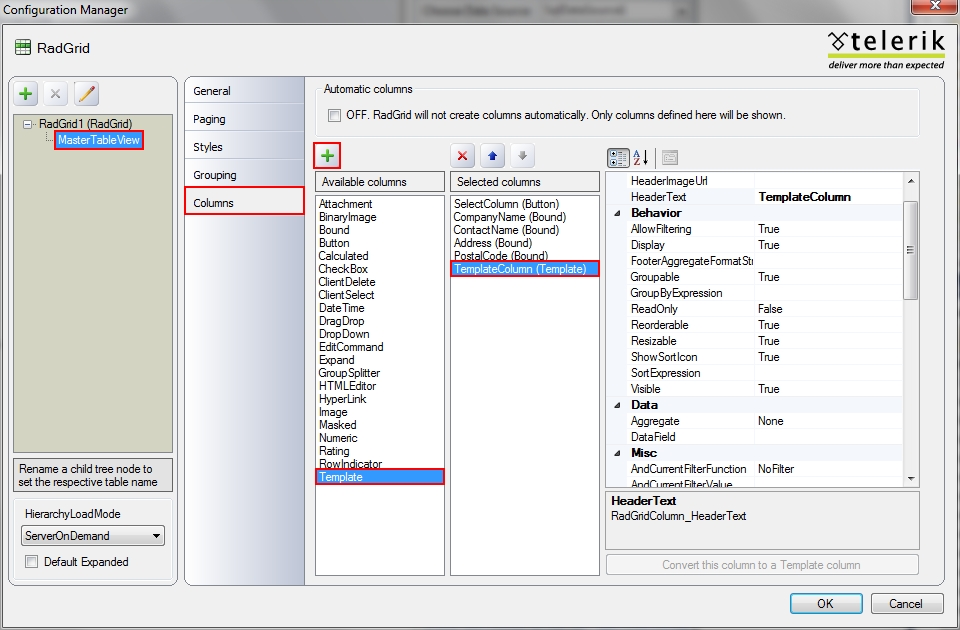
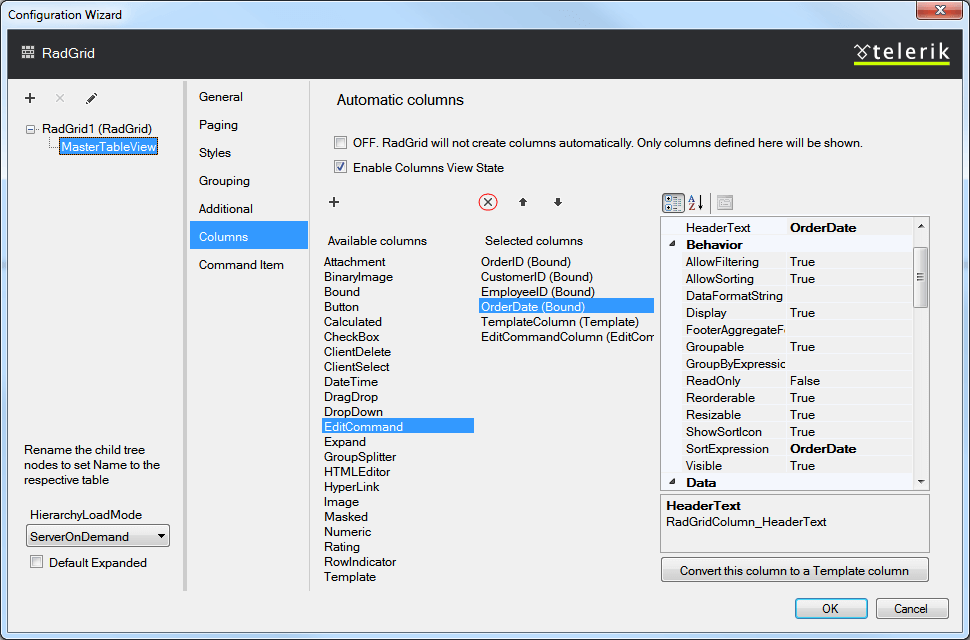
Open RadGrid's Configuration Wizard from the Smart Tag.
Select MasterTableView under RadGrid node.
- Select Columns tab from the right pane.
- Select Template column under Available columns.
- Click the "+" button to add the template column.
-
In the right pane, set the HeaderText property to TemplateColumn.
-
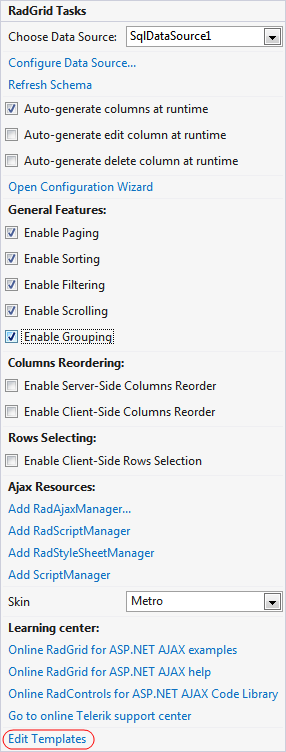
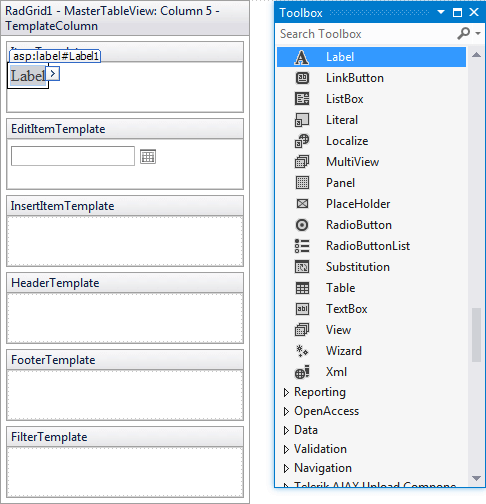
Click Edit Templates from the RadGrid's Smart Tag:
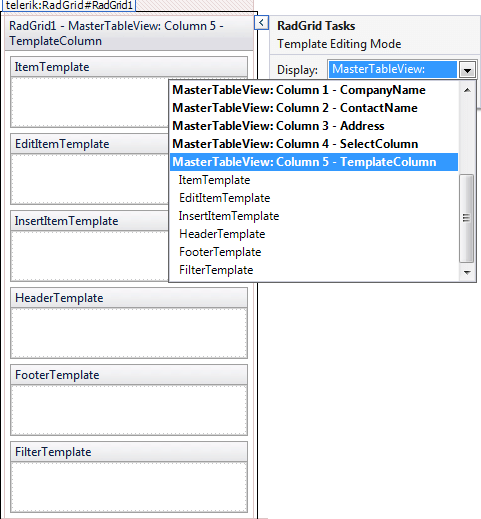
- Choose the Template column that you wish to edit:
- Drag and drop a RadDatePicker control from Visual Studio's toolbox ontothe EditItemTemplate.
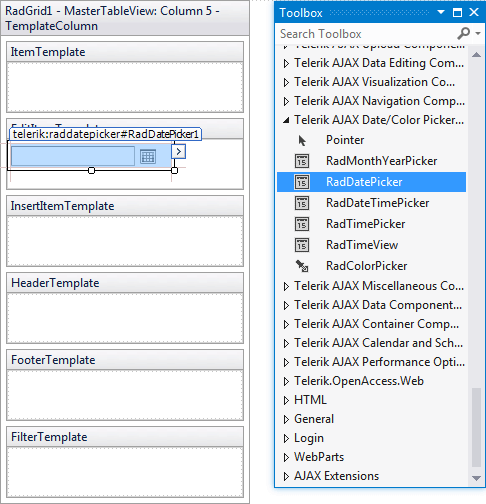
- Now add a Label control to the ItemTemplate.
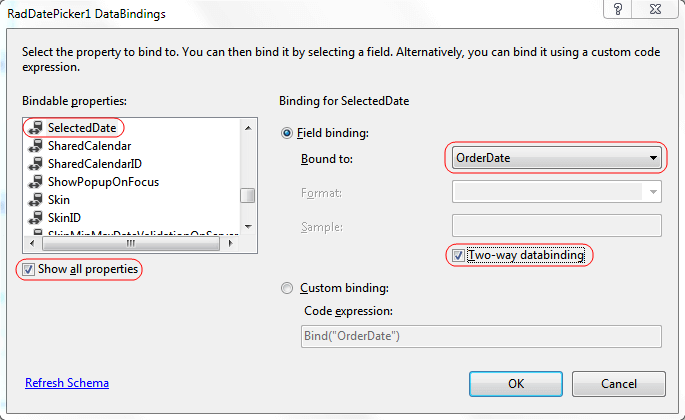
- Select Edit DataBindings from the RadDatePicker's Smart Tag:

- In the DataBindings dialog:
- Check Show all properties to view the properties of the date picker.
- Choose the SelectedDate property as the property to bind.
- Choose the OrderDate field as the Fieldbinding.
- Check the Two-way data binding box to enable the control to update the field value.
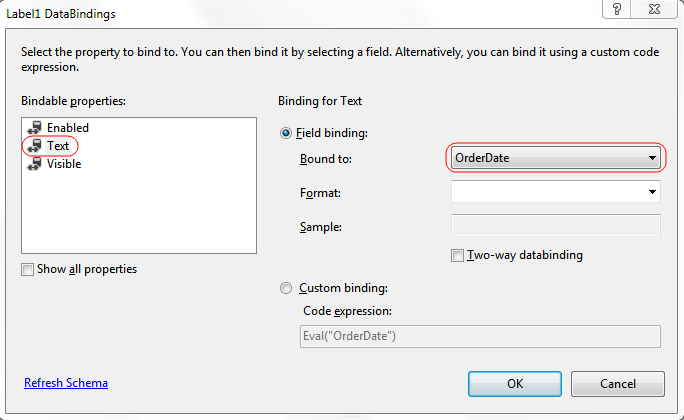
- Use a similar technique to bind the Label control:
- Use the RadGrid's Smart Tag to end template editing:

Enabling editing, paging, and change the Skin
- Back in RadGrid's Editor, add an edit command column to the grid:
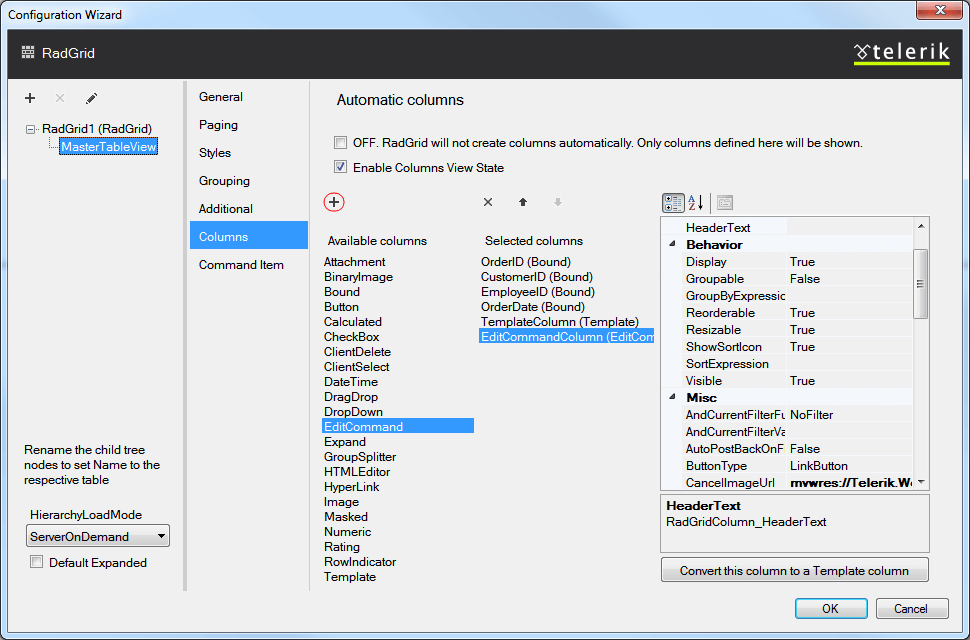
- Remove the OrderDate column; the Template column will be used instead:
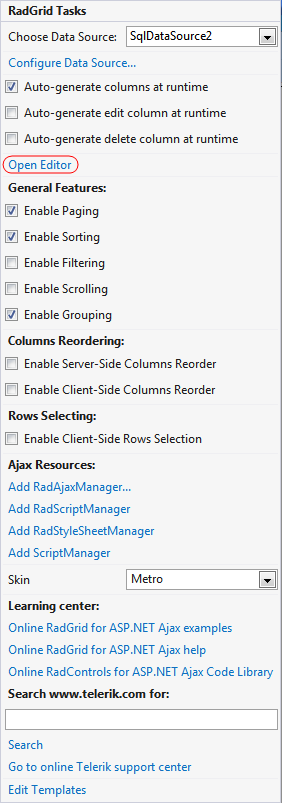
- Still in the RadGrid's Editor check the AllowAutomaticUpdates checkbox on the right pane:

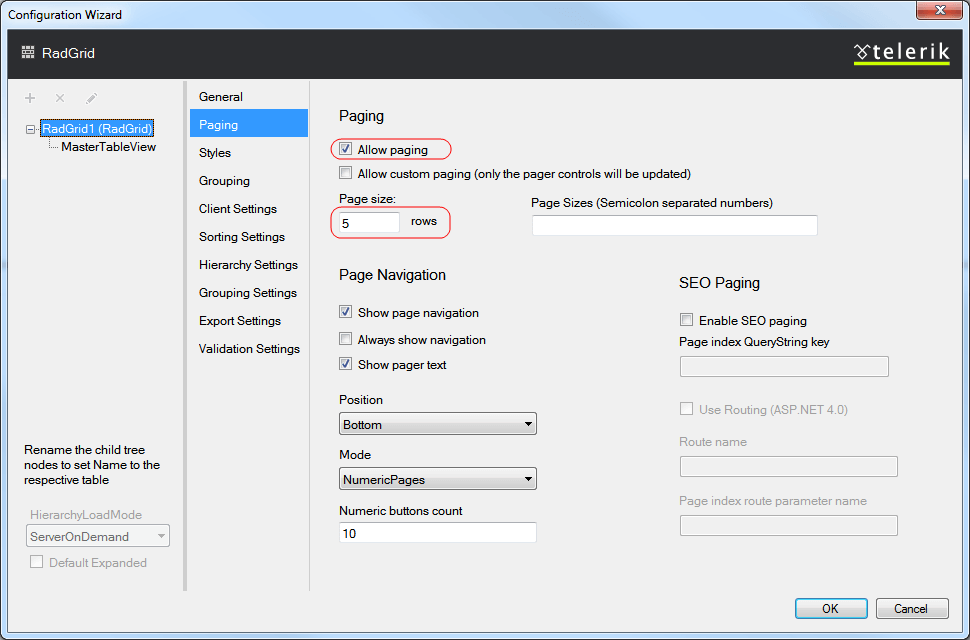
- Now select the MasterTableView node, then select Paging tab and change the Page size to 5 rows.
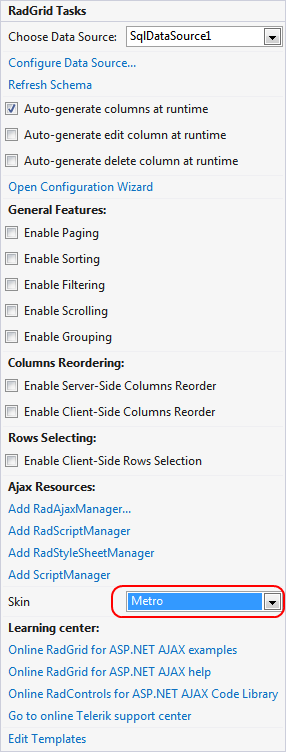
- From the RadGrid's Smart Tag expand the drop-down list labeled Skin and choose Metro skin.
- Run the application. Click the edit column to see the edit template you added. Note that if you edit a value in the grid, the database is updated:
