This article explains how to download Telerik UI for Android.
In order to use Telerik UI for Android on your machine, you need to go to the download page and download the ZIP file with the controls. Depending on your platform, you can have the controls in a ZIP archive, use a MSI or MAC installer.
When you extract the downloaded archive with the controls, you will notice that it contains these sub directories:
Controls - contains all files that you need in order to use Telerik UI for Android with subdirectories for AndroidStudio and Eclipse.Examples - contains our Examples solution which can help with getting to know Telerik UI for Android.LicenseAgreements - contains the End-User License Agreement for Telerik UI for Android.If you are using Windows, you can download an MSI installer from our site. When you download the ZIP file, a new section for Telerik UI for Android will be created in your account. Now go to Products & Subscriptions -> Trials. Click on Download in the Telerik UI for Android section and choose Automatic Installation. This will download an MSI file which you can use to install the controls on your system by following these steps:
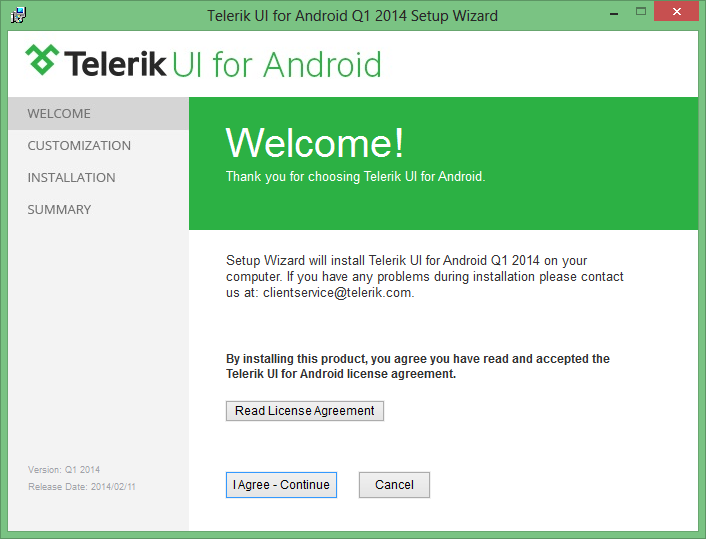
After you run the downloaded MSI for Telerik UI for Android you should see the welcome window:

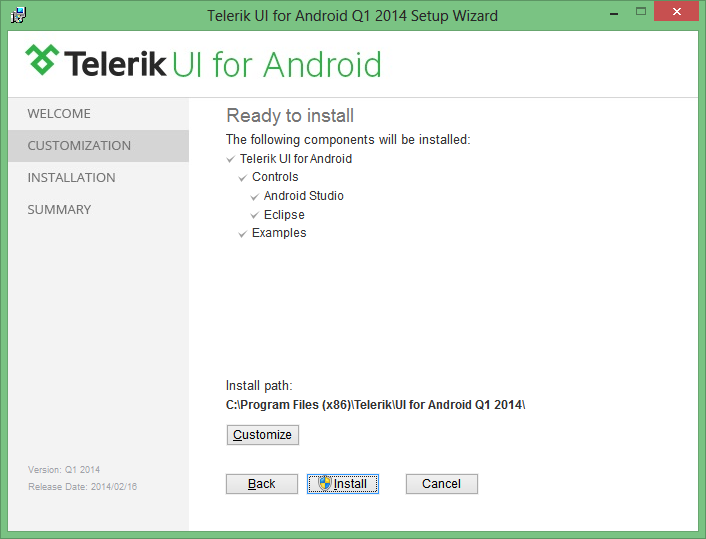
After you read the License Agreement, click I agree - Continue. The next screen allows you to change the location where Telerik UI for Android is about to be installed:

Click Install to start the installation process or Cancel to exit the wizard and to terminate the setup. If you want to change any of the installation parameters, click Back.
If you are using MAC OS, you can download PKG from our site. When you download the initial ZIP archive, a new section for Telerik UI for Android will be created in your account. Now go to Products & Subscriptions -> Trials. Click on Download in the Telerik UI for Android section and choose the automatic installation option. This will download an PKG file which you can use to install the controls on your system.