How to: Convert from EF Model to Telerik® Data Access Domain Model
This article is relevant to entity models that utilize the deprecated Visual Studio integration of Telerik Data Access. The current documentation of the Data Access framework is available here.
The purpose of this tutorial is to show you how to convert Entity Framework Data Model to Telerik Data Access Domain Model, by using the Telerik Data Access Entity Framework Converter.
The Entity Framework Conversion Wizard currently cannot be started for EntityFramework models hosted in Web Sites. As a workaround for this limitation, you can move the EF model to a separate project before converting it to a Telerik Data Access model.
The current version of the Telerik Data Access Entity Framework Converter supports only conversion of projects with data models generated by using the Visual Designer.
For the purpose of demonstrating the converter, the following simple Entity Framework data model will be used:

The model contains the following items from the Northwind database:
- Three tables - Employee, Territory and EmployeeTerritory. Note that the EmployeeTerritory join table is handled internally by the Entity Framework and an entity for that table is not generated.
- One view - Invoice
Working with the Wizard
Before you start converting the EF Data Model to Telerik Data Access Domain Model, you should get familiar with the following important notes:
- Only buildable projects will be converted – before starting the wizard, a build process of the target project will be performed. If the project build fails, the wizard won’t start and you will be prompted to fix the compilation errors first.
- If the project is under source control, it will be checked out automatically during the conversion. Be sure that the source control plug-in is active and no files are exclusively checked out by another user.
- If your edmx file is not generated by the Entity Framework Data Wizard, then it will not be converted. The current version of the wizard supports conversion only of edmx files generated by the Data Wizard.
- Only conversion of edmx files with default code generation strategy is supported. Open your entity framework model in the visual designer, press F4 to open the Properties pane and ensure that the Code Generation Strategy property is set to Default.
- The name of the connection string in the configuration file must be the same as the entity container name. To check the entity container name, open the designer and press F4 to open the Properties windows. Check the Entity Container Name property.
- Before starting the conversion, a backup of the project's original state will be created.
All other important characteristics of the wizard will be mentioned later in the topic.
Starting the Wizard
In order the start the EFConversion wizard, select the target edmx file in Solution Explorer, right-click and select the Convert from EF Model to Domain Model.

Alternatively, you could use the Telerik -> Telerik Data Access -> Convert Entity Framework Model menu command.
The start page of the wizard will appear:
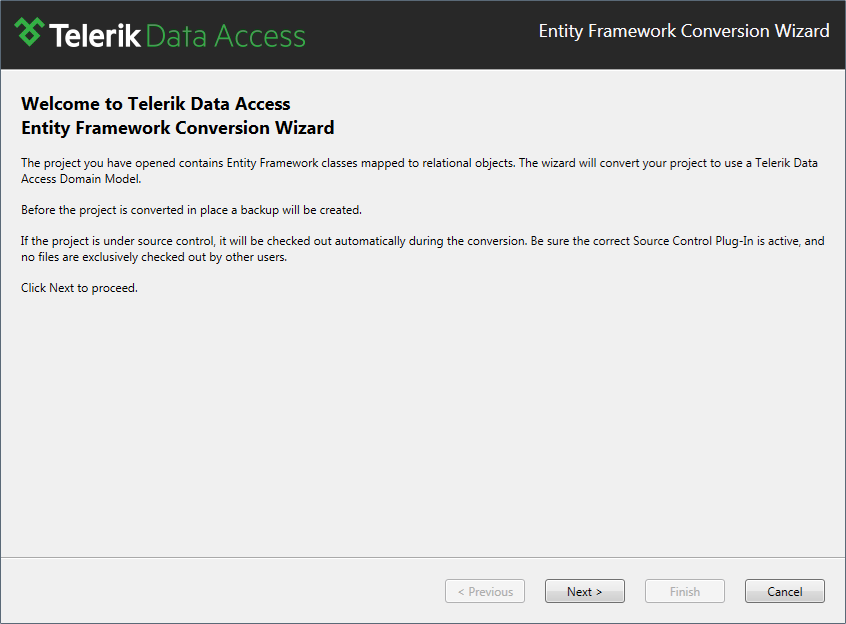
It describes all important notes discussed in the previous section. Read the notes and press Next to proceed. The second page is the place where you need to specify the settings for the conversion.

Use the default settings and click Next to proceed to the last page of the wizard. For more information about the Specify Conversion Settings dialog, read here.

Again several important remarks are pointed here. Be sure to read them and click Finish to begin the veritable conversion.
Here are some clarifications about the conversion process: once you click the Finish button, the Entity Framework data model will be converted to a Telerik Data Access Domain Model. If the conversion has completed successfully the wizard creates a backup of the original state of your project. Next, the converted domain model is saved as a RLINQ file to the specified directory, it is then included in your project. The wizard will update the project references and will add references to the necessary assemblies. Last but not least, the required connection string will be added to the project configuration file. The wizard will exclude the original edmx file from the project and will delete the original connection string (only if you have checked that setting in the Settings page). As soon as these actions are executed, new dialog will appear prompting you that conversion has completed successfully (or has failed). You could review the conversion log when the wizard is closed. The last step is to open the generated RLINQ file and to press the Ctrl+S (File -> Save) command to generate the entities.
Reading the Conversion Log
During the conversion each important action is written in a log file. Once the conversion has completed you have the option to open the log file. Of course, you can do that on a later stage. The log file is saved in the root directory of your project with name "ConversionLog.xml". Be sure that you open the report file with Internet Explorer.
The output of the conversion log is a XML document. That document, with the combination of XSLT template is transformed into easily readable report containing detail information about the conversion. When you want to open the log, be sure you open it with Internet Explorer.
Next Steps
For additional information, check out the following links:
- How to: Exclude the Original Edmx File from the Project
- CRUD Operations - API Differences
- How to: Convert Views
- How to: Convert WCF RIA Services
- How to: Convert Function Imports
- How to: Convert CRUD Stored Procedures
- How to: Convert Flat Inheritance
- How to: Convert Vertical Inheritance
The following topics provide UI reference of the Entity Framework Conversion Wizard: