Specify Settings Dialog
This article is relevant to entity models that utilize the deprecated Visual Studio integration of Telerik Data Access. The current documentation of the Data Access framework is available here.
The Specify Conversion Settings dialog is the second page of the wizard. Here you need to specify the settings for the conversion.

The dialog provides the following settings:
- Entity Framework Model – drop down containing all available edmx files in the current project. Note, that it is allowed to have more than one edmx files in the project and they will be listed in the "Entity Framework Model" drop down. If you start the wizard by using the context menu command, the target edmx file will be the default selected item in the combo box control. If you start wizard by using the Telerik menu command, then the first item in the drop down will be selected by default.
- Exclude Model1.edmx' From the Project - when checked, the wizard will exclude the original edmx file from the project and will delete the corresponding connection string from the configuration file.
- Domain Model Namespace - here you need to specify the namespace for the newly generated entities. The default value of this setting is the default namespace for the project. For example, the default namespace for the current project is "ConsoleApplication2", that’s why the default value for the domain model namespace will be "ConsoleApplication2" too.
- RLINQ File Name - name for the generated RLINQ file.
-
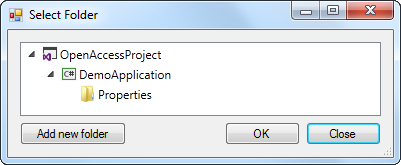
Location For RLINQ File - a directory path where the RLINQ file will be saved. The default value for that setting is the directory where the target edmx file is located. You can change the output directory by pressing the Browse button. This will open a new dialog box with the structure of your project.
Location For Backup - location for the backup of your project. At the current version of the wizard you cannot change the backup location. The backup will be created in a folder named ProjectName_Backup, located in the directory where your project file resides.
When all settings are specified, click Next to proceed to the last page of the wizard.