Creating Kendo UI Projects
This article demonstrates how to create a new ASP.NET MVC 5 application, configured to use Progress® Kendo UI® for jQuery widgets.
If you want to create an ASP.NET MVC application with Telerik UI for ASP.NET MVC Html helpers, refer to Creating New Projects.
The Basics
The steps to start the Create New Project Wizard may vary between the different Visual Studio versions. The following instructions describe the steps for Visual Studio 2019.
To create a new Kendo UI for jQuery application, start the Create New Project Wizard by using either of the following approaches:
-
Using the Extensions menu in Visual Studio 2019:
- Go to the Extensions menu.
- Click Telerik > Kendo UI > Create New Kendo UI Project.
- Go to the Extensions menu.
-
Using the File menu in Visual Studio 2019:
- Click File > New > Project.
- In the search field, type
Kendo UI ASP.NET MVC 5. - Select the Kendo UI ASP.NET MVC 5 Application project type and click Next.
- Click File > New > Project.
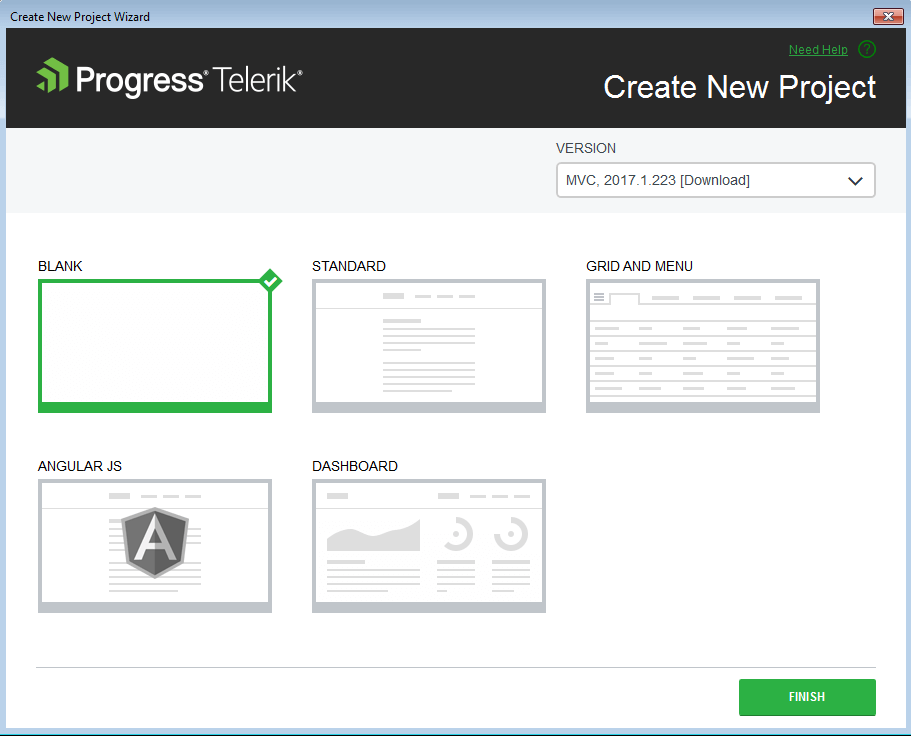
The wizard detects all the installed versions of Kendo UI and lists them in the Version combobox. This enables you to select a version you want to apply to your project.

Project Settings
The Create New Project page enables you to modify the project settings by configuring the following options:
- Project type—choose the desired project type: Blank, Standard, Grid and Menu, Angular JS, or Dashboard.
- Version—choose the version of Kendo UI you want to use.
New Web Application Creation
After configuring the project settings, click Finish to start the creation of the new Kendo UI Professional application.
As a result, the wizard:
- Creates a new ASP.NET MVC application.
- Copies all Kendo UI scripts.
- Copies all Kendo UI content files.
- Adds references to required scripts in the master page.