Getting Started with the Chip
This tutorial explains how to set up a basic Telerik UI for ASP.NET MVC Chip and highlights the major steps in the configuration of the component.
You will initialize a Chip control, configure its icons, and handle its events.
Prerequisites
To successfully complete the tutorial, you need a project that is already configured to use the Telerik UI for ASP.NET MVC components:
To create a new pre-configured project for the Telerik UI for ASP.NET MVC components, you can use a project template.
To manually configure an existing project by using NuGet, see the Adding Telerik UI through NuGet.
1. Prepare the CSHTML File
The first step is to add the required directives at the top of the .cshtml document:
- To use the Telerik UI for ASP.NET MVC HtmlHelpers:
@using Kendo.Mvc.UI
2. Initialize the Chip
Use the Chip HtmlHelper to add the component to a page. The Name() configuration method is mandatory as its value is used for the id and the name attributes of the Chip's Html element.
    @using Kendo.Mvc.UI

    @(Html.Kendo().Chip()
            .Name("chip")
    )
3. Add an Icon
You can display an icon in the Chip by configuring the Icon option. for more information about the variety of the icons supported by the chip, refer to the article on customizing the chip.
     @(Html.Kendo().Chip()
            .Name("iconSaveChip")
            .Icon("save")
    )
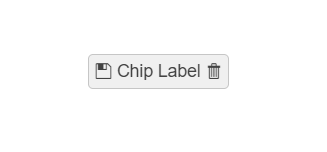
4. Add a Label
To display a label on the Chip, use the Label option.
     @(Html.Kendo().Chip()
            .Name("iconSaveChip")
            .Icon("save")
            .Label("Save")
    )