Build the Team Efficiency Dashboard Project
Step 6: Manage the Client Side
The client side is where Kendo UI really shines. Kendo UI uses a common JavaScript language and standards so that it’s easy for any JavaScript developer to get started. In this chapter you'll learn about client-side events and how to take control of Kendo UI using JavaScript.
Working with Client-Side Events
Overview
Telerik UI for MVC helpers provide an Events method that is part of the HTML Helper's property chain. The events method is used to set event handlers for the Kendo UI widget. Each widget has a variety of events that can be handled including: cancel, change, dataBound, dataBinding, edit, remove, and save.
 @(Html.Kendo().ListView<KendoQsBoilerplate.Employee>()
    .Name("EmployeesList")
    .TagName("ul")
    .ClientTemplateId("EmployeeItemTemplate")
    .DataSource(dataSource => {
        dataSource.Read(read => read.Action("EmployeesList_Read", "Home"));
    })
    .Selectable(s => s.Mode(ListViewSelectionMode.Single))
    .Events(e => e
        .DataBound("onListDataBound")
        .Change("onCriteriaChange")
    )
)
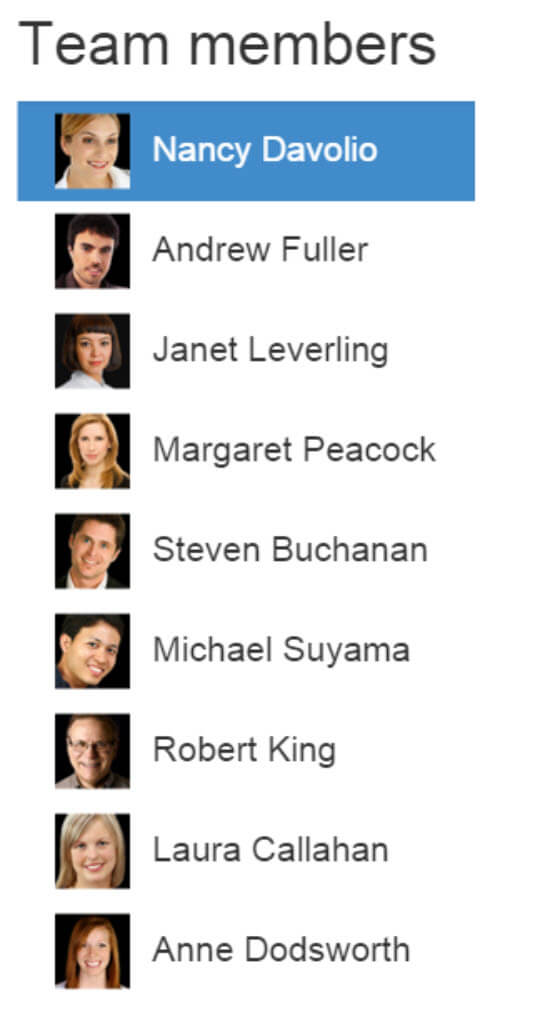
Let's continue to work with the EmployeesList that was created in the previous chapter. The list is selectable, but when the application starts the first item should be selected by default giving the user a starting point to begin interacting with the dashboard.
Exercise: Select the First List Item by Default
-
Find the
EmployeeList.<!-- Employee List View --> @(Html.Kendo().ListView<KendoQsBoilerplate.Employee>() .Name("EmployeesList") ... .Selectable(s => s.Mode(ListViewSelectionMode.Single)) ) -
Add an event handler named
onListDataBoundfor theDataBoundevent for the EmployeeList.@(Html.Kendo().ListView<KendoQsBoilerplate.Employee>() ... .Selectable(s => s.Mode(ListViewSelectionMode.Single)) .Events(e => e.DataBound("onListDataBound")) )The resulting code should be like the one shown below.
<!-- Employee List View --> @(Html.Kendo().ListView<KendoQsBoilerplate.Employee>() .Name("EmployeesList") .ClientTemplateId("EmployeeItemTemplate") .TagName("ul") .DataSource(dataSource => { dataSource.Read(read => read.Action("EmployeesList_Read", "Home")); dataSource.PageSize(9); }) .Selectable(s => s.Mode(ListViewSelectionMode.Single)) .Events(e => e.DataBound("onListDataBound")) ) -
In the same view, find the
Scriptssection.@section Scripts { <script> //Custom Scripts </script> } In the
<script>element, add a functiononListDataBound.-
Select the first element by calling the
.selectfunction on the ListViewthisobject and pass in the first employee element using the jQuery selector$(".employee:first").@section Scripts { <script> //Custom Scripts function onListDataBound(e) { var listView = this; var firstChild = listView.element.children().first(); listView.select(firstChild); } </script> } -
Refresh the page to see that the first item in the list is selected by default.

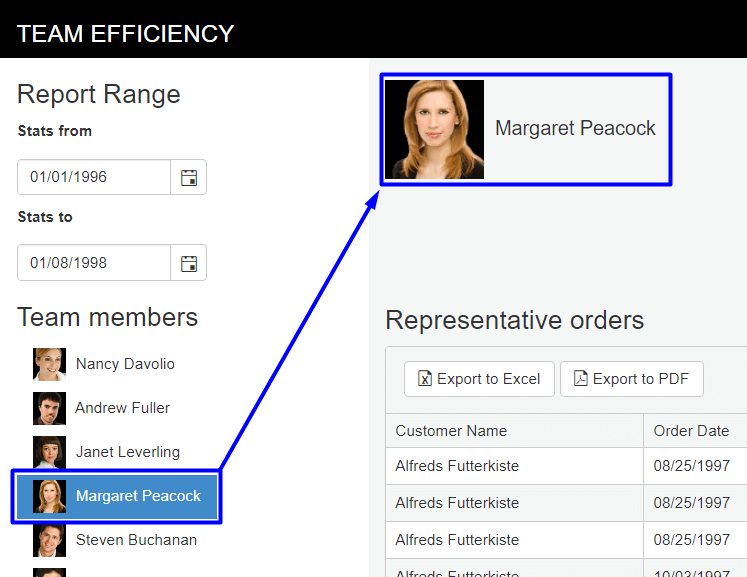
Selecting the first item using the DataBound event was a good start. Next we'll take it a step further by using the selected item to populate a Kendo UI template showing the selected employee on the dashboard.
Exercise: Use the Change Event to Populate Templates
-
Add an event handler named
onCriteriaChangefor theChangeevent for theEmployeeList.@(Html.Kendo().ListView<Employee>() ... .Selectable(s => s.Mode(ListViewSelectionMode.Single)) .Events(e => e.DataBound("onListDataBound") .Change("onCriteriaChange")) ) -
Find the
<!-- Kendo Templates -->placeholder.<!-- Kendo Templates --> ... <!-- /Kendo Templates --> -
Add a new template that will display the selected employee's image and full name.
<!-- Kendo Templates --> <script type="text/x-kendo-tmpl" id="employeeAvatarTemplate"> <img src="@(Url.Content("~/content/employees/"))#:EmployeeId#.png" /> <span>#:FullName#</span> </script> -
Find the
<script>section.<script> ... </script> -
Add a function named
getSelectedEmployeethat returns the selected employee from theEmployeeListusing the uniqueuidthat the Kendo UI DataSource generates for each dataItem with thegetByUid()method.function getSelectedEmployee() { var employeeList = $("#EmployeesList").data("kendoListView"), employee = employeeList.dataSource.getByUid(employeeList.select().attr("data-uid")); return employee; } -
Add a function named
updateEmployeeAvatarthat binds the selected employee data to theemployeeAvatarTemplateand places the template's content in theemployee-aboutelement. Thekendo.template()method allows us to bind the data to the HTML.function updateEmployeeAvatar() { var employee = getSelectedEmployee(), template = kendo.template($("#employeeAvatarTemplate").html()); //apply template $("#employee-about").html(template(employee)); } -
Add a function named
onCriteriaChange. This function will handle theChangeevent and callupdateEmployeeAvatar.function onCriteriaChange() { updateEmployeeAvatar(); } -
Refresh the page and select an employee from the
EmployeeList. Selecting an item should update the dashboard with the selected employee's data.
-
Find and remove the
<!-- Employee Avatar -->placeholder code, it is no longer needed because the element is created dynamically. Remove the code shown in the example below.<!-- Employee Avatar --> @Html.Placehold(90, 90, "Face") <span>Full Name </span>
Now that you know how to work with client-side APIs, let's enhance the Team Efficiency Dashboard by working with datasources.