Getting Started with the PivotGrid
This tutorial explains how to set up a basic Telerik UI for ASP.NET MVC PivotGrid and highlights the major steps in the configuration of the component.
You will declare a Model for the PivotGrid, define the PivotConfigurator, and initialize the PivotGrid component bound to remote flat data. Next, you will handle the PivotGrid events and call the saveAsExcel() method to export the data to Excel.
Prerequisites
To successfully complete the tutorial, you need a project that is already configured to use the Telerik UI for ASP.NET MVC components:
To create a new pre-configured project for the Telerik UI for ASP.NET MVC components, you can use a project template.
To manually configure an existing project by using NuGet, see the Adding Telerik UI through NuGet.
1. Prepare the CSHTML File
The first step is to add the required directives at the top of the .cshtml document:
-
To use the Telerik UI for ASP.NET MVC HtmlHelpers:
@using Kendo.Mvc.UI
Optionally, you can structure the View content by adding the desired HTML elements like headings, divs, paragraphs, and others.
    @using Kendo.Mvc.UI
    <h4>Employees by country and company</h4>
    <div>
    </div>
2. Declare the View Model
Declare the CustomerViewModel Model.
    public class CustomerViewModel
    {
        public string CustomerID { get; set; }
        public string CompanyName { get; set; }
        public string ContactName { get; set; }
        public string ContactTitle { get; set; }
        public string Address { get; set; }
        public string City { get; set; }
        public string Region { get; set; }
        public string PostalCode { get; set; }
        public string Country { get; set; }
        public string Phone { get; set; }
        public string Fax { get; set; }
        public Nullable<bool> Bool { get; set; }
    }
3. Initialize the PivotConfigurator
Define the PivotConfigurator supplementary component that allows you to control the column and row dimensions and the measure fields of the PivotGrid. Also, enable its Filterable option to filter the PivotGrid rows and columns.
    @using Kendo.Mvc.UI

    @(Html.Kendo().PivotConfigurator()
        .Name("configurator")
        .Filterable(true)
        .Height(500)
    )
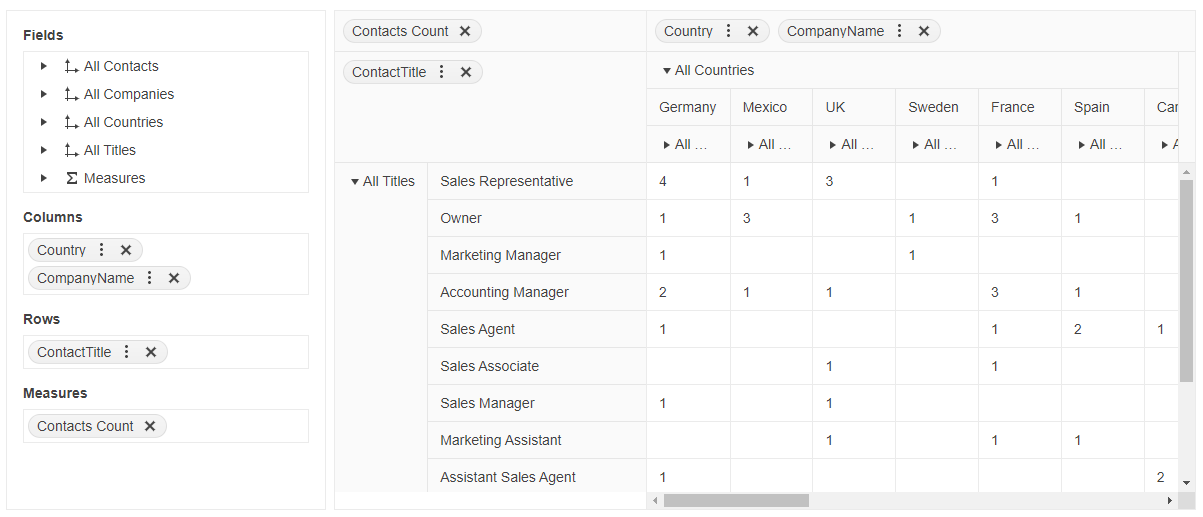
4. Initialize the PivotGrid
Use the PivotGrid HtmlHelper to add the component to a page:
- The
Name()configuration method is mandatory as its value is used for theidand thenameattributes of the PivotGrid element. - The
Configurator()option sets theName()of the defined PivotConfigurator that is connected to the PivotGrid. - Add the
DataSource()configuration option and set the remote endpoint to return the multi-dimensional array of data and the initial rows, columns, and measures of the PivotGrid. - Enable additional component features, such as filtering and sorting.
    @using Kendo.Mvc.UI

    @(Html.Kendo().PivotGrid<CustomerViewModel>()
        .Name("pivotgrid")
        .Configurator("#configurator")
        .ColumnWidth(100)
        .Filterable(true)
        .Sortable(true)
        .Height(500)
        .DataSource(dataSource => dataSource
            .Ajax()
            .Transport(transport => transport.Read("ReadData", "PivotGrid"))
            .Schema(schema => schema
                .Cube(cube => cube
                    .Dimensions(dimensions => {
                        dimensions.Add(model => model.ContactName).Caption("All Contacts");
                        dimensions.Add(model => model.CompanyName).Caption("All Companies");
                        dimensions.Add(model => model.Country).Caption("All Countries");
                        dimensions.Add(model => model.ContactTitle).Caption("All Titles");
                    })
                    .Measures(measures => measures.Add("Contacts Count").Field(model => model.CustomerID).AggregateName("count"))
                ))
            .Columns(columns =>
            {
                columns.Add("Country").Expand(false);
                columns.Add("CompanyName");
            })
            .Rows(rows => rows.Add("ContactTitle").Expand(false))
            .Measures(measures => measures.Values("Contacts Count"))
        )
    )
5. Define the DataSource Read Action
Declare the Read method that returns the data in the Controller. Use the name of the Read action that you set in the DataSource configuration in the previous step.
    using Kendo.Mvc.Extensions;
    using Kendo.Mvc.UI;

    public class PivotGridController
    {
        public PivotGridController(IDbContextFactory<SampleEntitiesDataContext> contextFactory) : base(contextFactory)
        {
        }

        public JsonResult ReadData([DataSourceRequest]DataSourceRequest request)
        {
            return Json(GetCustomers().ToDataSourceResult(request));
        }

        private IEnumerable<CustomerViewModel> GetCustomers()
        {
            using (var northwind = GetContext())
            {
                return northwind.Customers.Select(customer => new CustomerViewModel
                {
                    CustomerID = customer.CustomerID,
                    CompanyName = customer.CompanyName,
                    ContactName = customer.ContactName,
                    ContactTitle = customer.ContactTitle,
                    Address = customer.Address,
                    City = customer.City,
                    Region = customer.Region,
                    PostalCode = customer.PostalCode,
                    Country = customer.Country,
                    Phone = customer.Phone,
                    Fax = customer.Fax,
                    Bool = customer.Bool
                });
            }
        }
    }
6. Handle the PivotGrid Events
The PivotGrid exposes events that you can handle and further customize the functionality of the component. In this tutorial, you will use the ExpandMember event to hide a specified table row based on condition.
    @(Html.Kendo().PivotGrid<Kendo.Mvc.Examples.Models.CustomerViewModel>()
        .Name("pivotgrid")
        .Events(ev => ev.ExpandMember("onExpandMember"))
        ... // Other configuration.
    )

    <script>
        function onExpandMember(e) {
            let expandedAxis = e.axis;
            let expandedPath = e.path[0];
            if(expandedAxis == "rows" && expandedPath == "ContactTitle") {
                setTimeout(() => {
                    // Hide the third table row when the "ContactTitle" row is expanded.
                    $(".k-pivot-rowheaders .k-grid").find(".k-table-row:nth-child(3)").hide();
                    $(".k-pivot-table .k-grid-content").find(".k-table-row:nth-child(3)").hide();
                });
            }
        }
    </script>
7. (Optional) Reference Existing PivotGrid Instances
You can reference the PivotGrid instances that you have created and build on top of their existing configuration:
-
Use the
idattribute of the component instance to get its reference.<script> $(document).ready(function() { var pivotGridReference = $("#pivotgrid").data("kendoPivotGrid"); // pivotGridReference is a reference to the existing PivotGrid instance of the helper. }); </script> -
Use the PivotGrid client-side API to control the behavior of the component. In this example, you will use the
saveAsExcel()method to export the PivotGrid data to Excel (for example, when a button is clicked).@(Html.Kendo().Button() .Name("exportBtn") .Content("Export to Excel") .Events(ev => ev.Click("onBtnClick")) )<script> function onBtnClick() { var pivotGridReference = $("#pivotgrid").data("kendoPivotGrid"); pivotGridReference.saveAsExcel(); } </script>
For more information on referencing specific helper instances, see the Methods and Events article.