Verification Steps
Verification steps in Test Studio allow you to design your automation tests in a stable and reliable manner. With the right verification step you can ensure the state of the application at each action.
Find out more about verification steps and how to record these in the below article.
- General notes about verifications
- Add a quick verification
- Add a quick verification without recording
General Notes
While recording the automated test scenarios you visually validate that each of your actions is accepted and processed from the tested application. The verification steps let you create any sort of checks for an element. That way you can ensure what is the state of that element during the test run and if it is what you expect before and after performing an action against it.
Tip
Take a look at this blog post about using verification and wait steps in the automation tests.
The verification steps in Test Studio allows you to:
- Use multiple checks against different criteria at one time.
- Build these checks out-of-the-box in an interactive manner during recording the test scenarios without using code.
- Detect if elements are in a particular state (e.g. is visible, exists).
- Detect if attributes and properties compare with specific values.
- Verify content, attributes, images, image texts, styles, visibility, drop-down list selections, checkboxes, radio buttons, tables and etc.
Tip
Check out this getting started video about wait and verification steps in Test Studio.
Test Studio implements verification through "sentences" that compare a portion of an element to a value, such as:
- textbox content is equal to 'order 2011'
- image path contains 'http://www.telerik.com'
- wait for element to exist
Note
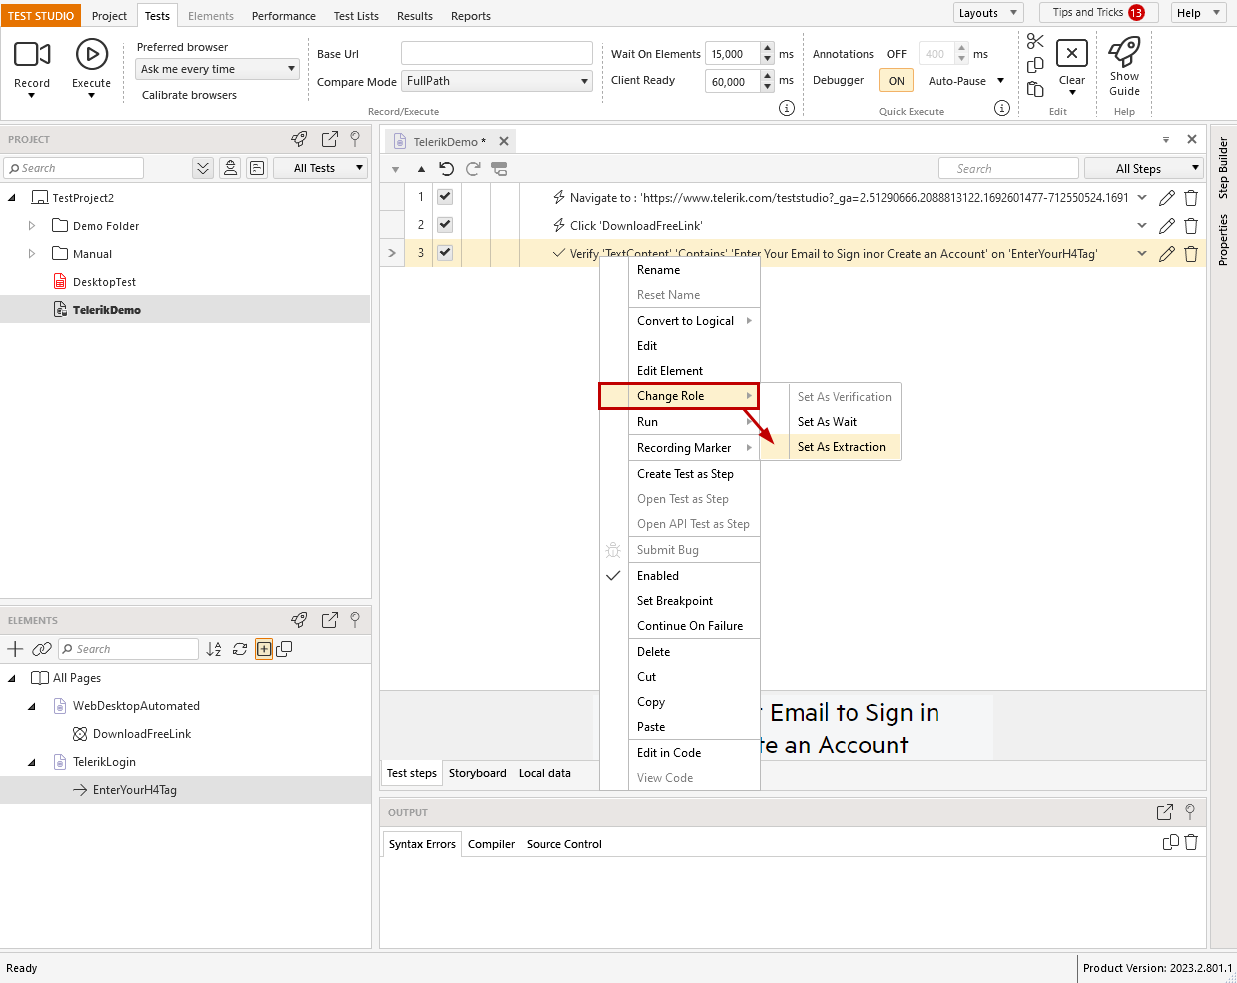
The engine for creating the verification sentences allows you to convert any Verification step to Wait or Extraction step (converting to extraction step is available for text based verification). Use the Change Role option from the step context menu and choose from the options in the sub-menu.
Create a Verification Step in Recording Mode
The Highlighting menu gives quick access to a set of predefined verifications, which can be added with a single click while recording. You can follow the below steps to insert a quick verification step in your test.
1. Create a test and start a recording session. Navigate to the tested application - in this example we use a web test and the Test Studio official page.
2. This sample scenario clicks on the Download Free Trial button and enables highlighting on the next page. Hold the mouse over the title and add a verification for its text content to ensure the correct product download is triggered.
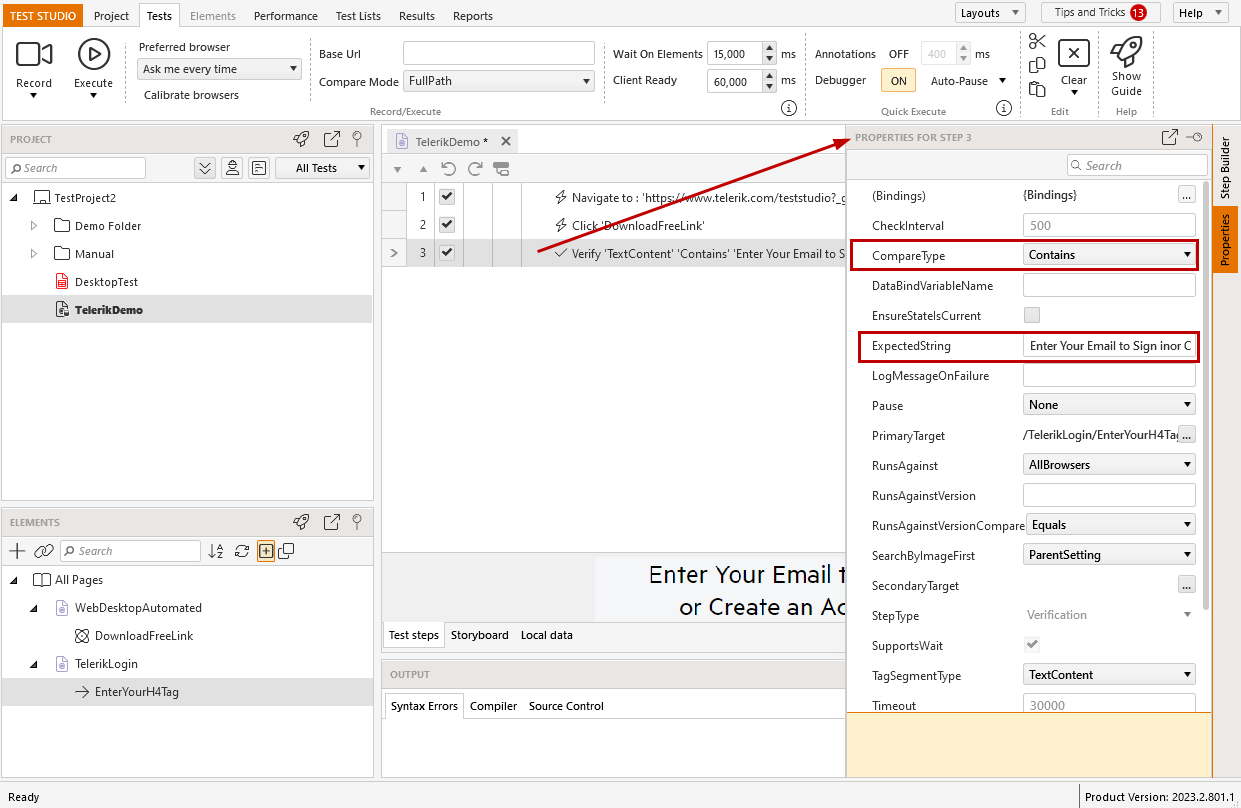
3. Some of the step properties are specific for the verification step and allow you to change the compare type or expected string value.
Create a Verification Step without Recording Session
The automated test execution is much faster than a real user and often you find out it is suitable to add an additional wait in the already recorded test to ensure its stability when running on different environments. For such cases Test Studio provides the options for partial test execution, which allow you to get to a certain point of the test and record the additional waits.
For the cases when the project and scenarios are quite complex, you can add verification steps for an already recorded element and without starting a recording session. The below list guide you through the steps for this:
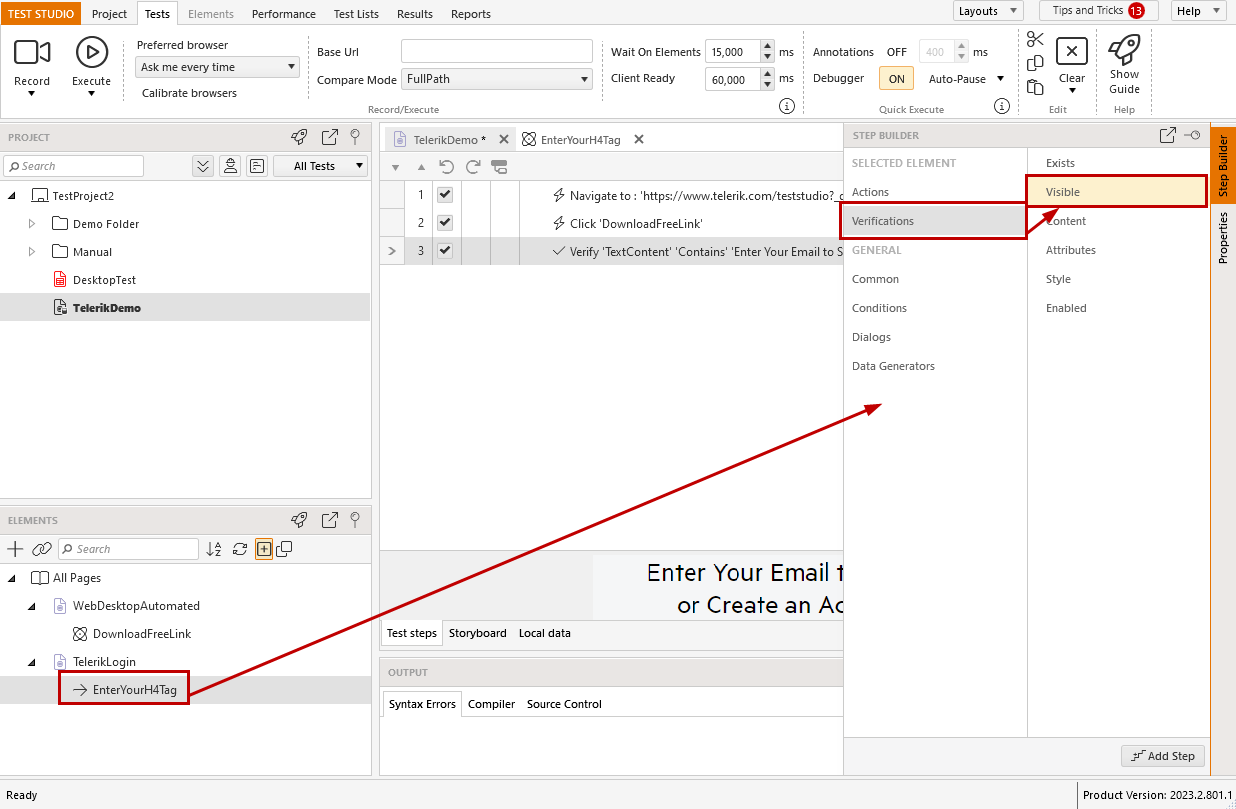
1. Open a test in which you need to add a step. Choose an element from the Elements Explorer.
Note: Usually, the verification step to insert is related to an action step and its element. Thus, if you click on that action step, its target element gets highlighted in the Elements Explorer with a red arrow. Select the element and proceed to the Step Builder.
2. Click the Step Builder pane to activate it. Under the Actions and Verification sections, you can see the options corresponding to the type of selected element.
3. Choose the verification you need and click the Add Step button to insert the step in the test.
Tip
Check this short video demonstrating how to add a step for an existing element in Test Studio.