Modes of Operation
The Upload supports a synchronous and asynchronous modes of operation.
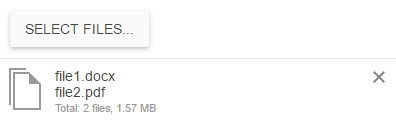
Synchronous Mode
When the Upload is in its synchronous mode, the widget behaves like a regular file input. The selected files are uploaded upon form submission, the user can select a variable number of files, and the browser in use is not required to support the selection of multiple files.
The following example demonstrates how to initialize the Upload in a synchronous mode from an existing file input that is placed in a form. The array syntax in the input name is used to hint the Upload handler to treat the photos as an array. For more information on how to handle the uploaded files, refer to the documentation of your specific server technology.
<form method="post" action="handler.php">
    <div>
        <input name="photos[]" id="photos" type="file" />
    </div>
</form>

$(document).ready(function() {
    $("#photos").kendoUpload();
});
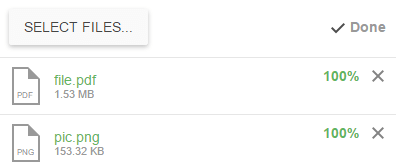
Asynchronous Mode
When the Upload is in its asynchronous mode, the widget requires dedicated server handlers to store and remove the uploaded files. The selected files are immediately uploaded or, optionally, the selected files are uploaded upon user confirmation. The upload request is executed out-of-band without interrupting the page flow. For the runnable example, refer to the demo on setting the Upload in an asynchronous mode of operation.
Getting Started
The asynchronous mode is implemented over the HTML5 File API. In legacy browsers, the Upload will continue to function by using a hidden iframe element.
-
Create an HTML
inputof type"file"(noformis required).<input name="photos[]" id="photos" type="file" /> -
Initialize the Upload and configure the asynchronous upload end-points. The array syntax for the field name is used to hint the upload handler to treat
"photos"as an array.$("#photos").kendoUpload({ async: { saveUrl: "saveHandler.php", removeUrl: "removeHandler.php", removeField: "fileNames[]" } });
Configuring the save Handler
The save handler has to accept POST requests. The requests will contain one or more files with the same name as the input—in the case of the previous example, this is "photos[]".
The save handler is expected to return any of the following responses:
- An empty response to signify success.
- A JSON string with
"text/plain"content encoding. The de-serialized object is available in thesuccessevent handler. - Any other response to signify failure.
Configuring the remove Handler
The remove handler has to accept POST requests which can be configured through the removeVerb option. The requests will contain one or more text fields with the "fileNames" name—in the case of the previous example, change it to "fileNames[]" by using the removeField option.
The remove handler is expected to return any of the following responses:
- An empty response to signify success.
- A JSON string with
"text/plain"content encoding. The de-serialized object is available in thesuccessevent handler. - Any other response to signify failure.
Setting the Asynchronous Mode Fallback
When the Upload is placed inside a form and is configured for asynchronous operation, the widget has a fallback mechanism. Files that were not fully uploaded will be sent as part of the form upon its submission by the user. This behavior ensures that even if you do not take any special measures to block the Submit button during upload, no files will be lost. You need to handle the uploaded files both in the save handler and in the form submit action as in synchronous mode.