Http Request Step
Overview
Use the HTTP Request Step to perform a single HTTP(S) request. After successful execution this Step will create the following Variables: Body, Headers, StatusCode, ResponseTime, ReasonPhrase. This Step supports Verifications to make sure the HTTP Response is the same as the expected.
Method
Specify HTTP Method for this request. You could choose one of the standard methods from the dropdown, or type a custom one if your application supports it.
Test Studio for APIs supports custom methods.
Url
Specify the URL for this request. The Url field supports Variable References.
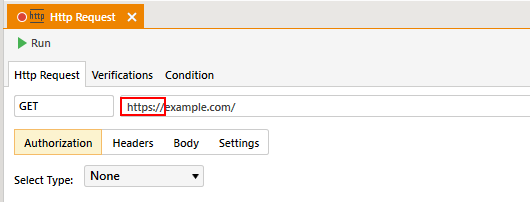
HTTPS
To make a HTTP or HTTPS request, simply set the corresponding protocol in the request URL (http:// or https://).
For HTTPS requests, Test Studio for APIs supports protocol versions from SSL 3.0 up to TLS 1.2. Test Studio for APIs will try to execute requests with the highest version that is supported by the server under test.
Note: Older versions of Test Studio for APIs (2017.2.530.1 or earlier) support SSL 3.0 and TLS 1.0 only.
Headers
Specify the HTTP headers for this request. You could choose one of the standard header names, or type a custom header if your application supports it. Both the Header Name and Value fields support Variable References.
Use the Cookie Header to set cookies.
Body
Specify the Body for this request. The Body field supports Variable References.
The Body is not available for GET, HEAD and TRACE methods.
You can shape the data you want to send through the body of the request in 3 different ways.
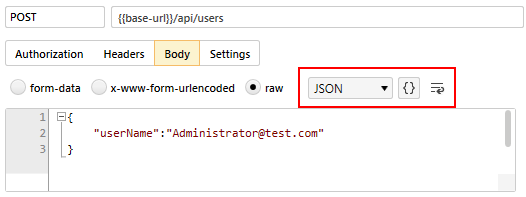
raw
Raw request is the most basic way of sending data. The raw editor allows you format the data before sending it. Normally, you would be sending XML or JSON data.
Test Studio for APIs doesn’t modify the string entered in the raw editor except replacing variables.
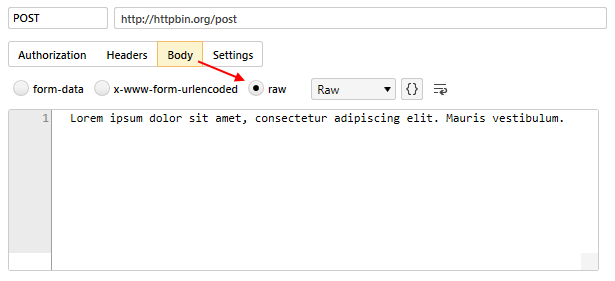
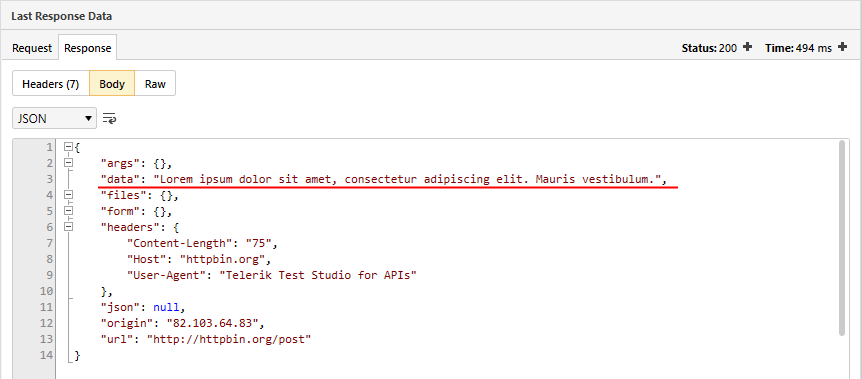
Executing a step like the one above will result in the following.
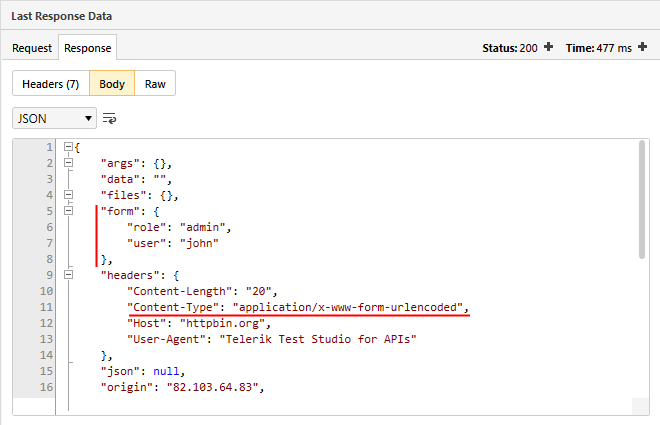
x-www-form-urlencoded
The key-value pairs you enter will be encoded properly and sent as URL parameters. Note that you can not upload files through this encoding mode.

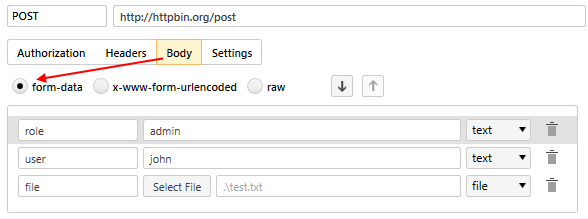
form-data
Web forms use multipart/form-data to transfer data. Sending form data allows you simulate submitting a form to a website. Along with sending data as key-value pairs you can also upload files. Any files selected for upload are copied in the test project and referred from there (files will be copied to {project_root}\.files\)
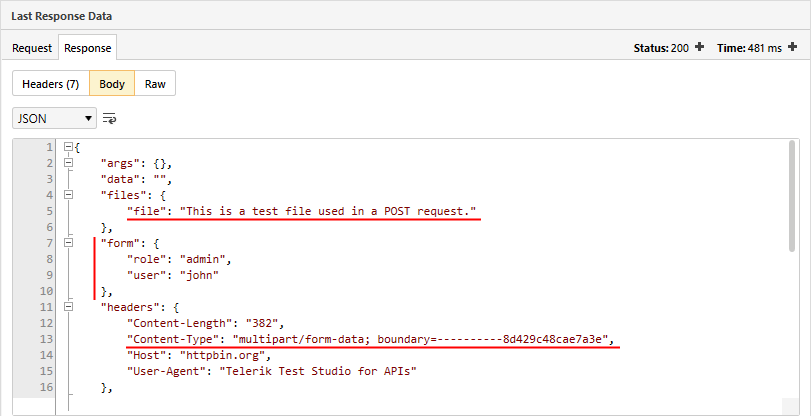
Contents of the file.

Result of submitting form data.
Formatting
You can format the contents of the Body by using the Format and Wrap buttons. Formatting can be applied to both Request and Response.
Authorization
You can enable Http Authentication for a given Http Request Step by using the Authorization tab. Currently supported Authorization modes are Basic and OAuth 2.0.
Basic
Basic authentication is the simplest technique for enforcing access controls to web resources. The mechanism provides no confidentiality protection for the transmitted credentials. The username and password are encoded with Base64 and then added as a custom request header.
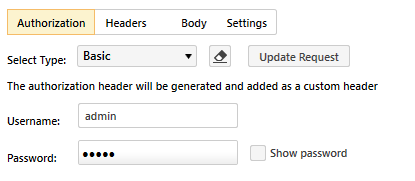
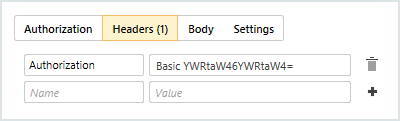
Clicking the
Update Requestbutton will add anAuthorizationheader to the list of request headers.
OAuth 2.0
Test Studio for APIs provides a generic interface for OAuth 2.0 authorization. Users can achieve authorization against different OAuth 2.0 grant types simply by adding the desired properties to the "Body Content" form. The supported grant types are: password, client_credentials and refresh_token.
In the image below you can see a sample setup for Resource owner credentials (password) grant. To achieve authorization for Client credentials (client_credentials) grant for example, you would only need to use the "grant_type" and "scope" properties in the "Body Content" form and provide client_id and client_secret in the respective fields above.
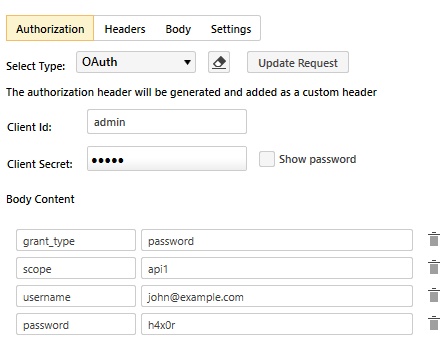
Test Studio for APIs does not provide means for interaction with external user interface. This is why authorization flows that require the user to manually provide credentials (like Authorisation Code Grant or Implicit grant) are not supported.
The values that you provide in the "Client Id" and "Client Secret" fields will be base64 encoded and added as a value to an "Authorization" header (with "Basic" prefix) in the http request (see the screenshot below). Currently, passing client_id and client_secret as an Authorization header is the only supported way to add them to the request. If you try to add them along with the rest of the parameters to the request body, Test Studio for APIs will still try to generate an Authorization header with the empty "Client Id" and "Client Secret" fields and this will lead to incorrect request header.
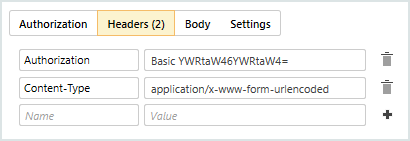
Clicking the
Update Requestbutton will:
- Add an
Authorizationheader to the list of request headers. Its value will be a Base64 encoding of theclient_id:client_secretAdd a
Content-Typeheader to the list of request headers. Its value will be set toapplication/x-www-form-urlencodedAdd all the key/value pairs from the
Body Contentsection to theBodysection of the request.

If you want to learn more about the OAuth 2.0 authorization flows, you can examine the list below.
Settings
Specify Timeout for this request.
The default Timeout is 2000ms.
Follow redirects
If Follow Redirects is set to false, all responses with an HTTP status code from 300 to 399 is returned to the application. The default value is true.
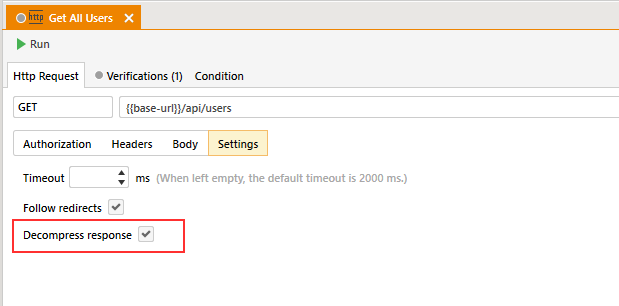
Decompress Reponse
By default, Progress® Test Studio® for APIs will attempt to decompress http responses that contain a "Content-Encoding" response header with value gzip or deflate.
If the response's "Content-Encoding" header includes both gzip and deflate options, Progress® Test Studio® for APIs will attempt to apply both decompressions in the order they are specified in the header's value. Other encoding types are not supported.
If you wish to disable response decompression, you can uncheck the Decompress response checkbox in the http request's Settings
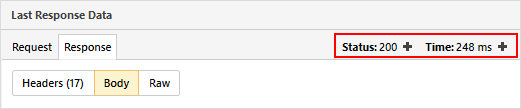
Response Data
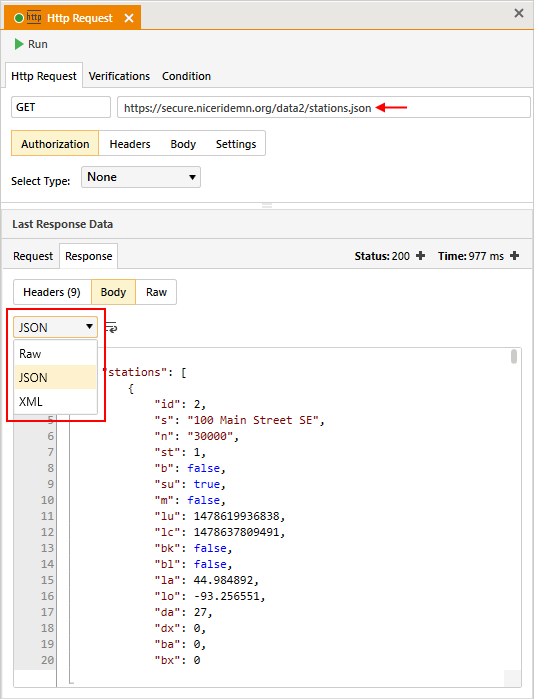
After successful execution Test Studio for APIs will display specialized UI to preview the values of the Step Variables.
You could use the
+buttons next to the response Headers, Status Code and Response Time to easily add Verifications.
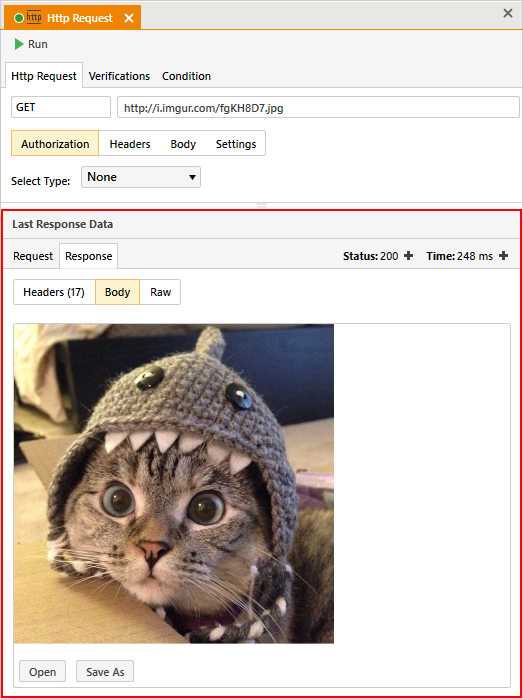
The Last Response Data section is where you'll preview the result of an Http Request step. If you request an image, Test Studio for APIs will display it in the Body section.
You can perform additional action on the image such as opening it in the default image viewer or saving it on the file system.
For text-based files you have the option to format their contents as Raw, JSON or XML.