Report Viewer and Web Designer in Vue.js
Environment
| Product | Progress® Telerik® Reporting R3 2022+ |
| Framework | Vue |
Description
The HTML5 Report Viewer and Web Report Designer are built upon HTML5, CSS, and JavaScript. This allows using them in virtually any JavaScript framework including Vue.js.
The solution we are about to examine is a very basic approach to create a new Vue application, include the viewer and designer dependencies, and display them in separate views.
Solution
The following guide assumes previous knowledge of Vue:
-
Start by creating a new Vue application using the following CLI command:
npm init vue@latest -
Next, include the necessary JS dependencies of the viewer and designer in
index.html. This includes the jQuery library, Kendo. For this example, we will be retrieving the Report Viewer and Report Designer JS resources from the online demos:<body> <div id="app"></div> <script src="https://code.jquery.com/jquery-3.2.1.min.js"></script> <script src="https://kendo.cdn.telerik.com/2025.1.227/js/kendo.all.min.js"></script> <script src="https://demos.telerik.com/reporting/api/reports/resources/js/telerikReportViewer"></script> <script src="https://demos.telerik.com/reporting/api/reportdesigner/designerresources/js/webReportDesigner"></script> <script type="module" src="/src/main.js"></script> </body> -
Then, add the default Kendo SASS theme again in
index.html, inside theheadelement, to style the report viewer and designer:<link rel="stylesheet" href="https://kendo.cdn.telerik.com/themes/10.2.0/default/default-ocean-blue.css" /> -
Create a new report viewer component(e.g.
ReportViewer.vue) and configure the routes accordingly. The new component contains adivelement to hold the report viewer object and applies CSS to this element. The component calls thetelerik_ReportViewermethod to create the report viewer with the specified configuration options. It is important that theserviceUrloption points to the URL of a working Reporting REST Service:<template> <div class="hello"> <h1></h1> <div id="reportViewer1">loading...</div> </div> </template> <script> export default { name: 'ReportViewer', data () { return { msg: 'Welcome to Your Vue.js App' } }, mounted () { this.$nextTick(function () { $('#reportViewer1') .telerik_ReportViewer({ serviceUrl: 'http://demos.telerik.com/reporting/api/reports/', reportSource: { report: 'Dashboard.trdx' }, viewMode: telerikReportViewer.ViewModes.INTERACTIVE, scaleMode: telerikReportViewer.ScaleModes.SPECIFIC, scale: 1.0, sendEmail: { enabled: true } }) }) } } </script> <!-- Add "scoped" attribute to limit CSS to this component only --> <style scoped> #reportViewer1 { position: relative; width: 80vw; height: 1000px; } </style> -
Create a new report designer component((e.g.
ReportDesigner.vue)) and configure the routes accordingly. The new component contains adivelement to hold the report designer object and applies CSS to this element. The component calls thetelerik_WebReportDesignermethod to create the report viewer with the specified configuration options. It is important that theserviceUrloption points to the URL of a working Report Designer REST Service.<template> <div id="wrd1">...</div> </template> <script> export default { name: "WebReportDesigner", mounted() { this.$nextTick(function () { $("#wrd1") .telerik_WebReportDesigner({ toolboxArea: { layout: "list", //Change to "grid" to display the contents of the Components area in a flow grid layout. }, serviceUrl: "https://demos.telerik.com/reporting/api/reportdesigner/", report: "Barcodes Report.trdx", }) .data("telerik_WebDesigner"); }); }, }; </script> <!-- Add "scoped" attribute to limit CSS to this component only --> <style scoped> #wrd1 { position: relative; width: 100%; height: 880px; } </style> -
Run the
devscript to start the application in development mode:npm run dev
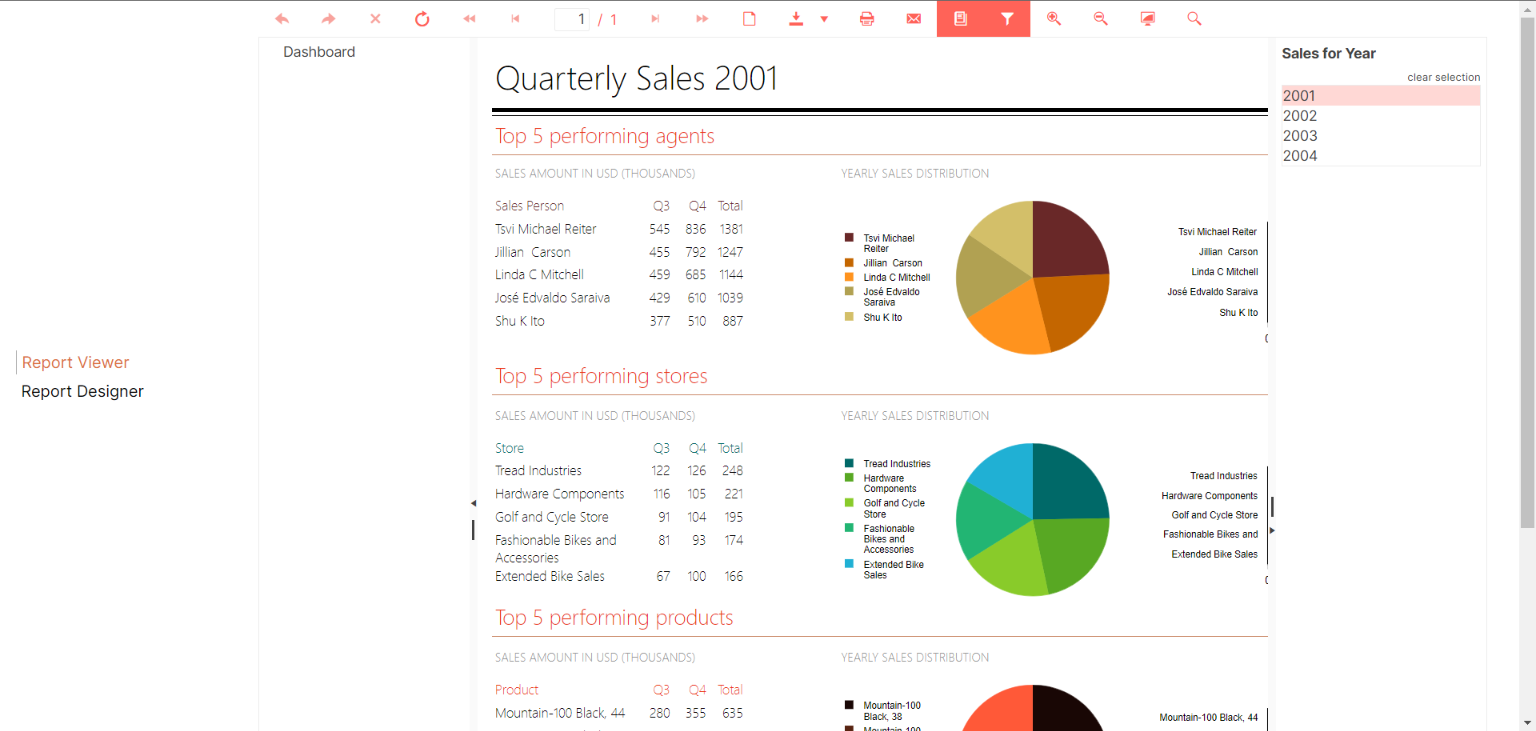
Here is how the starting page of the application should look like:
Additional resources
Download the final Vue.js application from Sample Vite + Vue3 Application.