Getting Started with Button for Xamarin Mobile Blazor Bindings
This article will guide you through the steps needed to add a basic RadButton control in your application.
1. Setting up the app
Take a look at the Getting Started article how to setup the Telerik Blazor Mobile Bindings for Xamarin project.
2. Adding the required Telerik references
You have two options:
Add the Telerik.UI.for.Xamarin.Blazor Nuget package following the instructions in Telerik NuGet package server topic.
Add the references to Telerik assemblies manually, check the list below with the required assemblies for RadButton component:
| Platform | Assemblies |
|---|---|
| Portable | Telerik.XamarinForms.Blazor.Input.dll Telerik.XamarinForms.Input.dll |
| Android | Telerik.Xamarin.Android.Input.dll Telerik.XamarinForms.Input.dll |
| iOS | Telerik.Xamarin.iOS.dll Telerik.XamarinForms.Input.dll |
After that we need to add the Telerik.XamarinForms.Blazor.Primitives in our _Imports.razor page:
@using Telerik.XamarinForms.Blazor.Primitives;
3. Adding RadButton control
<ContentView>
    <StackLayout WidthRequest="200"
                 VerticalOptions="LayoutOptions.Center"
                 HorizontalOptions="LayoutOptions.CenterAndExpand">
        <RadButton Text="Click me!"
                   BorderThickness="new Thickness(2)"
                   BorderColor="@Color.FromHex("4488F6")"
                   OnClick="@ButtonOnClick" />
    </StackLayout>
</ContentView>

@code
{
    private void ButtonOnClick()
    {

    }
}
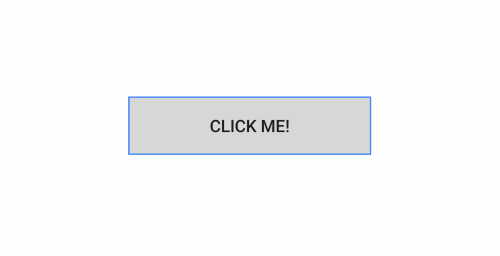
Here is the result: