Create Project
Progress Telerik UI for WPF Extension allows you to quickly create an application pre-configured to use Telerik UI for WPF.
The fastest way to have such a project is by using the Progress Telerik UI for WPF Extension menu. The following steps show how create a new project with Telerik dlls referenced.
-
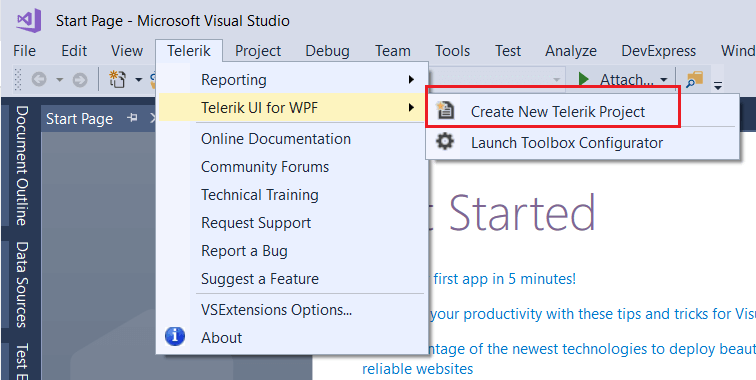
Find the Telerik extensions menu in Visual Studio.
Telerik Visual Studio Extensions menu location
-
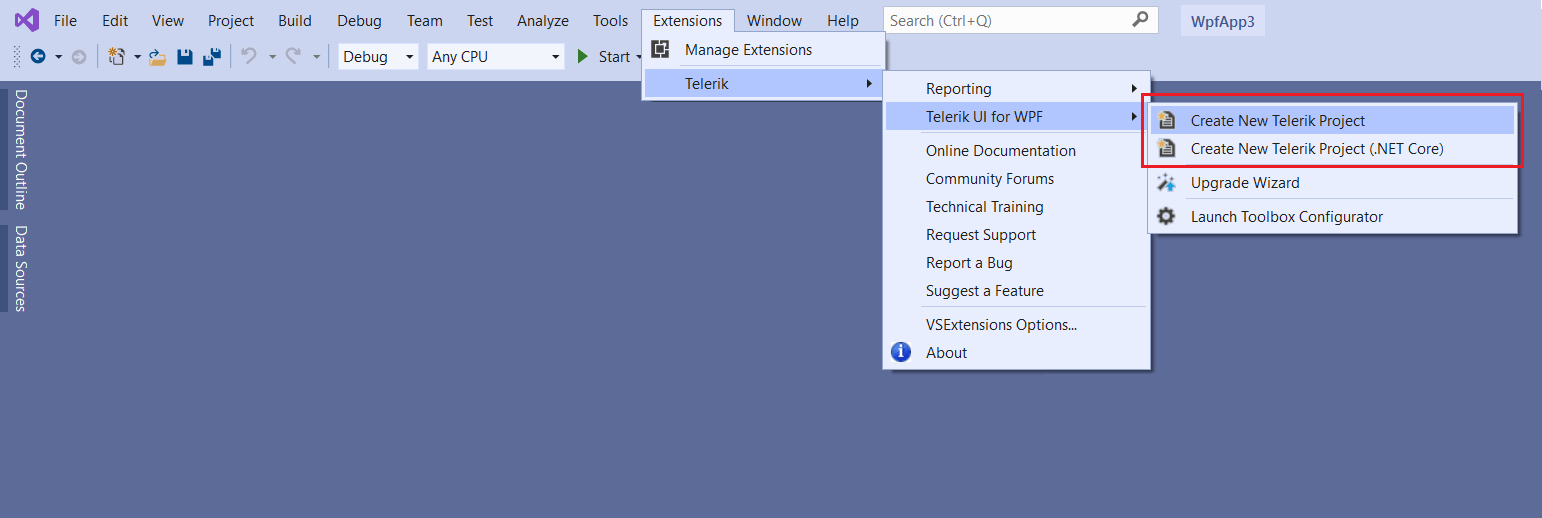
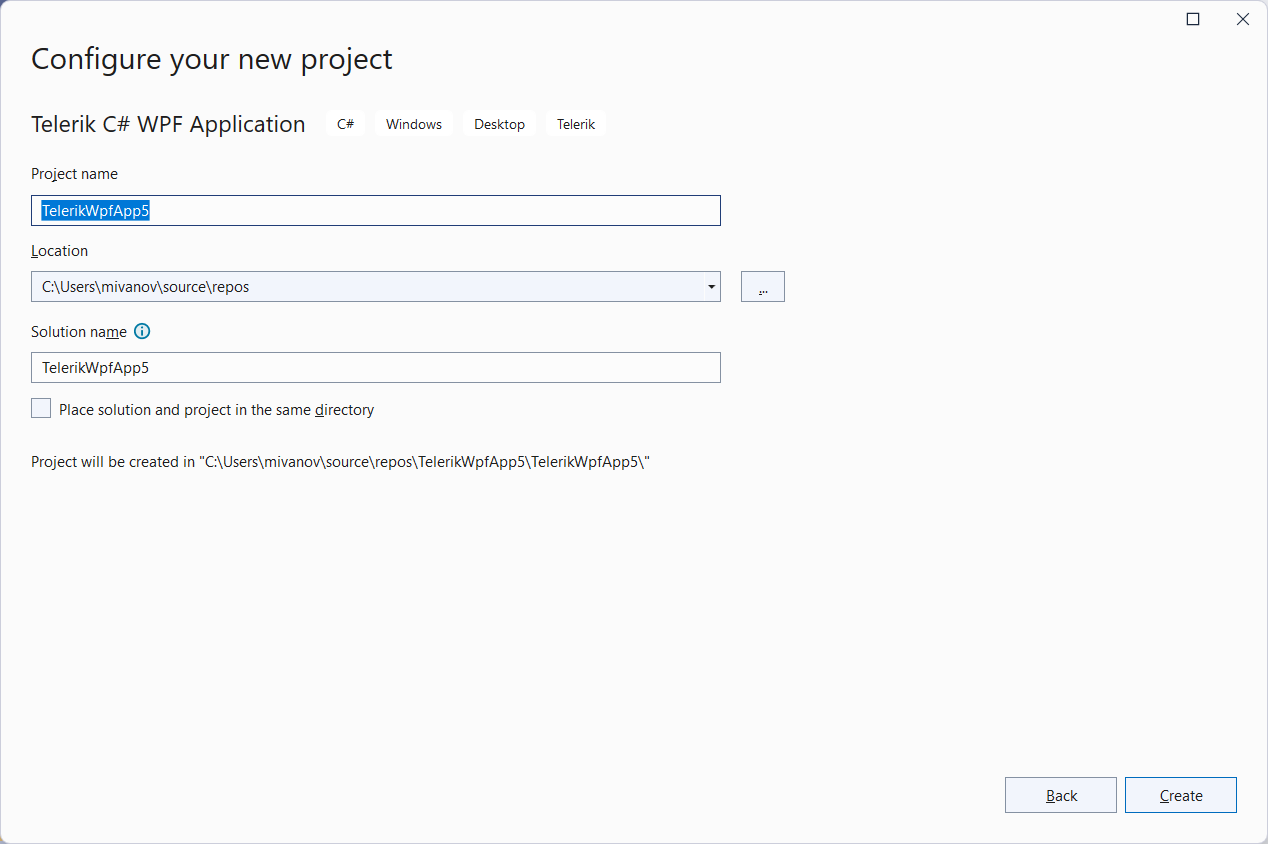
Click on the Create New Telerik Project option and configure the project's name and location.
-
Select the project options, like target framework, reference type, theme mechanism, etc., and click Next. This step is available only with the project template for .NET 8 and later.
-
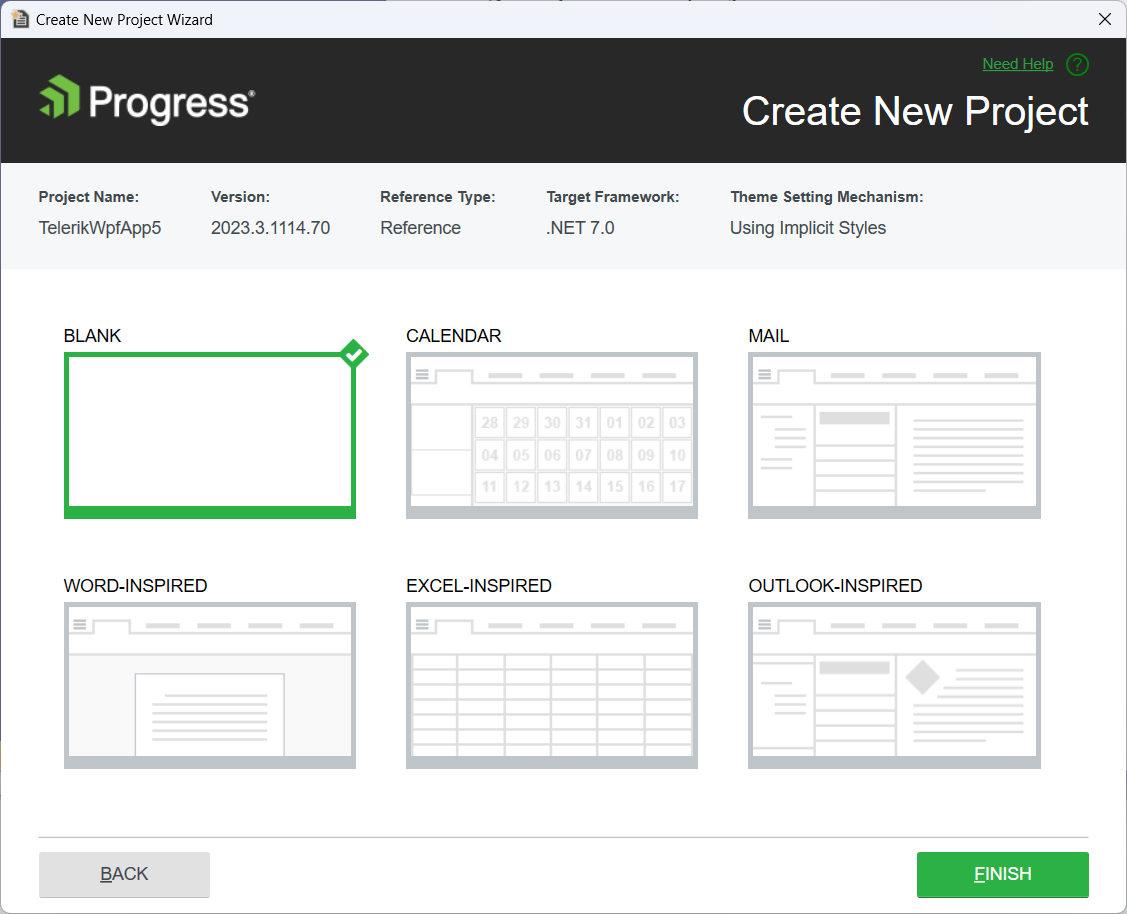
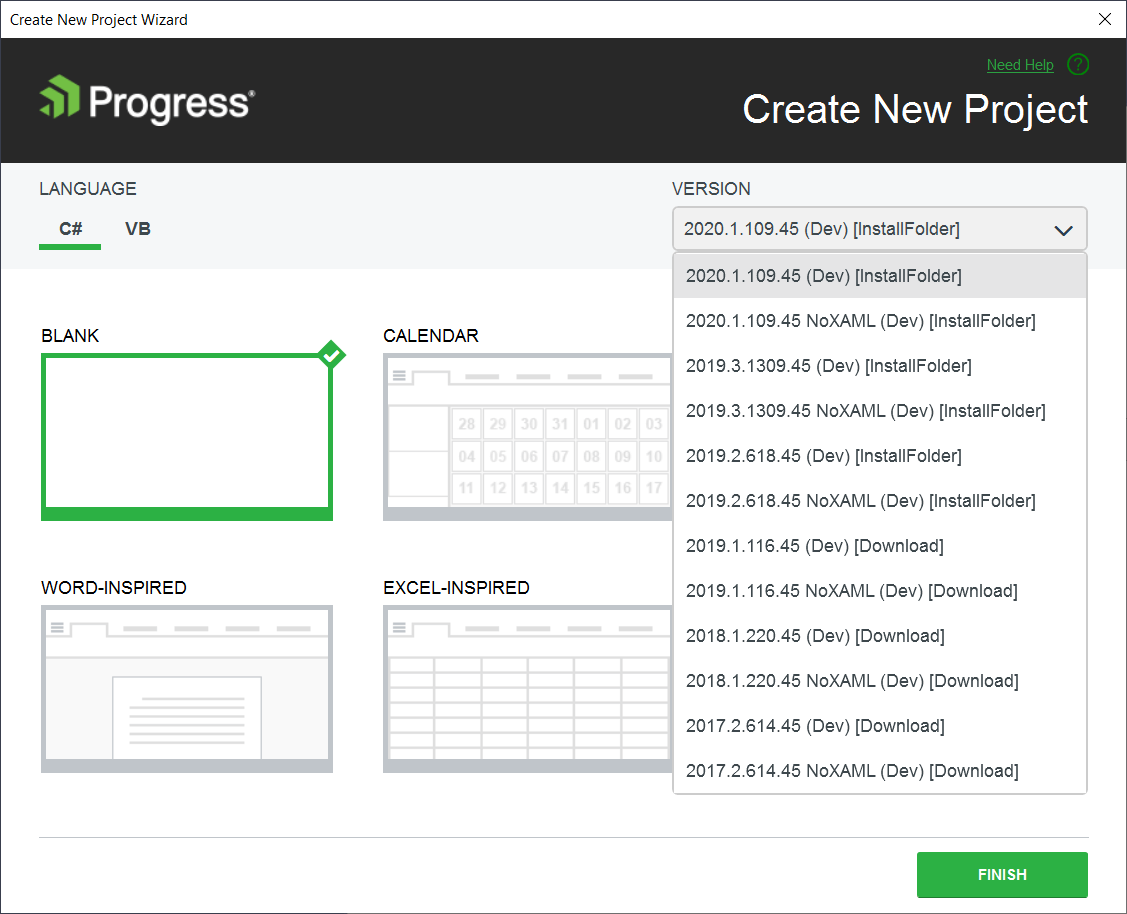
In the Create New Project Wizard select the project template you want to use. The wizard allows you to define a blank project with only the
Telerik.Windows.Controls.dllreferenced, or to use one of the Office-inspired templates (Calendar, Word-Inspired, etc.)..NET 8 and later project creation wizard
When creating .NET Framework project, the selection of the Telerik version happens in this step.
.NET Framework project creation wizard
-
The wizard validates your Telerik UI for WPF license and lets you download a new license key file if one such is not found.
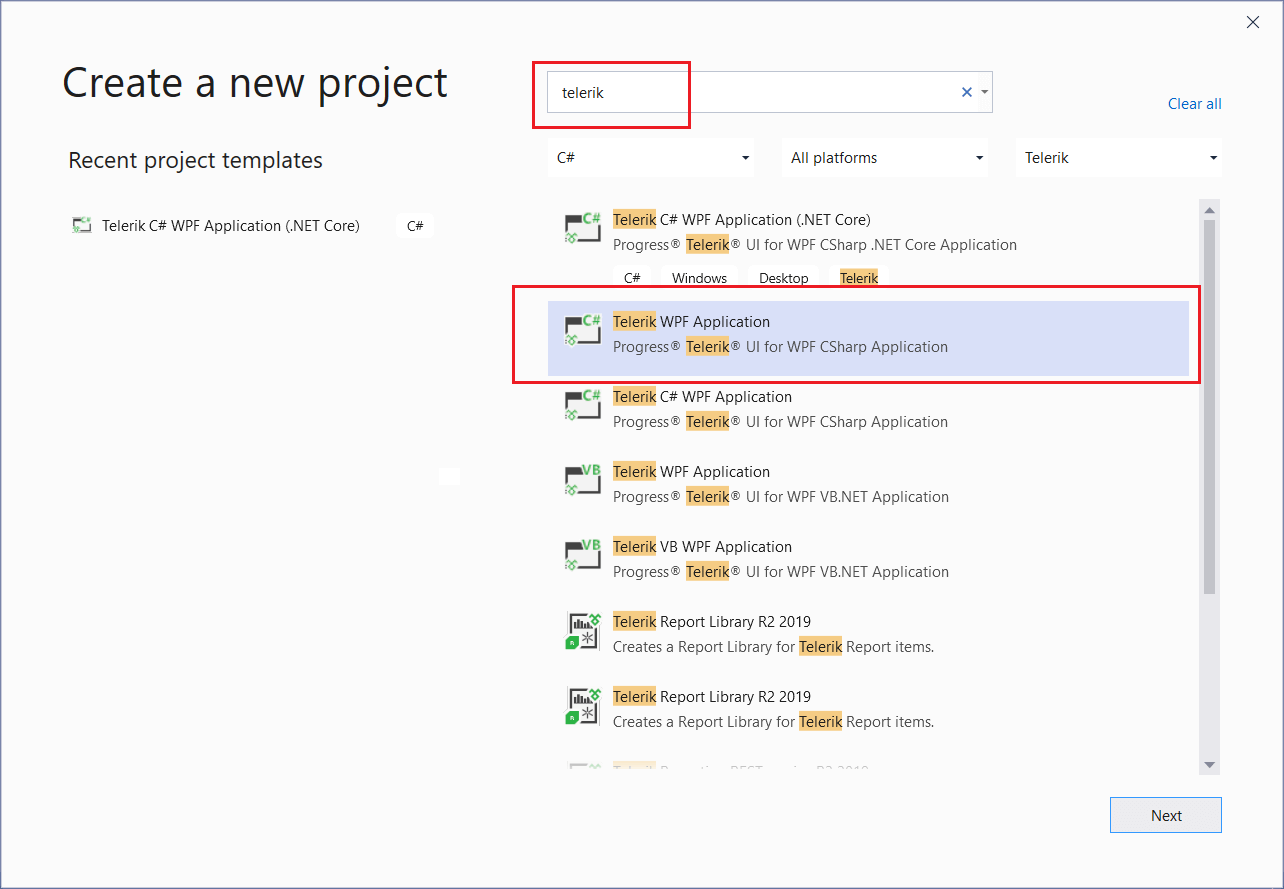
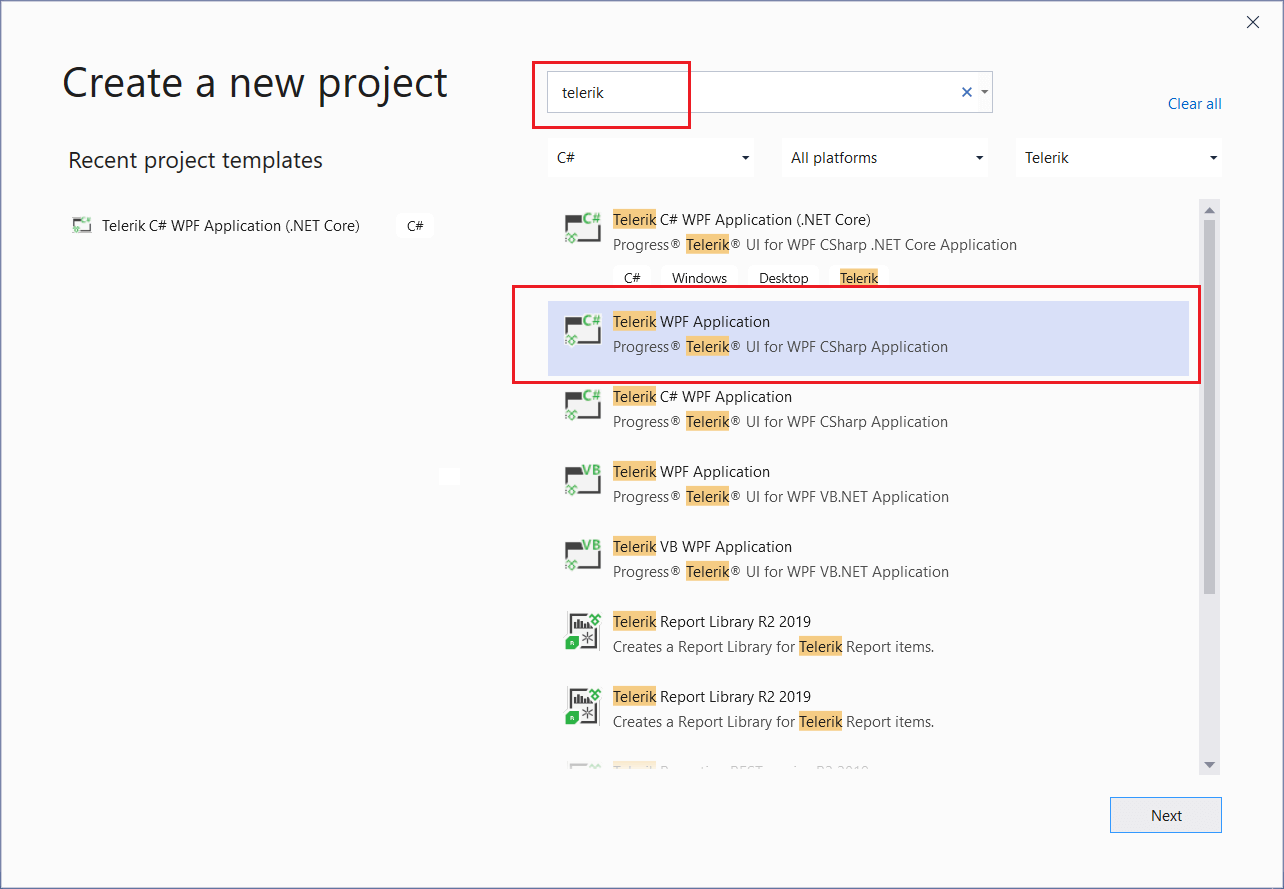
You can also start the Telerik's Create New Project Wizard (see step 2) from the Visual Studio's New Project Wizard.
Visual Studio New Project Wizard
The Create New Project Wizard allows you to download a Telerik version that is not available on your machine.
If you prefer the Telerik assemblies to be copied into your solution folder, the Copy referenced assemblies to solution and source control option could be selected only into the Visual Studio Extensions Options.