Azure Map Provider
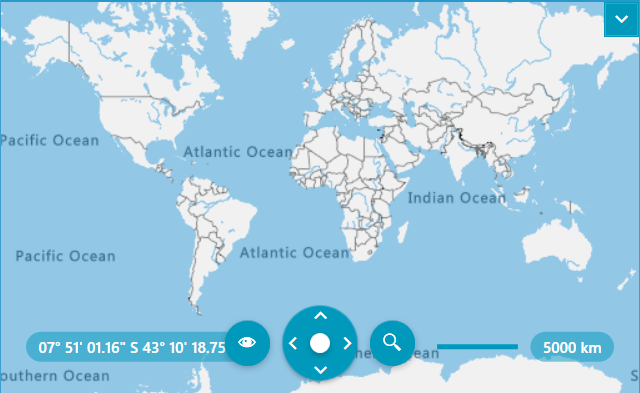
The RadMap control supports visualizing tile data using the Azure Maps services. This is done via the AzureMapProvider class. This provider supports both raster and vector sources.
The AzureMapProvider class derives from
VectorTileMapProvider, which works with the Newtonsoft.Json framework. To use the AzureMapProvider, add a reference to the corresponding .dll or install the nuget package.
Setting the AzureMapProvider
To use this provider, create a new AzureMapProvider instance and add it to the Providers collection of the RadMap control. After that, you will need to set the subscription key of the user's Azure account to the SubscriptionKey property of the AzureMapProvider instance. To obtain a key, you can review the Manage authentication in Azure Maps article.
Adding the AzureMapProvider to the RadMap control
<telerik:RadMap>
    <telerik:RadMap.Providers>
        <telerik:AzureMapProvider SubscriptionKey="Azure_Maps_Subscription_Key"/>
    </telerik:RadMap.Providers>
</telerik:RadMap>

If the provider’s initialization fails, the AzureMapProvider will raise its
InitializationFaultedevent. The event can be fired for example, when the internet connection is lost or when the service is unavailable. The event arguments are of typeInitializationFaultEventArgstype. The arguments provide anErrorproperty which contains the exception that is thrown while initialization.
Attribution Copyright Label
When using the AzureMapProvider, you have to display an attribution copyright label to the Azure Maps services. To learn more about the accurate copyright label's content, please refer to this article.
To learn how to customize the RadMap to allocate space for displaying an element containing a sample attribution copyright label, check this article.
Specifying the TileSet
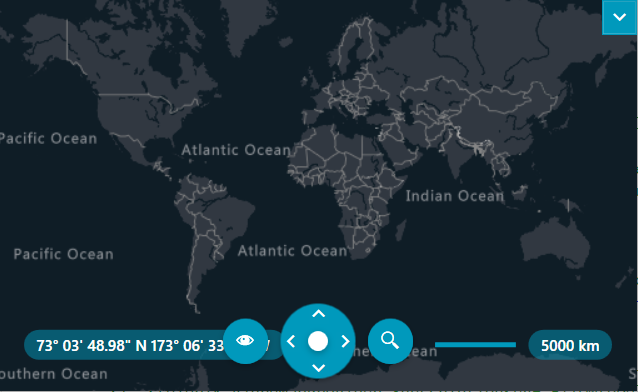
The Azure Maps services provide a set of different map layers (tilesets). The AzureMapProvider class will allow you to specify one of these raster or vector tilesets, by setting the TileSet property.
Specifying the tileset
<telerik:RadMap x:Name="map">
    <telerik:RadMap.Providers>
        <telerik:AzureMapProvider SubscriptionKey="Azure_Maps_Subscription_Key"
                                  TileSet="DarkGrey"/>
    </telerik:RadMap.Providers>
</telerik:RadMap>

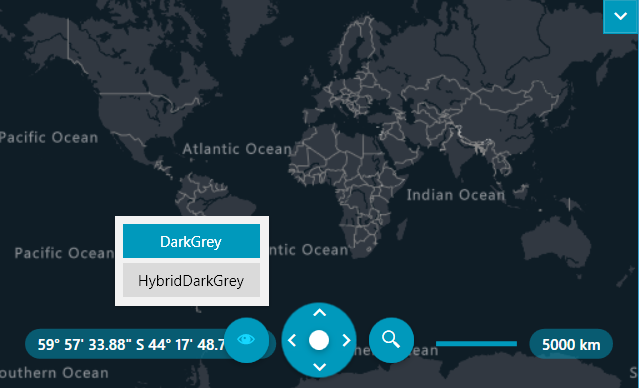
By default RadMap's navigation UI doesn't display any modes for the AzureMapProvider. To enable this, set the provider's UserAccessibleModes collection property.
Setting the tileset modes
<telerik:RadMap>
    <telerik:RadMap.Providers>
        <telerik:AzureMapProvider SubscriptionKey="Azure_Maps_Subscription_Key"
                                  TileSet="DarkGrey">
            <telerik:AzureMapProvider.UserAccessibleModes>
                <telerik:AzureTileSet>DarkGrey</telerik:AzureTileSet>
                <telerik:AzureTileSet>HybridDarkGrey</telerik:AzureTileSet>
            </telerik:AzureMapProvider.UserAccessibleModes>
        </telerik:RadMap.Providers>
    </telerik:AzureMapProvider>
</telerik:RadMap>

Styling Vector Tiles via Custom Styles
The RadMap's default styling of vector tiles does not support the vector tiles of the Azure Maps services. Instead, you can use third-party styles to style them, for example, using TomTom Map Styles. After retrieving the custom style, set it to the StyleFileSource property of the AzureMapProvider instance.
Manually Customizing the Appearance of the Vector Tiles via NoStyleVectorTileRenderingEventArgs Event
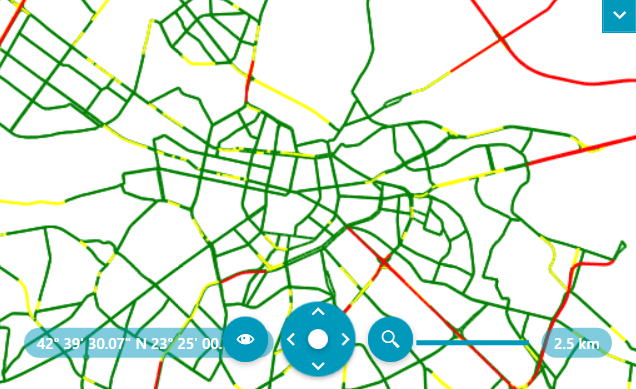
An alternative approach for styling the vector tiles is via the NoStyleVectorTileRendering event. It will be raised for each vector tile before being rendered.
The event arguments of the NoStyleVectorTileRendering event are of the type NoStyleVectorTileRenderingEventArgs and expose the following properties:
-
ZoomLevel—The ZoomLevel property provides the ability to control the zoom level of the vector tile. -
BackgroundColor—This property allows you to specify the background color of the vector tile. -
Layers—Collection that containsVectorTileLayerRenderInfoinstances.
The NoStyleVectorTileRendering event will be raised when the
IgnoreStyleproperty of the AzureMapProvider instance is set toFalse.
Manually customizing the appearance the vector tiles
private void AzureMapsProvider_NoStyleVectorTileRendering(object sender, NoStyleVectorTileRenderingEventArgs e)
{
    VectorTileLayerRenderInfo trafficLayer = e.Layers.Where(x => x.Name == "Traffic flow").FirstOrDefault();

    if (trafficLayer != null)
    {
        foreach (VectorTileFeatureRenderInfo featureInfo in trafficLayer.Features)
        {
            // Set layer type
            featureInfo.LayerType = Telerik.Windows.Controls.Map.VectorTiles.Styles.LayerType.Line;

            // Get data values from Properties.
            double trafficValue = (double)featureInfo.Properties["traffic_level"];

            if (trafficValue < 0)
            {
                featureInfo.Cancel = true;
            }

            if (!featureInfo.Cancel)
            {
                featureInfo.Paint.LineWidth = 2;

                this.SetLineColor(featureInfo, trafficValue);
            }
        }
    }
}

private void SetLineColor(VectorTileFeatureRenderInfo featureInfo, double trafficValue)
{
    if (trafficValue >= 0 && trafficValue < 50)
    {
        featureInfo.Paint.LineColor = Brushes.Green.Color;
    }
    else if (trafficValue >= 50 && trafficValue < 65)
    {
        featureInfo.Paint.LineColor = Brushes.Yellow.Color;
    }
    else if (trafficValue >= 65)
    {
        featureInfo.Paint.LineColor = Brushes.Red.Color;
    }
}

You can see an example of this styling approach for the vector tiles and the AzureMapProvider in our Demos application.
Language
The Azure Maps services provide a culture parameter in its URL address and the AzureMapProvider allows you to utilize it. To do so, set the Language property to the desired culture string.
Check the Localization support in Azure Maps article for the supported languages of the Azure Maps services.
Setting the Langauge property of the AzureMapProvider
<telerik:RadMap x:Name="radMap">
    <telerik:RadMap.Provider>
        <telerik:AzureMapProvider SubscriptionKey="Azure_Maps_Subscription_Key" Language="bg-BG"/>
    </telerik:RadMap.Provider>
</telerik:RadMap>

APIVersion
The AzureMapProvider provides the functionality to specify the Render Rest API version of the Azure Maps services. This is done via the APIVersion property of the provider. The lastest version of the Render Rest API is 2024-04-01 and the AzureMapProvider uses it.
Setting a previous version of the Render Rest API version
<telerik:RadMap x:Name="radMap">
    <telerik:RadMap.Provider>
        <telerik:AzureMapProvider SubscriptionKey="Azure_Maps_Subscription_Key" APIVersion="2022-08-01"/>
    </telerik:RadMap.Provider>
</telerik:RadMap>