Getting Started
This article will help you to setup your environment and start using AWS. Here are the main steps that you need to take:
- Create an AWS account
- Install the AWS SDK for .NET
- Create a user
- Enter the credentials in Visual Studio
Create an AWS account
To create an account go to the AWS website and create new account. The process is straightforward and easy. You will be prompted for a credit card number despite that there is a free option. There is short automatic verification via phone as well. The whole process should not take more than 15 minutes.
Install the AWS SDK
This is straightforward as well. Just download the installer and follow the instructions. Once this is done open Visual Studio.
There are 2 versions of the SDK for VS2013/VS2015 and VS2017.
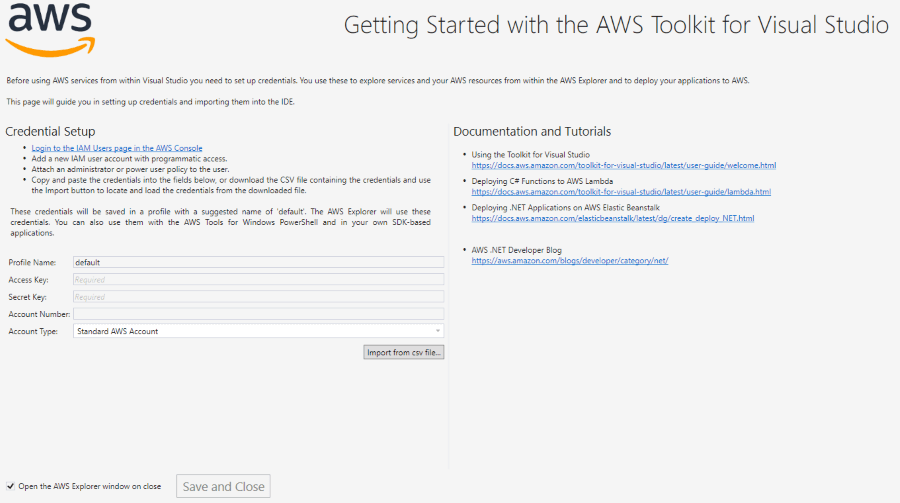
Now you should see the AWS start page:
Creating a user
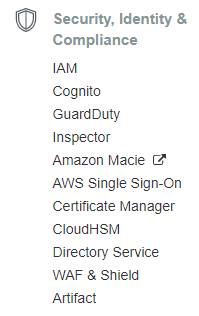
In order to access the AWS services you need a user. The user management is actually a service. So navigate to the Security, Identity & Compliance and click the IAM link.
Click add new user and follow the instructions on the screen. There are 4 steps:
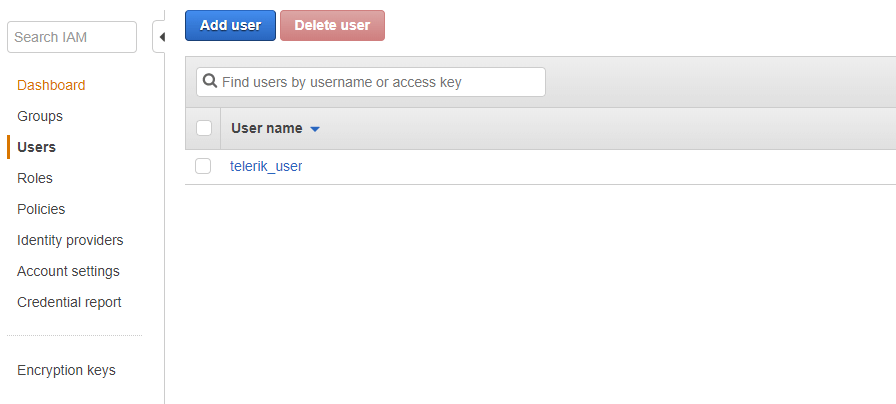
- Chose the name and access (programmatic and/or management console).
- Chose permission policy - for the firs user you can use any of the existing policies(the third icon).
- Just confirm by pressing Create User.
- This is a summary page which allows you to download the user details in a csv file. Click Download and save the file. You will import this in Visual Studio.
Enter credentials in Visual Studio
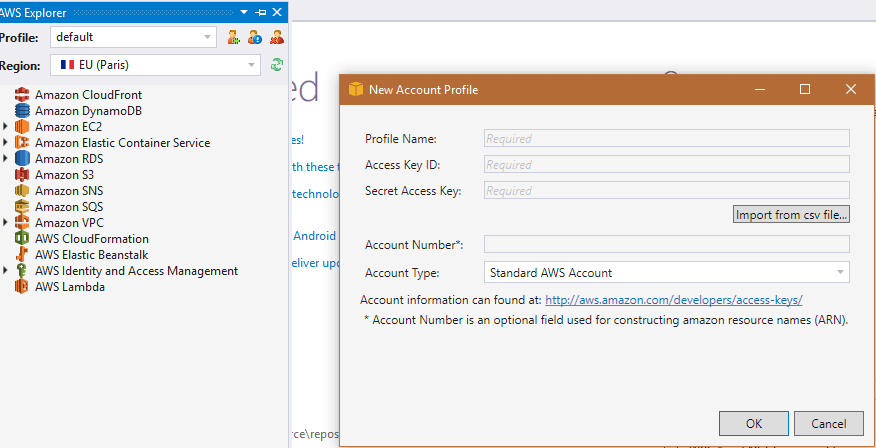
This is the final step. If you do not see the AWS start page (see the first image) go to View - AWS Explorer. Click Add New User and import the csv file.
In order to see the codes of each region, please check out the Amazon API Gateway