Using Chained Find Expressions
In most cases, Test Studio’s default find logic can dependably find target elements. By prioritizing unique element IDs, parent elements and element content, Test Studio produces durable find expressions for a wide variety of elements. But some controls are inherently difficult to find with Test Studio Dev’s default logic.
One type of controls that pose a challenge for Test Studio’s default find logic are hierarchical controls such as tree views.
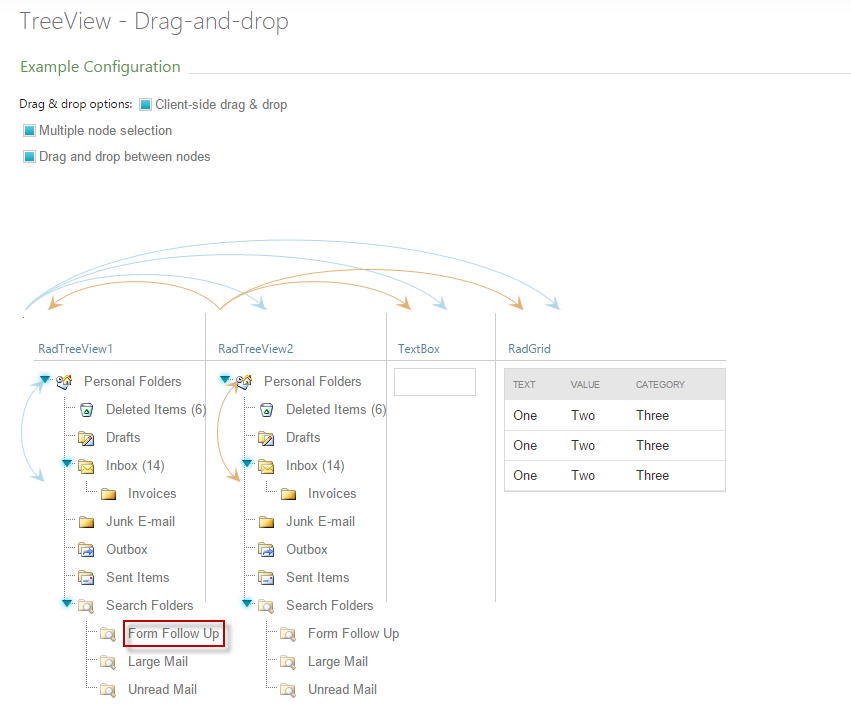
In these and other situations, the user is less concerned with the sequence of the items in the control, and more with their position relative to one another.
However, Test Studio will usually record find logic based on the element’s sequential position within the control.
This is a job for a chained find expression. A chained find expression will locate the first or parent element, then look below it in the DOM for the target element.
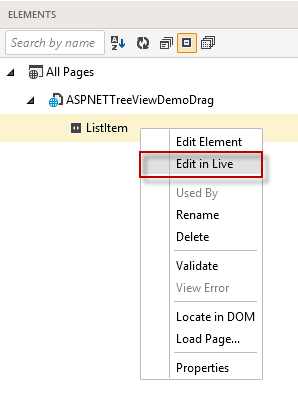
1.First, select the target element in the Elements Explorer and select Edit in Live from the context menu.
This will open the Find Element menu. You can choose how to locate the element. Once you have located the element, you can change the find settings.
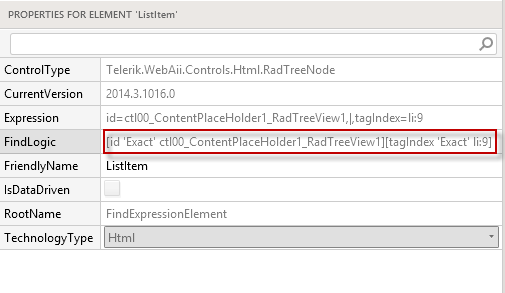
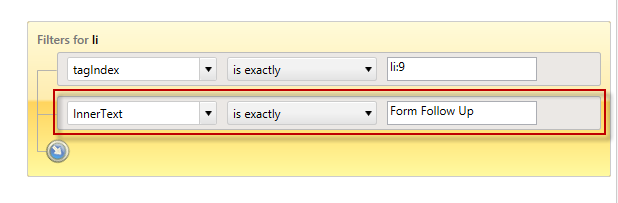
For many tree nodes and other hierarchical controls, Test Studio will initially record a chained find expression. You can identify this by the way the filter(s) for the parent element (1) is connected to the filter(s) for the target element (2) by a blue diagonal arrow. If not, you can chain a new set of filters to an existing set by clicking the blue arrow.
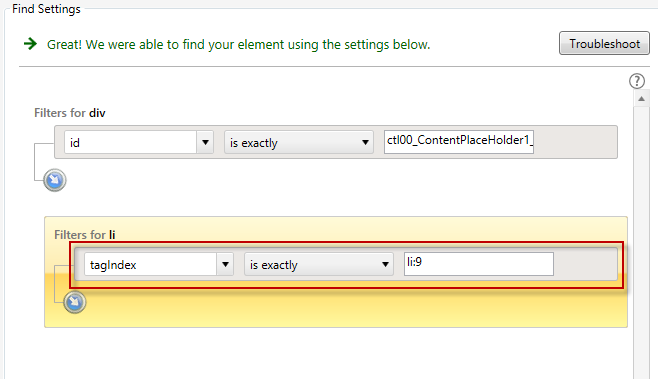
2.Change the find logic to reflect the desired find strategy. The goal is to accurately identify the parent element, then give a find logic that is accurate for the target element, given it is beneath the parent element in the DOM.
3.You can manually edit the filter options, or replace one of the rules with a suggested filter from the left side.

Selecting a suggestion from the left will add it to the existing filter(s) for the selected element in the chained find.
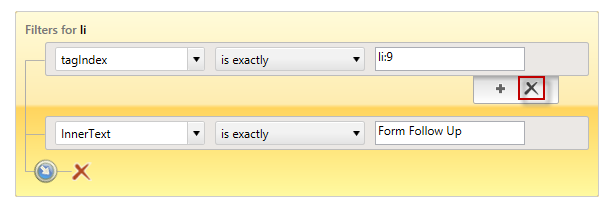
Once you have added a new filter, you can remove the old sequential one.
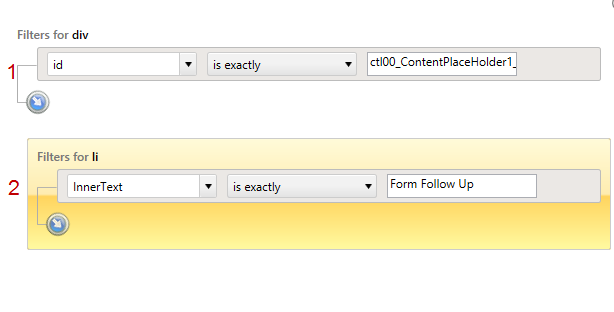
The result is a working chained find expression. Test Studio will look for the parent element (1) first, then find the target element (2).
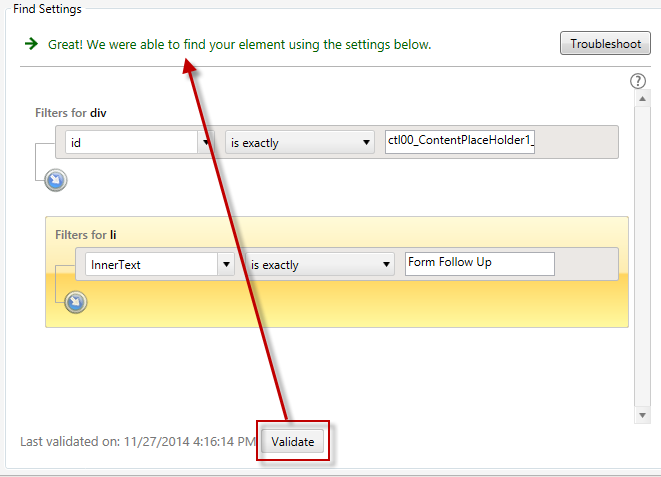
You can confirm that your chained find works by using the Validate button.
Once you validate and save the new find logic, you can select the element in the Elements Explorer and locate it in the DOM.
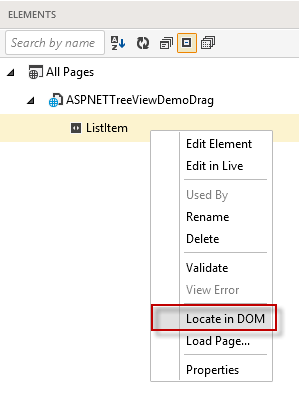
This can help you see how the chained find expression will work against the DOM. The target element highlighted should be beneath the parent element in the DOM hierarchy.

See Also: