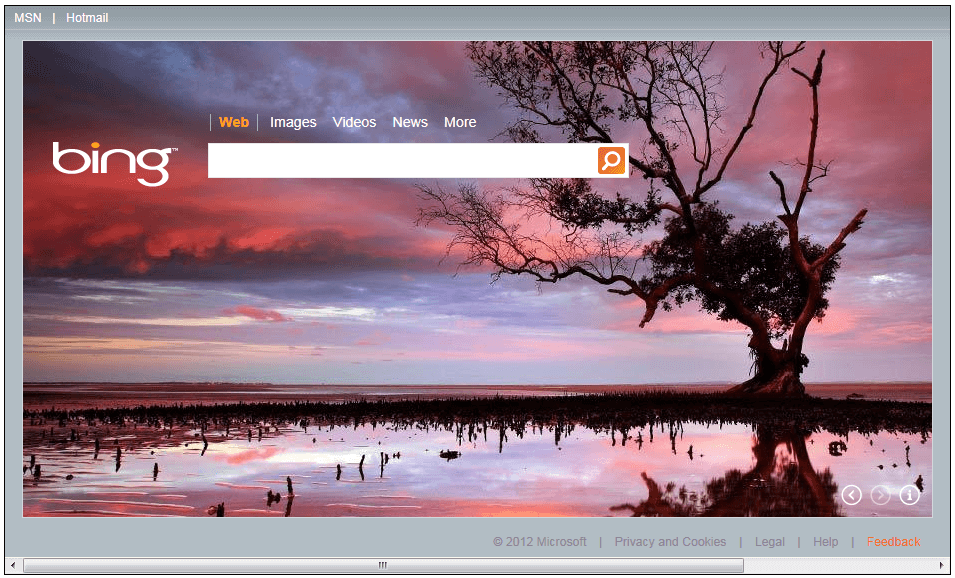
Getting Started with Silverlight HtmlPlaceHolder
Another important note is that the Silverlight plug-in that hosts the control has to be Windowless enabled. For example, if the Silverlight control is hosted in an .aspx page, then:
[ASPX] Example 1: Setting the windowless parameter in ASPX page
<div style="height: 100%;">
    <asp:silverlight id="Xaml1" windowless="true" runat="server" source="~/ClientBin/RadHtmlPlachoderDemo.xap"
        minimumversion="2.0.31005.0" width="100%" height="100%" />
</div>
If hosted in .html page then:
[HTML] Example 2: Setting the windowless parameter in HTML page
<div id="silverlightControlHost">
    <object data="data:application/x-silverlight-2," type="application/x-silverlight-2"
        width="100%" height="100%">
        <param name="source" value="ClientBin/RadHtmlPlachoderDemo.xap" />
        <param name="onerror" value="onSilverlightError" />
        <param name="background" value="white" />
        <param name="minRuntimeVersion" value="2.0.31005.0" />
        <param name="autoUpgrade" value="true" />
        <param name="windowless" value="true" />
        <a href="http://go.microsoft.com/fwlink/?LinkID=124807" style="text-decoration: none;">
            <img src="http://go.microsoft.com/fwlink/?LinkId=108181" alt="Get Microsoft Silverlight"
                style="border-style: none" />
        </a>
    </object>
    <iframe style='visibility: hidden; height: 0; width: 0; border: 0px'></iframe>
</div>
Once the Silverlight plug-in is Windowless enabled, then adding RadHtmlPlaceholder is pretty simple:
In order to use the RadHtmlPlaceholder control in your projects you have to add reference to the Telerik.Windows.Controls assembly.
You can find more info here.
Example 3: Defining RadHtmlPlaceholder
<UserControl x:Class="RadHtmlPlaceholderDemo.Page"
             xmlns="http://schemas.microsoft.com/winfx/2006/xaml/presentation"
             xmlns:x="http://schemas.microsoft.com/winfx/2006/xaml"
             xmlns:telerik="http://schemas.telerik.com/2008/xaml/presentation"
             Width="700"
             Height="480">
    <Grid x:Name="LayoutRoot" Background="White">
        <Border BorderBrush="Black" BorderThickness="1">
            <telerik:RadHtmlPlaceholder SourceUrl="http://www.bing.com" />
        </Border>
    </Grid>
</UserControl>

If you are using the default Silverlight Template project in Visual Studio you may need to modify a little bit the CSS styles defined in the page, otherwise in some cases unneeded scrollbars could be displayed in the page.
[CSS] Example 4: Original Style
<style type="text/css" >
    html, body
    {
    height: 100%;
    overflow: auto;
    }
    body
    {
    padding: 0;
    margin: 0;
    }
    #silverlightControlHost
    {
    height: 100%;
    text-align: center;
    }
</style>
[CSS] Example 5: Modified Style
<style type="text/css" >
    html, body
    {
    height: 100%;
    }
    body
    {
    overflow: auto;
    padding: 0;
    margin: 0;
    }
    #silverlightControlHost
    {
    height: 100%;
    text-align: center;
    }
</style>
If you would like to enable your Silverlight application to have access to your browser DOM you can do so through the parameter called EnableHtmlAccess Add that parameter on the Silverlight plug-in that hosts the control and you’ll get access to the DOM.
[HTML] Example 6: Setting EnabledHtmlAccess in HTML
<div id="silverlightControlHost">
    <object data="data:application/x-silverlight-2," type="application/x-silverlight-2" width="100%" height="100%">
        <param name="source" value="ClientBin/RadHtmlPlachoderDemo.xap"/>
        <param name="onerror" value="onSilverlightError" />
        <param name="background" value="white" />
        <param name="minRuntimeVersion" value="2.0.31005.0" />
        <param name="autoUpgrade" value="true" />
        <param name="windowless" value="true" />
        <param name="enablehtmlaccess" value="true"/>
        <a href="http://go.microsoft.com/fwlink/?LinkID=124807" style="text-decoration: none;">
            <img src="http://go.microsoft.com/fwlink/?LinkId=108181" alt="Get Microsoft Silverlight" style="border-style: none"/>
        </a>
    </object>
    <iframe style='visibility:hidden;height:0;width:0;border:0px'></iframe>
</div>