Calculator Picker
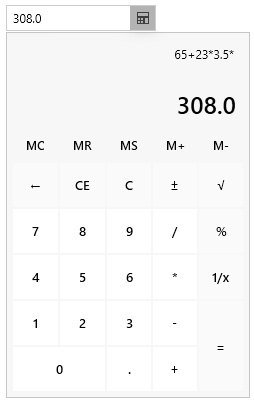
The RadCalculatorPicker control is a drop down button with a RadCalculator in its drop down content. The button content shows the calculated value of the calculator.
Defining RadCalculatorPicker
<telerik:RadCalculatorPicker Height="30" Width="200" />

The drop down state can be controlled manually with the IsDropDownOpen property of RadCalculatorPicker.
Opening the drop down content in code
this.calculatorPicker.IsDropDownOpen = true;
DataGrid Integration
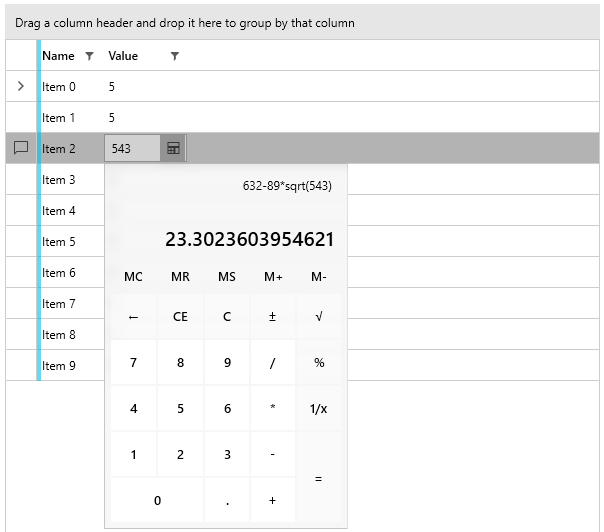
The following example shows how to utilize the RadColorPicker control as the cell editing element of a RadGridView column. To do so, define a custom CellEditTemplate for the column and in the DataTemplate add the calculator.
Defining a model for the RadGridView rows
public class RowInfo
{
    public string Name { get; set; }
    public double Value { get; set; }
}
Populating the data source
public MainWindow()
{
    InitializeComponent();
    var source = new ObservableCollection<RowInfo>();
    for (int i = 0; i < 10; i++)
    {
        source.Add(new RowInfo() { Name = "Item " + i, Value = 5 });
    }
    DataContext = source;
}
Defining the RadGridView and setting up the RadCalculatorPicker as the cell edit element
<telerik:RadGridView GroupRenderMode="Flat"
                     ItemsSource="{Binding}"
                     AutoGenerateColumns="False">
    <telerik:RadGridView.Columns>
        <telerik:GridViewDataColumn DataMemberBinding="{Binding Name}"/>
        <telerik:GridViewDataColumn DataMemberBinding="{Binding Value}">
            <telerik:GridViewDataColumn.CellEditTemplate>
                <DataTemplate>
                    <telerik:RadCalculatorPicker Value="{Binding Value, Mode=TwoWay}" />
                </DataTemplate>
            </telerik:GridViewDataColumn.CellEditTemplate>
        </telerik:GridViewDataColumn>
    </telerik:RadGridView.Columns>
</telerik:RadGridView>
