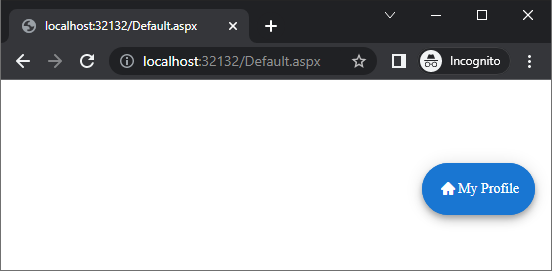
Getting Started with the Telerik FloatingActionButton
The following article demonstrates how you can add the RadFloatingActionButton control and customize it by setting some of its properties.

Add a RadFloatingActionButton Control
To add a RadFloatingActionButton similar to the one shown in image above, follow the steps:
Add a
ScriptManagercontrol on a Web Form.Use the
<telerik:RadFloatingActionButton>tag to declare the FloatingActionButton.Use the exposed control properties and the available inner tags to set the desired control structure fine-tune its appearance:
You can set the desired button text via the Text property and specify a built-in icon via the Icon property.
<telerik:RadFloatingActionButton runat="server" Icon="home" Align="BottomEnd" Text="My Profile" PositionMode="Absolute">
    <AlignOffsetSettings Y="55" />
</telerik:RadFloatingActionButton>
As a next step, you can check out the Functionality of the FloatingActionButton.