Using ContentAreaCssFile Property
This article examines the main purpose of the ContentAreaCssFile property, its usage and the concepts about it.
Here is a list with the sections in this article:
Concepts
At a first glance the approach below will give you the same results as if the CssFiles collection is used but its concept is to provide user-friendly styling for creating the content, which is not part of the styling of the place where the content will be used. Here is a list of the main goals of the ContentAreaCssFile features:
- Most important: Using the ContentAreaCssFile property will not prevent styles from the main page to decorate the content area of RadEditor;
- All styles from the ContentAreaCssFile.css file will not decorate the content in Preview mode;
- All styles form the ContentAreaCssFile.css file can be toggled via the Show/Hide Border tool (
 );
); - Only a single external CSS file can be used for stylization.
- Classes from the ContentAreaCssFile stylesheet will not be present in the Apply CSS Class dropdown
You can also compare the conceptual differences of ContentAreaCssFile and CssFiles collection usage in the—ContentAreaCssFile vs. CssFiles help article.
Basic Usage
By default, the editor's content area is always decorated by an external CSS file. This file is not part of the CssFiles collection and its purpose is different.
This approach is available only when ContentAreaMode is iframe. Using a content area rendered as a DIV element does not offer native capabilities to add external CSS files. You can find out how to decorate the DIV content area here—Decorating Div Content Area.
This file is configured via the ContentAreaCssFile property and it decorates some of the elements in the content area in order to improve the user experience. The property exposed enables you to override the rules and define ones of your own (see Example 2).
In addition to override this default stylization and preserve the user-friendly interface you could follow this online live demo project for the whole CSS file or use these example CSS rules:
Example 1: Default ContentAreaCssFile.css contents.
body
{
padding:3px;
background-image: none;
margin: 0;
text-align: left;
word-wrap: break-word;
}

form
{
    background-color:#efefef;
    border: 1px dashed #555;
}

table
{
    border-right: 1px dashed #999;
    border-bottom: 1px dashed #999;
}

table td
{
    padding: 1px;
    border-top: 1px dashed #999;
    border-left: 1px dashed #999;
}

table th
{
    padding: 1px;
    border-top: 1px dashed #000;
    border-left: 1px dashed #000;
}
Example 2: Overriding the defalt ContentAreaCssFile.css file in the markup.
<telerik:radeditor id="RadEditor1" runat="server" ContentAreaCssFile="~/ContentAreaCssFile.css">
</telerik:radeditor>
Example 3: Overriding the defalt ContentAreaCssFile.css file from the code behind.
RadEditor1.ContentAreaCssFile = "~/ContentAreaCssFile.css";
RadEditor1.ContentAreaCssFile = "~/ContentAreaCssFile.css"
Example 4: Sample of a custom ContentAreaCssFile.css file.
body
{
    background-color: red;
    color: white;
}
Show/Hide Border tool
The built-in tool Show/Hide Borders enables the end-user to preview the content without the styles from the ContentAreaCssFile.css. This tool disables the CSS link (that imports the ContentAreaCssFile.css file to the content area) in the head element of the iframe.
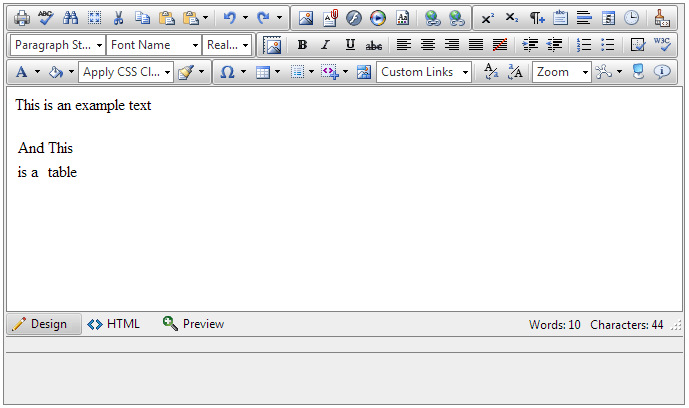
The following example demonstrates the tool's behavior:
Example 5: Sample of a custom ContentAreaCssFile.css file.
body
{
background-color:rgba(155, 119, 119, 0.58);
color: white;
}

table
{
    border:1px solid black;
    color: red;
}

table td
{
    border:1px solid black;
}
Results:
Figure 1: Show/Hide Borders tool turned ON
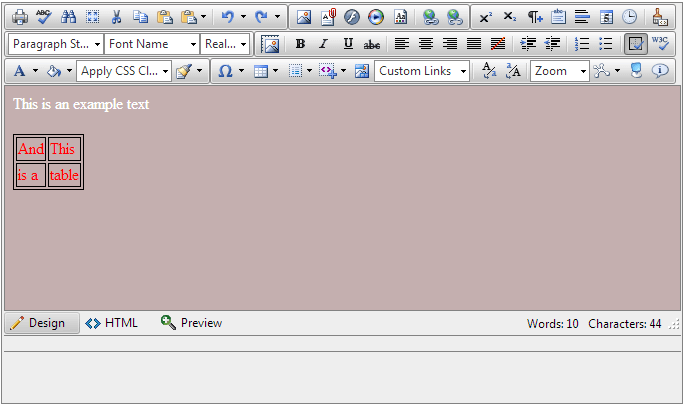
Figure 2: Show/Hide Borders tool turned OFF