Enable Tabs
TASK
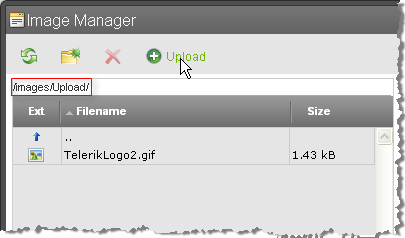
Enable Upload Image tab of the Image Manager dialog.
example holds true for Documents, Flash and Media, too, when setting the correspondent properties.
SOLUTION
To use the Upload tab of the image dialog you would need to set two properties: ImageManager.ViewPaths and ImageManager.UploadPaths. These properties should point to the folders where the files will reside on the server. Here's an example that assumes you have a "mypics" and "mypics/upload" directories in your web application root folder:
<telerik:RadEditor RenderMode="Lightweight" runat="server" ID="RadEditor1">
    <ImageManager ViewPaths="~/mypics" UploadPaths="~/mypics/upload" />
</telerik:RadEditor>
In addition, the Upload tab will remain disabled if the path is wrong or the UploadImagesPaths folder does not exist.
mypicsvariable is an array of strings and that the Images folder must be:
- a subdirectory of your web application or
- a virtual directory of your web application that has a physical path pointing outside of your web application.
- a shared drive that is a virtual folder of your web application.
You should also grant full ASP.NET (WinXP) / NETWORK SERVICE (Win 2003 and Vista) account permissions to the Images Folders.
Once these conditions are met, you can open the Images dialog. If you have images in the "mypics" directory, you will see them. Select the directory where you want to upload new images. The UPLOAD tab should become active. Click on it and upload the image.