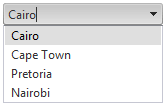
Getting Started with the Telerik WebForms ComboBox
This tutorial will walk you through creating a RadComboBox and shows how to:
Create a simple RadComboBox with elements set in design time.
Populate RadComboBox from a data source.
Creating a Simple RadComboBox
Drag a RadComboBox from the Toolbox onto your Web Page.
The Smart Tag should appear automatically. From the Smart Tag, choose Build RadComboBox...
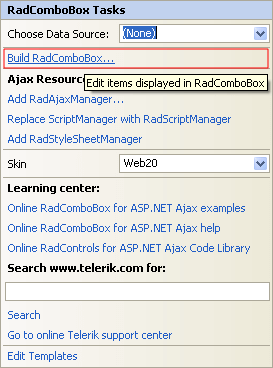
The RadComboBox Item Builder appears.
Click the Add item icon in the upper left corner. A new RadComboBoxItem appears in the item builder.
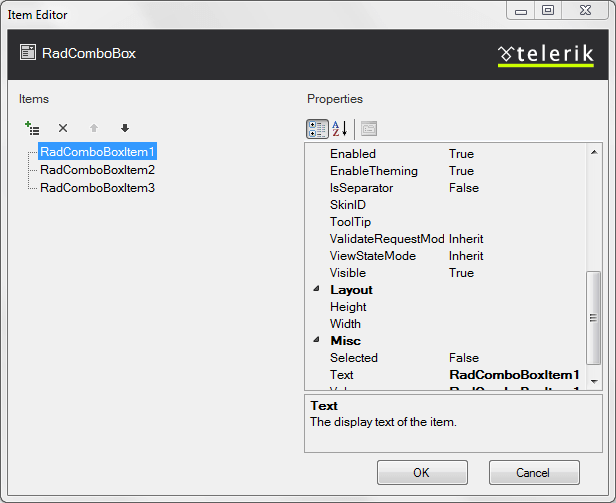
Set the Text property to "First Item".
Add two more items in the same way.
Press OK to exit the RadComboBox Item Builder.
Back in the Smart Tag, choose a Skin from the drop-down control.
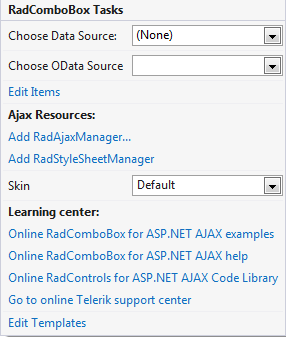
- Right-click the RadComboBox instance and select Properties.
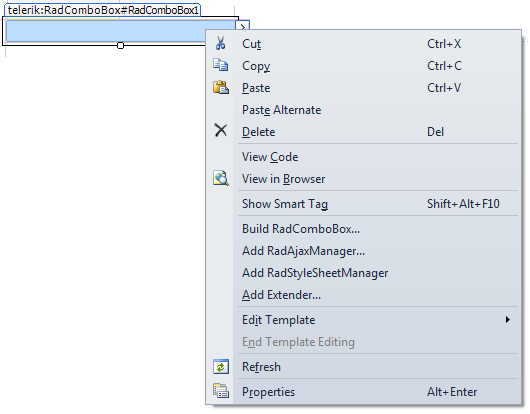
In the properties pane for the RadComboBox, Set the Height property to 150.
Run the application. Open the drop-down list to see the items.

Binding to an AccessDataSource
- In order to bind the RadComboBox to an AccessDataSource, you must first have a DataSource component on your page. Drag an AccessDataSource component from the Toolbox onto the same page where your RadComboBox is.

- From the Smart Tag of the AccessDataSource, choose Configure DataSource.

- Click the Browse button, locate, and select the AccessData File and press Next to continue.

- Specify the columns from a table and press Next to continue.

- You may choose to test your Query to preview the data. Finally, press Finish to exit.
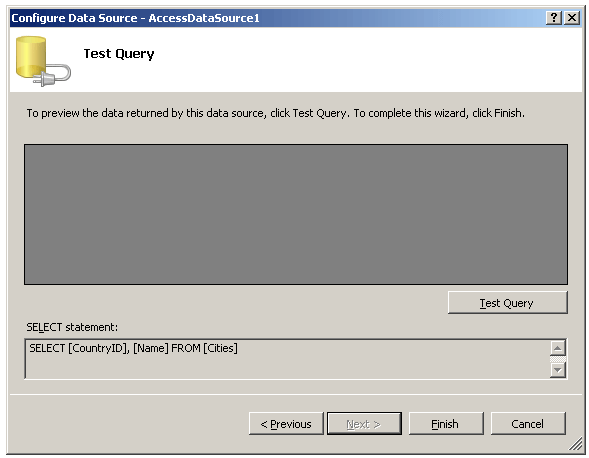
- On the RadComboBox Smart Tag, choose the AccessDataSource from the drop-down list labelled Choose Data Source.

- In the properties pane for RadComboBox, set the DataTextField and DataValueField.
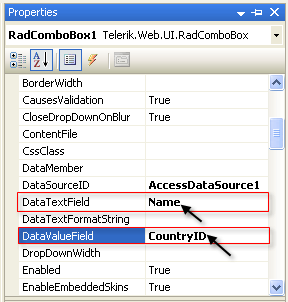
- Run the application. The data from your table now appears in the RadComboBox.
