Reading and Displaying Data
This article is relevant to entity models that utilize the deprecated Visual Studio integration of Telerik Data Access. The current documentation of the Data Access framework is available here.
In this task, you will define a sample HTML page for reading and displaying all categories.
-
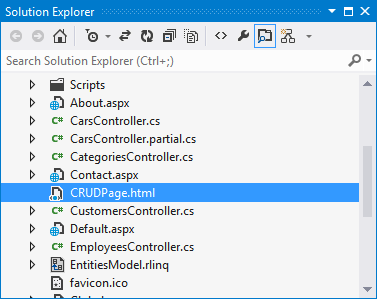
Add a new HTML page named CRUDPage.html in the CarRentWebSite project.

-
Replace the content of CRUDPage.html with the following:
<html lang="en"> <head> <title>ASP.NET Web API</title> <link href="Content/Site.css" rel="stylesheet" /> <script src="Scripts/jquery-1.7.2.min.js"></script> <script src="Scripts/kendo/2012.2.710/kendo.web.min.js"></script> <link href="Content/Kendo/2012.2.710/kendo.common.min.css" rel="stylesheet" /> <link href="Content/Kendo/2012.2.710/kendo.default.min.css" rel="stylesheet" /> <script type="text/javascript"> $(document).ready(function () { }) </script> </head> <body id="body"> <div class="main-content"> <div id="grid"> </div> </div> </body> </html> -
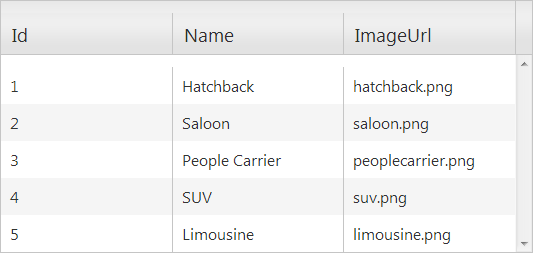
Similarly to the Calling the Web API with Javascript and jQuery task, you will define a new Kendo DataSource, configure it for remote Read operations and define the schema. This time you are using the /api/categories resource, which will return all categories from the database. The second step is again to initialize a new Kendo Grid and set the data source. All that happens in the jQuery ready() event. The ready event occurs when the DOM has been loaded, and the page has been completely rendered.
$(document).ready(function () { var categoriesDataSource = new kendo.data.DataSource( { transport: { read: { url: "/api/categories", dataType: "json" } }, schema: { model: { id: "CategoryID", fields: { CategoryID: { editable: false, nullable: false, type: "number" }, CategoryName: { type: "string", validation: { required: true } }, ImageFileName: { type: "string", validation: { required: true } }, } } } }); $("#grid").kendoGrid({ dataSource: categoriesDataSource, columns: [ { field: "CategoryID", title: "Id" }, { field: "CategoryName", title: "Name" }, { field: "ImageFileName", title: "ImageUrl" }] }); }) -
To test the HTML page, right-click CRUDPage.html in Solution Explorer and select View in Browser.

In this task, you learnt how to read and display data. In the next tutorial, you will modify the CRUDPage.html so it supports insert operations.
