How to: Generate Classes in Different Namespaces
This article is relevant to entity models that utilize the deprecated Visual Studio integration of Telerik Data Access. The current documentation of the Data Access framework is available here.
This topic will show you how to separate persistent classes in different namespaces. In addition, all settings regarding the model namespace will be discussed:
- Using the "Model Namespace" Option
- Using "Use Schema Names for Namespaces" Option
- Using the "Generate in Nested Namespaces" Option
- Changing the Class Namespace in the Visual Designer
Using the "Model Namespace" Option
When generating a new Telerik Data Access domain model in the Select Telerik Data Access Domain Model Type dialog, you have the option to use either the project namespace or you can define a custom one.

If you choose to use the project namespace, then all classes will be generated in the same namespace as the project namespace. For example, if the default namespace of your project is OpenAccessModel, then all classes will be generated in the OpenAccessModel namespace.
If you choose to use a custom defined namespace, then all classes will be generated in that namespace, no matter what the default namespace of the project is. For example, if you define a custom namespace named MyNamespace, then all generated classes will be part of the MyNamespace namespace.
Using "Use Schema Names for Namespaces" Option
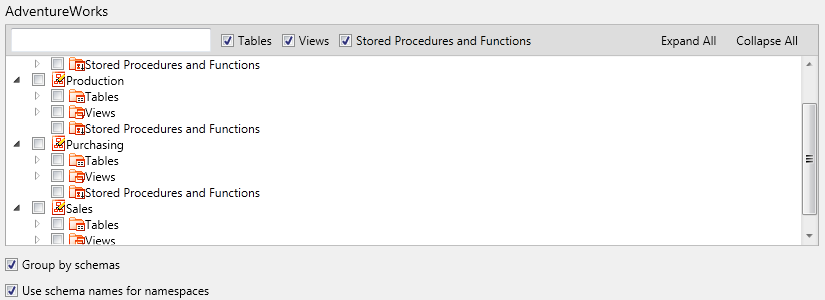
In the Choose Database Objects Dialog, you have the option to use the schema names for class namespaces. In that case all generated classes will be grouped in different namespaces according to the schema names.

Using the "Generate in Nested Namespaces" Option
If you need to have more flexibility when you define the model namespace, then you should use the Generate in Nested Namespaces option in the Advanced Option Dialog.

That option cares only whether the entities have namespaces, no matter how they are set. It is used in conjunction with several other settings. For example, consider the following scenarios (it is assumed that the Generate in Nested Namespaces option is checked):
Note that this option will take effect only if the Generate Multiple Files option is set to True.
-
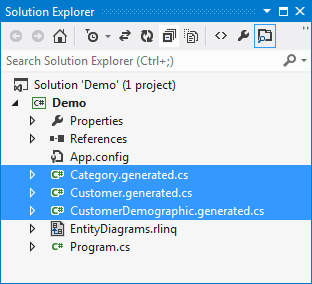
Using the Project Namespace - if you choose to use the project's default namespace, then all classes will be generated in the same namespace as the project namespace. However, in this case all classes will be generated at the root level of the project (not under the EntitiyDiagrams1.rlinq, which is the default behavior when the Generate Multiple Files option is not checked).

-
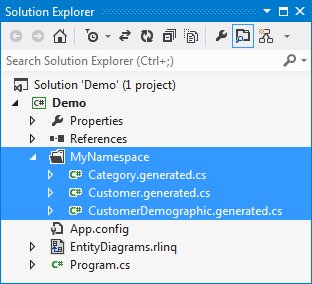
Using a Custom Defined Namespace - if you choose to use a custom defined namespace, then all classes will be generated in that namespace. However, in this case they will be generated in a different folder with the same name as the namespace name. For example, if you define a custom namespace named MyNamespace then the result will be the following:

-
Using schema names for class namespaces - in the Choose Database Objects Dialog, you have the option to use the schema names for class namespaces. In that case all generated classes will be grouped in different namespaces according to the schema names. However, if the Generate in Nested Namespaces option is checked, then the classes will be additionally grouped in separate folders.

Changing the Class Namespace in Visual Designer
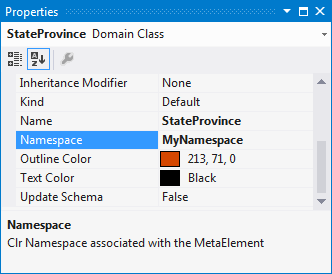
Once the domain model has been generated, you are still able to change the class namespaces. In order to do so, just select the target entity and edit its namespace using the Properties window.

Note that in that case, when you save the domain model, Telerik Data Access will separate the changed entity(entities) in different folder(s) with the same name as the name of the new namespace.
