Image Verification
You can build an image verification against specific elements for pixel-by-pixel visual verifications in tests. The image verification feature is based on an element’s visual rendering rather than the properties or attributes of that element. An application with rich graphic rendering can leverage this functionality to automate some of its test scenarios that have always needed manual visual inspection to verify. The image verification in Test Studio allows you to refine your verification area down to the pixel level within an element and also assign a threshold for the matching.
Test Studio is a test automation platform for web, WPF, and responsive web applications, supporting UI, functional, load, and RESTful API testing. Sign up for a free 30-day trial!
![]()
New to Telerik Test Studio?
Best practices
There are few things that could ensure more stable and reliable test execution:
 Use Image Verification when you need to verify an exact and static image, such as a logo, button, or icon.
 Do not use Image Verification to verify a specific color, an image with text content, or a dynamic slide show.
How to record an image verification step
1. Create a Web Test and click Record.
2. Navigate to the application under test, for example www.Telerik.com.
3. Enable highlighting from the Recorder.

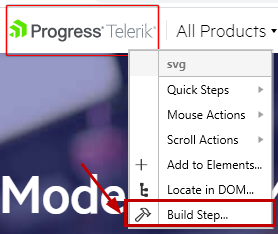
4. Hover over the image, for example the Progress Telerik logo in the header, and select Build Step... from the context menu.
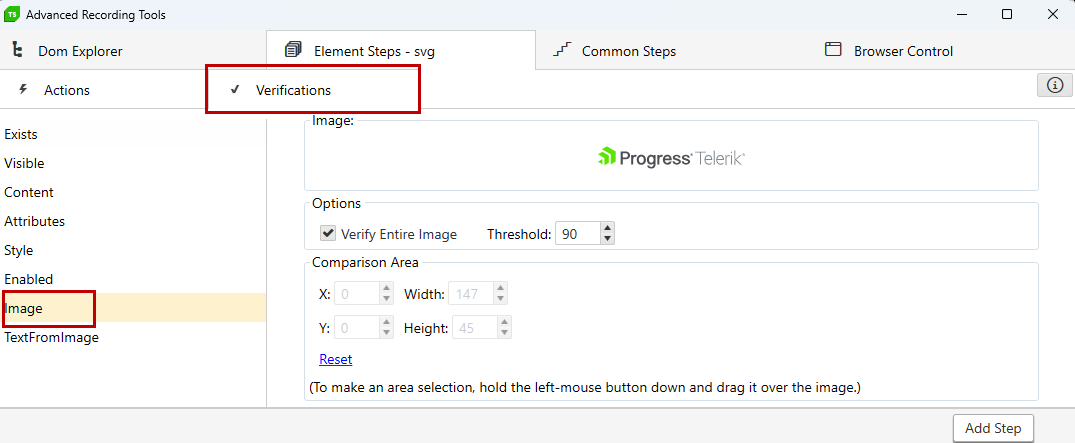
5. In the Advanced Recording Tools click Verifications > Image.
- Web test
By default, Verify Entire Image is checked and the Threshold is set to 90%.
Tip
We recommend keeping the Threshold around 90%. A setting of 100% equals an exact match and the verification will fail, if it is off by a single pixel.
- WPF test
By default, Verify Entire Image is checked and the Tolerance is set to 1%.
Tip
We recommend keeping the Tolerance around 1% to 9%. A setting of 0% equals an exact match and increasing the tolerance means the verification is more forgiving.
6. Uncheck Verify Entire Image to refine the comparison area. Either enter coordinates or drag the desired selection area within the image.

7. Click Add Step and notice the Verify image step is added to the test.

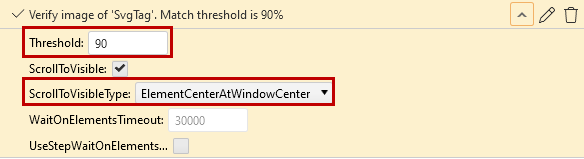
Configure the recorded image verification step
You can configure the threshold and scrolling options that will be used during test execution.
After the image verification step is recorded, you can make changes to the captured image and even recapture it. To do that, you need to select the image verification step and click on the image. This image will be associated with the test step, but all features and options for modifying element image are available. Only the Image Recognition Settings are not available, because the threshold is a test step option.
Troubleshooting
If you receive a failure on an Image Verification step, you can explore the step failure details for more details. In addition to the failure details, you can analyze the expected and actual image under the Images tab.
