How to Generate the Test Studio Application Log
Test Studio application logging records all events triggered from the tool while recording tests, executing these or maintaining elements and tests in the project. It is a powerful source of information, which helps to investigate any sort of issues.
The log is a plain text file stored in the Logs sub-folder under the product's installation one C:\Program Files (x86)\Progress\Test Studio. By default logging is disabled and if you need to generate it, you first need to enable it.
The topics in this article guides you through the different options to access the logging:
- When to generate the application log
- How to generate logging in Test Studio Standalone?
- How to generate logging in Test Studio Scheduling setup?
- How to generate logging in Test Studio Run-time Edition?
- How to generate logging in Test Studio Dev Edition (plugin for Visual Studio)?
- How to generate logging in Test Studio if there is no UI available?
When to Generate Application Log?
The application log is a set of records, which are useful for analyzing all sort of inconsistent behavior while working on a project in Test Studio. The application log is useful for unexpected occurrences such as:
- a crash in the product;
- unexpected termination of a test run, which might prevent generating the execution log;
- inconsistent behavior while working with the project components (Elements Explorer, Project Explorer, Properties pane, configuring/using the Source Control integration, configuring the Scheduling services, etc.);
The steps below describe the recommended approach for generating the application log so that it contains the details for the encountered error:
- Clear the log file;
- Ensure logging is enabled;
- Reproduce the misbehavior to be investigated;
- Once the observed inconsistency is present, open the application log from the 'View Log' option;
- The logging records are opened in a text editor file (usually Notepad);
- You can revise the logged messages yourself and try to find a solution based on the error message.
- Or you can contact the Test Studio Support Team and send the zipped log file via a support thread describing the experienced issue.
Tip
Find out more about using the application log in our troubleshooting guide.
Operate with Logging in Standalone Version
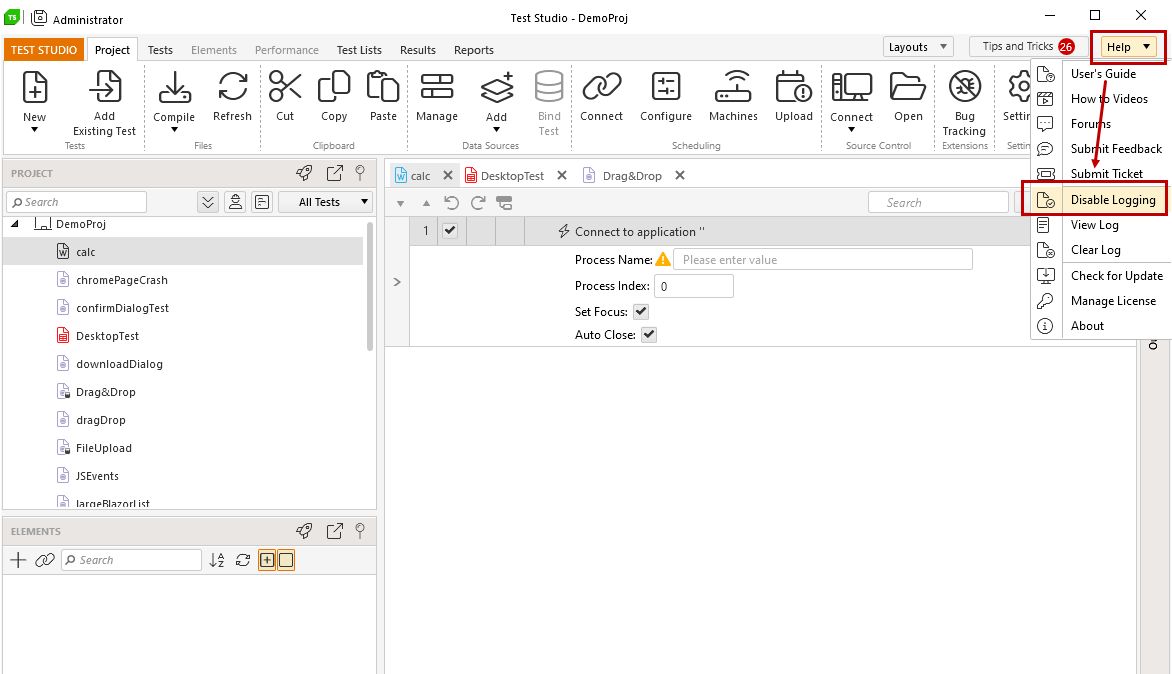
The logging options for the Standalone Test Studio version are listed under the Help menu in the upper right corner of the project window.
-
Click on the Help drop down and choose the Enable Logging option to allow Test Studio to start capturing the tool's events in the background.

-
Once you enable the logging the button turns to Disable Logging and you can stop it at any time.
-
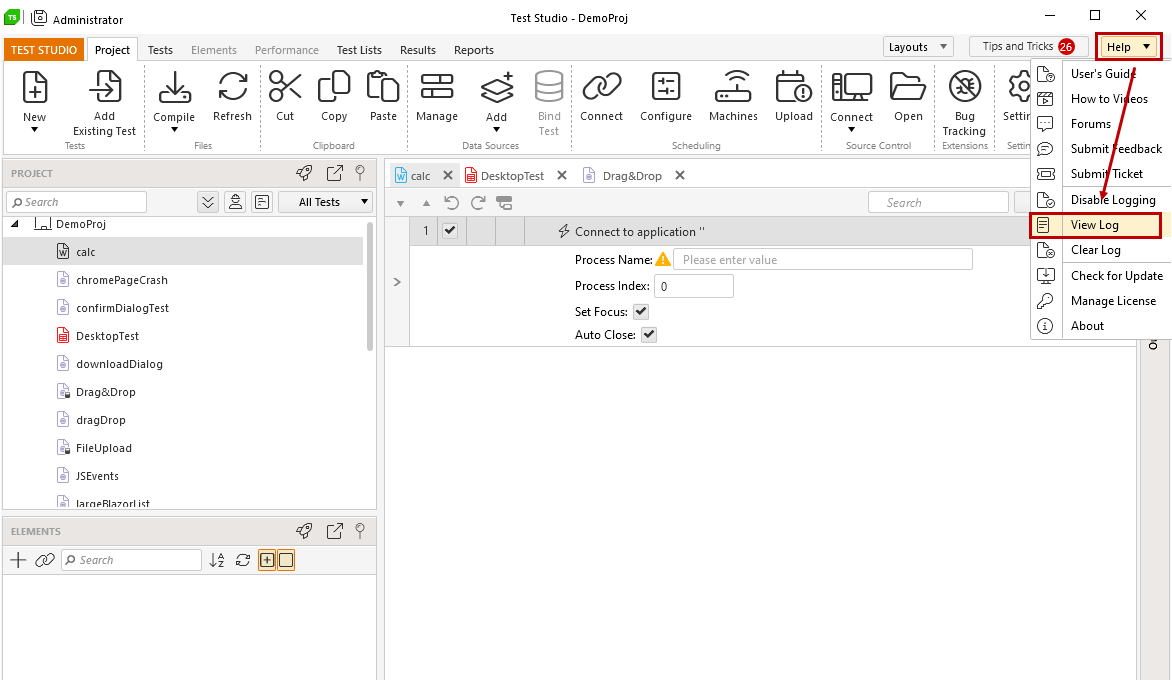
While logging is enabled you can access it any time by choosing the View Log option. The log file gets opened in Notepad and you can save or, if requested, send it for analysis.
-
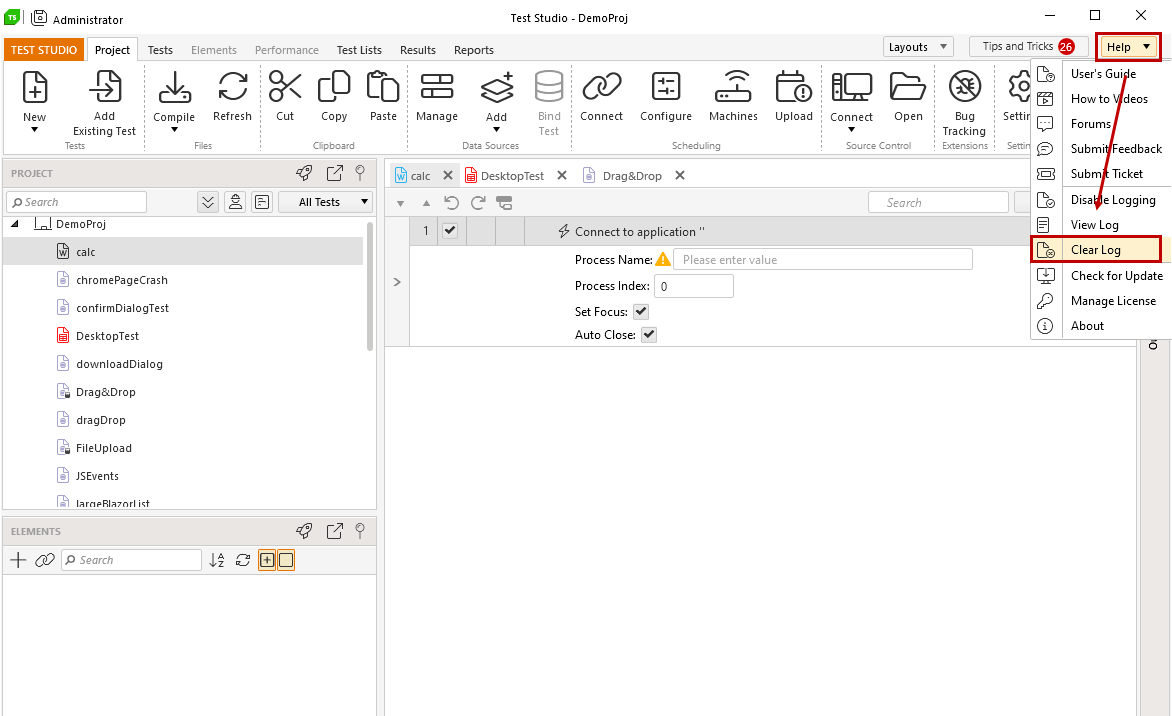
If the logging is enabled for some time the text file may become very large. Use the Clear Log option to remove the records generated so far.
Operate with Logging in Scheduling Configuration
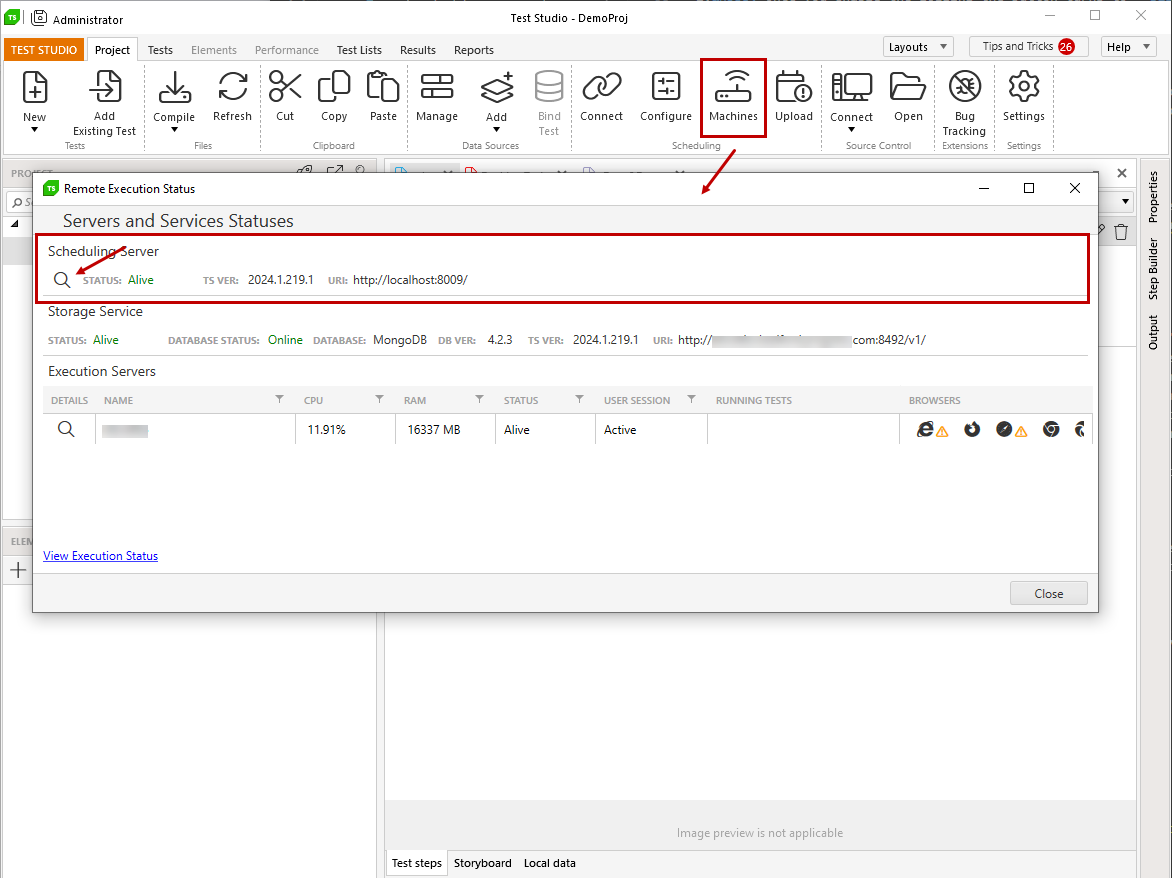
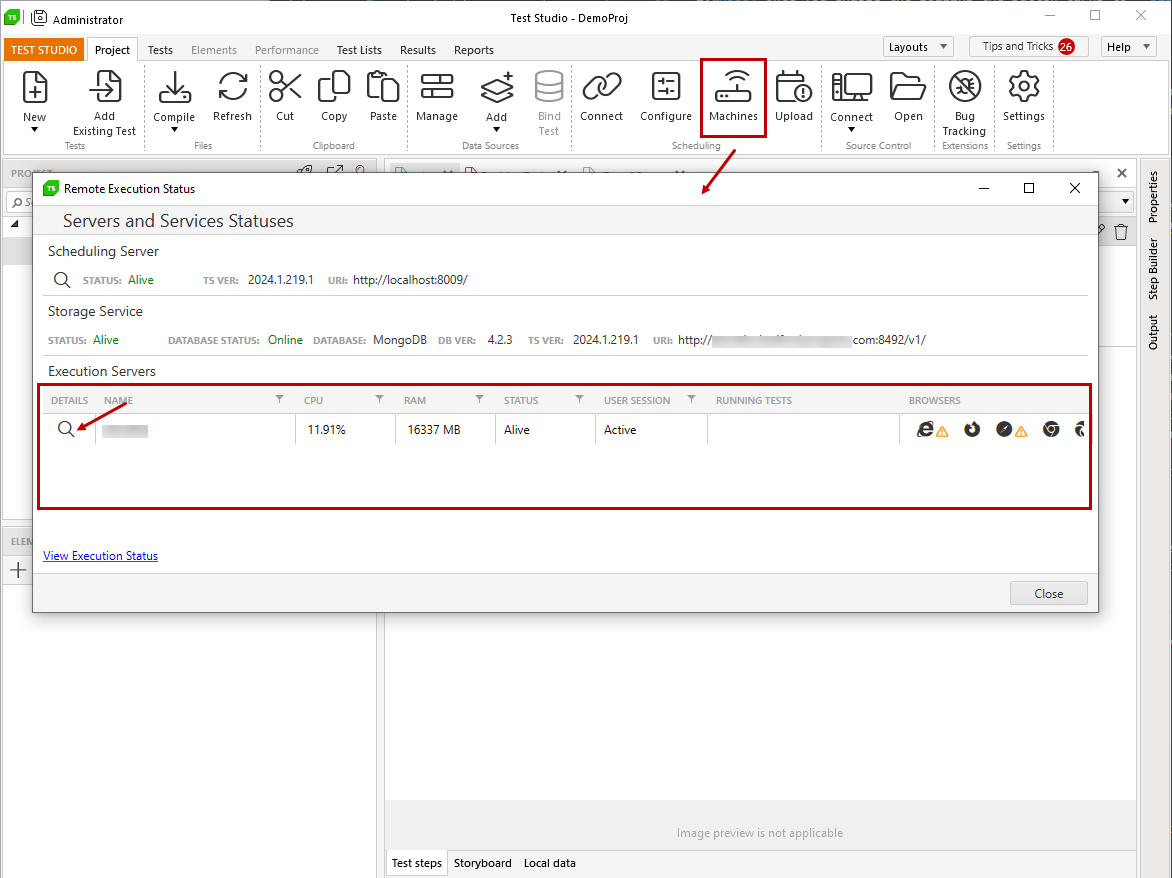
Test Studio Scheduling setup allows you to connect multiple machines for test execution remotely. When such setup is configured you can find a list of all included machines in the Machine status view accessible from your local computer. From this list you can access the logging options (enable, view, clear, disable) for the Scheduling server machine and for each of the execution machines.
-
Open the Machine status view and select the Magnifier icon in the Scheduling server section.
-
The Scheduling Server Details view provides access to the logging for this machine.

-
To access the logging options for an execution machine choose one from the list and select the Magnifier icon in front of it.
-
The Execution Server Details view provides access to the selected machine logs.
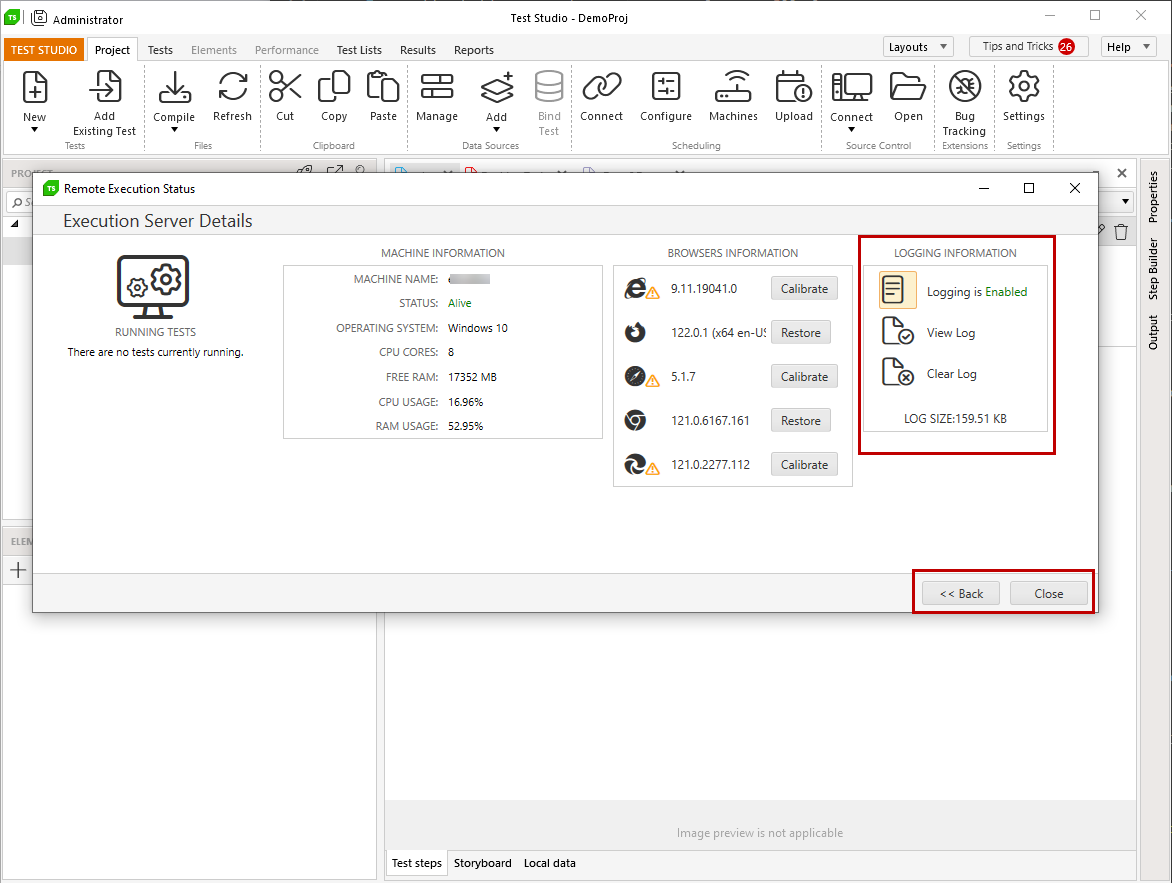
Use the <<Back button to return to previous view and Close button to exit the Machine Status View
Operate with Logging in Run-Time Edition
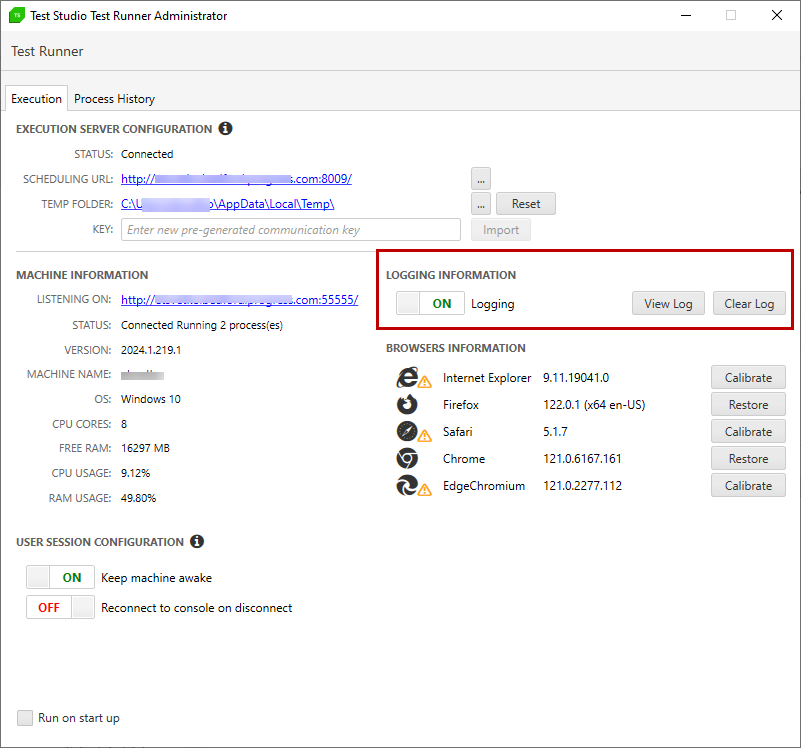
The logging options can be accessed also from the Test Studio Test Runner. This is hidden in the system tray when started and gets opened from the Show option from the right mouse context menu.
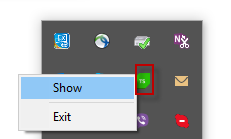
You have the options to enable/disable the logging, view the generated records, or clear the logging.
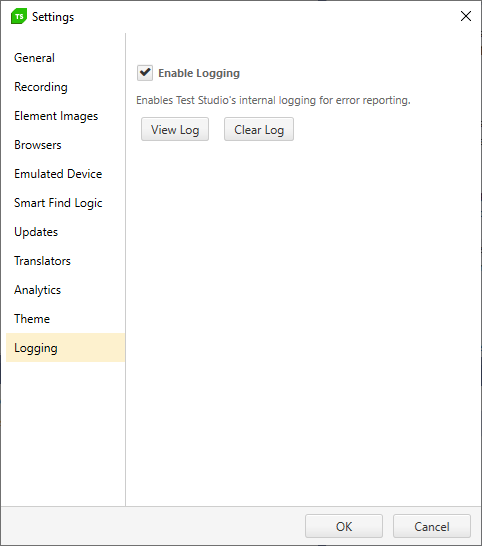
Operate with Logging in Visual Studio Plugin
The logging options in Visual Studio can be accessed through the Test Studio Project settings. The last tab is dedicated to logs and you have access to all options - enable/disable, view and clear.
Enable Logging through the Registry Editor
Enabling the logging creates a key in the registry with specific value. If you don't have access to any of the above sources, or you use the Telerik Testing Framework, you can enable the logging directly in the Windows Registry Editor.
Start Regedit and browse to the Test Studio folder. The path for default installation is:
- Computer\HKEY_CURRENT_USER\Software\Wow6432Node\Telerik\Test Studio
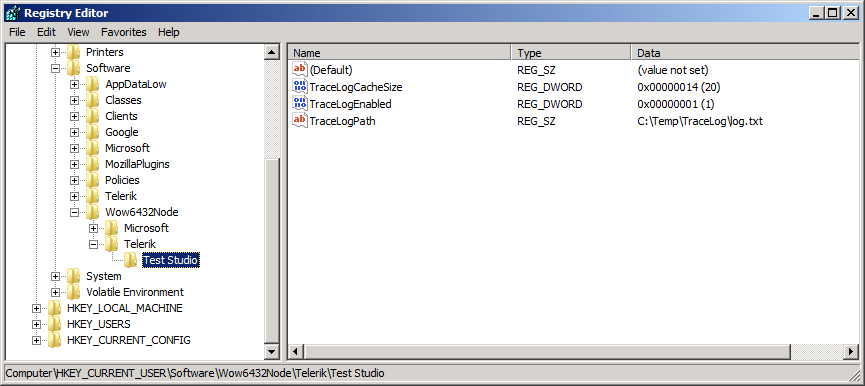
Find (or create) the TraceLogEnabled key in this folder. Double click it and change the Value data to 1. The TraceLogPath value is where the log gets stored. Ensure to isnert the file full path with name and file extension like this C:\Temp\TraceLog\log.txt.