1. Click the Bug Tracking button under the Extensions section in the Project ribbon.

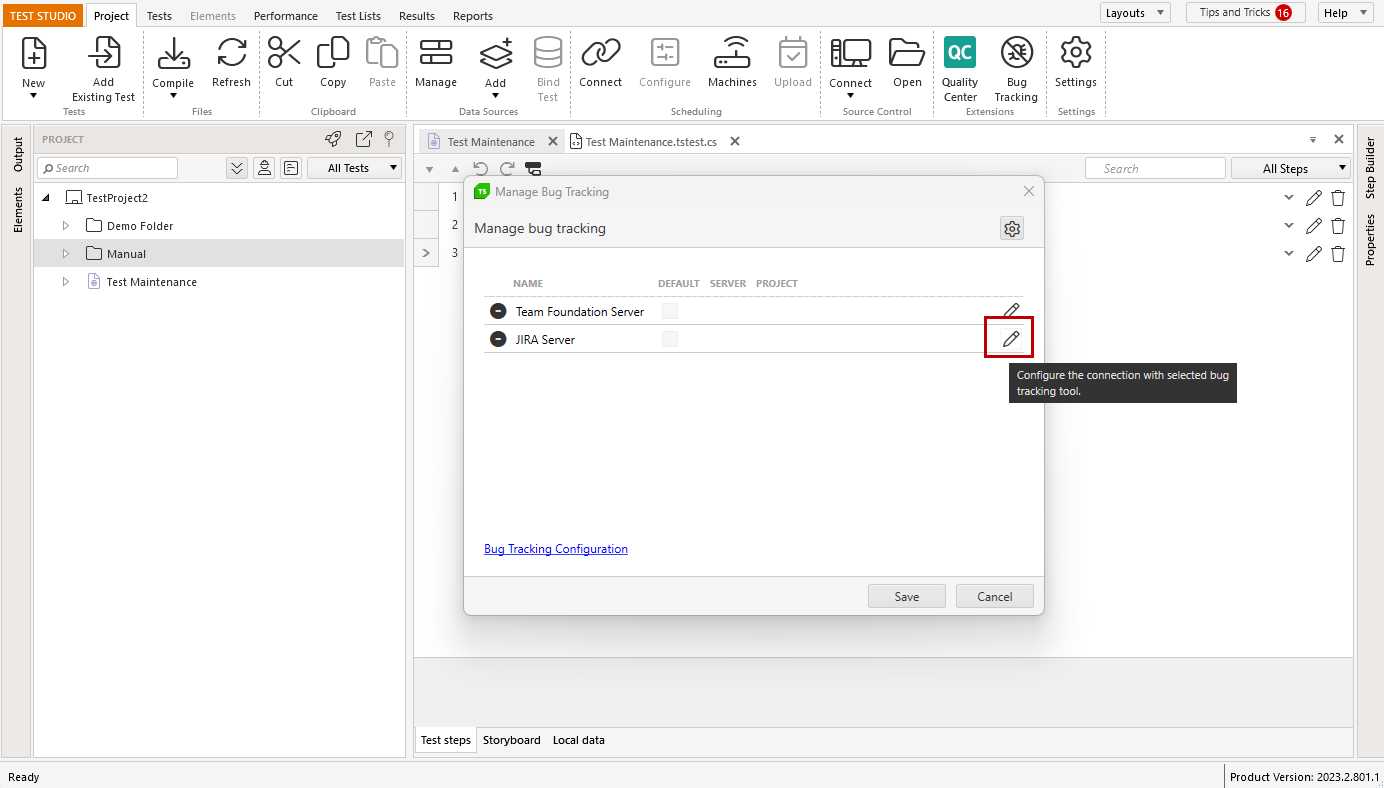
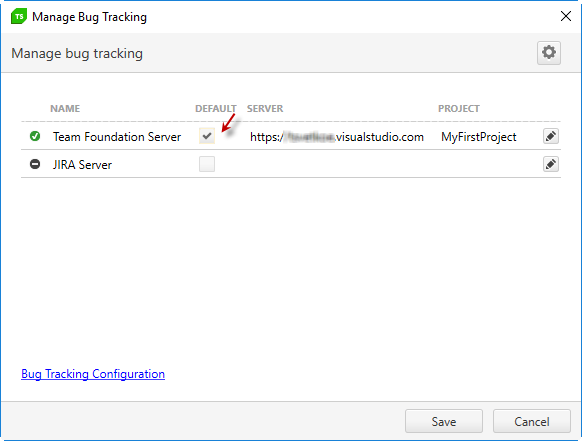
2. The Manage Bug Tracking dialog appears, where the integrated systems are listed. Select the desired application and click the pencil  to Configure Selected.
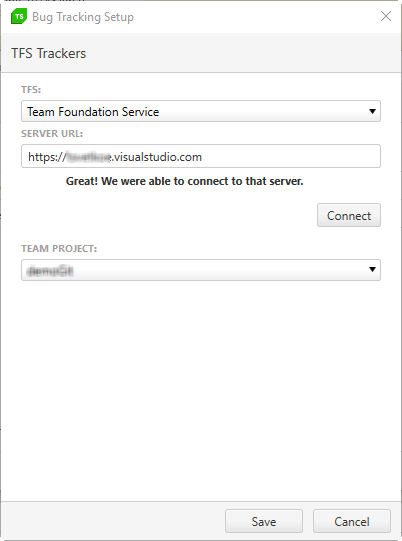
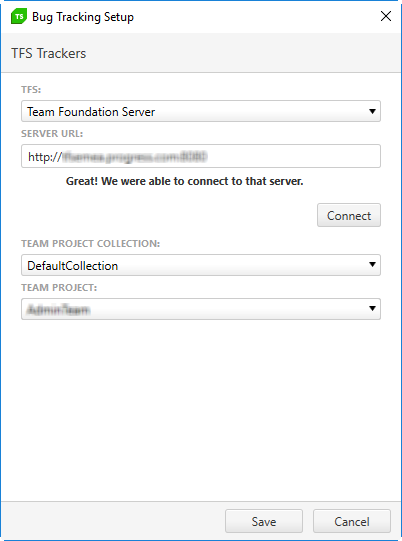
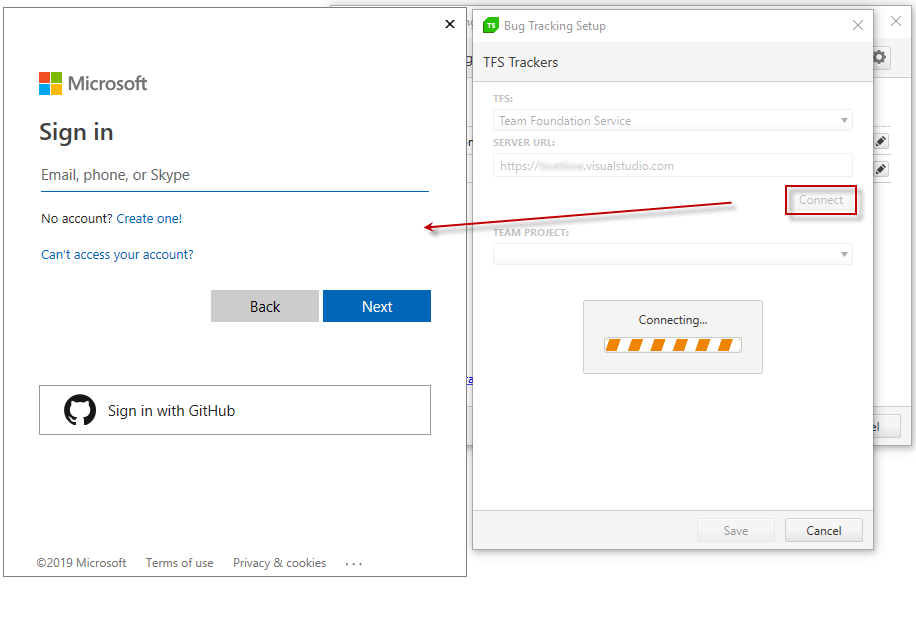
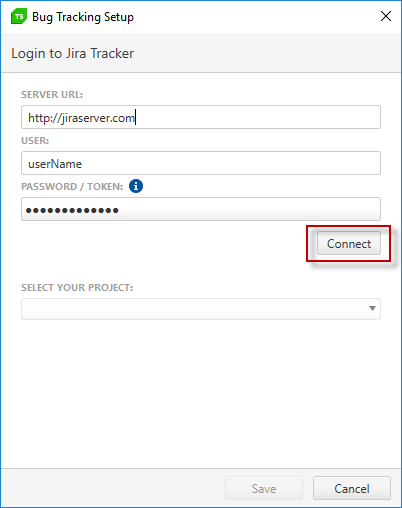
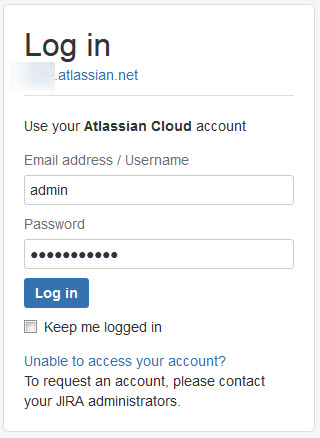
3. Enter the Server URL, username and password and click the Connect button.
The format of the server URL requires http://jiraserver.com (dashboard or other links that end on *.jspa are not accepted).
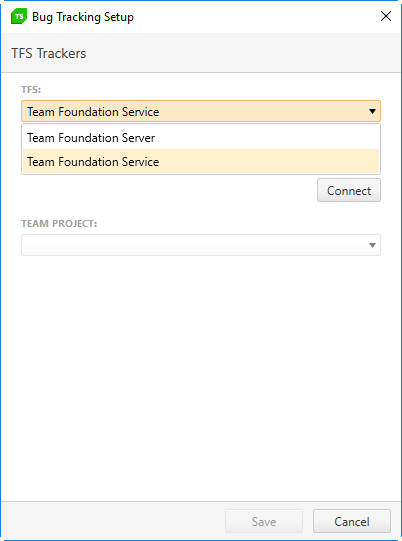
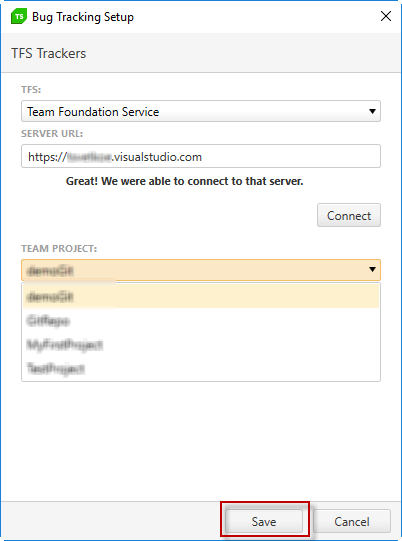
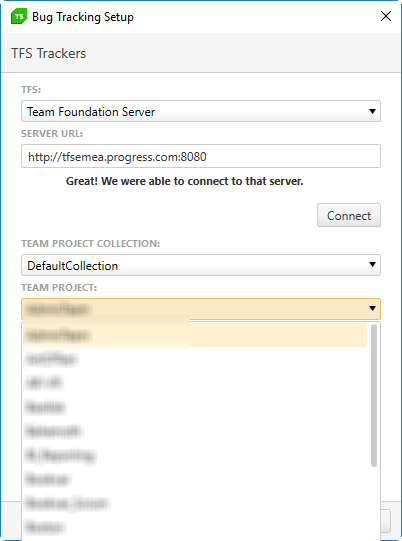
4. Select your project and click Save.
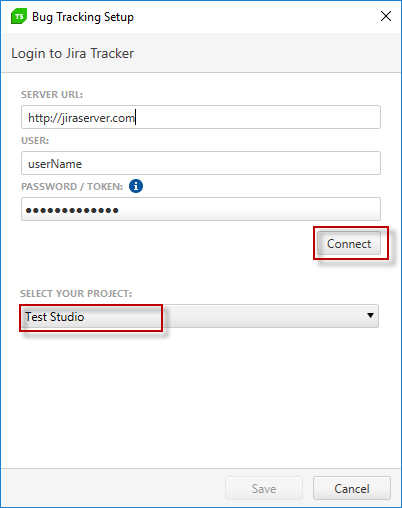
The JIRA project schema should have a Bug item. The default schema of a new project does not contain such item and Test Studio would fail to submit a bug in that case.
Please note that using xxxx.jira.com for connecting bug tracking to Test Studio requires HTTPS.
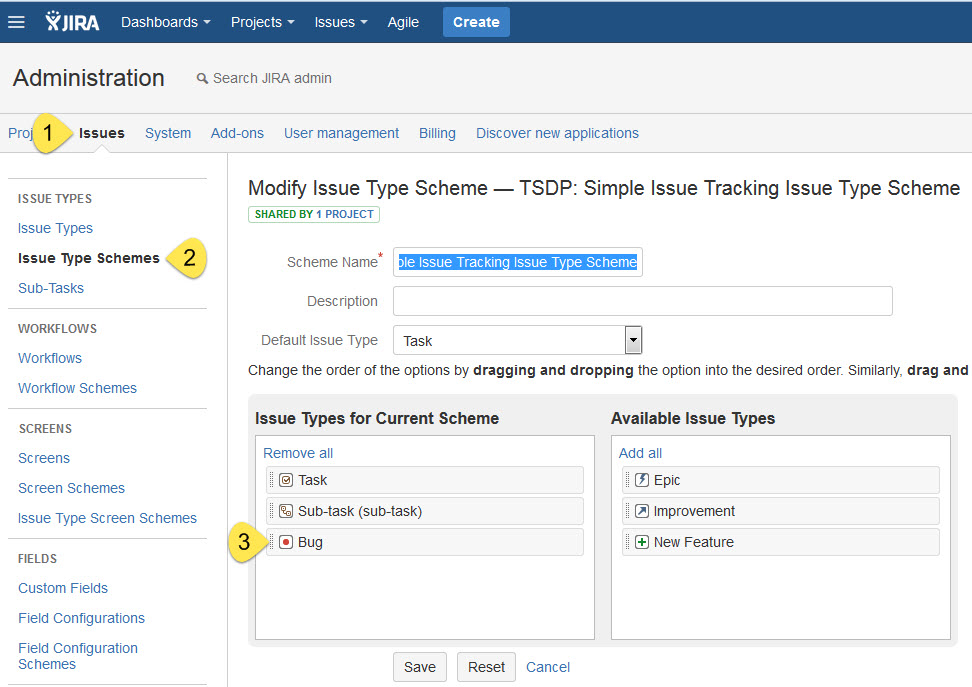
1. Add the issue type Bug as an available issue type in your Jira Cloud administration panel.
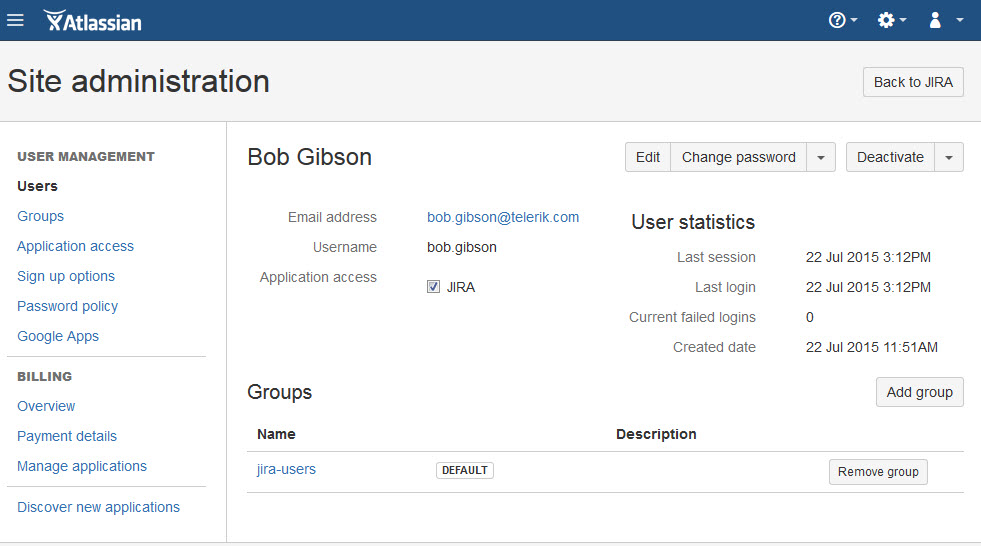
2. Your user must be a member of the “jira-users” group to have permission to connect to Jira Cloud from Test Studio. You could also use the “admin” account.
3. Use the correct URL to connect to your Jira Cloud server.
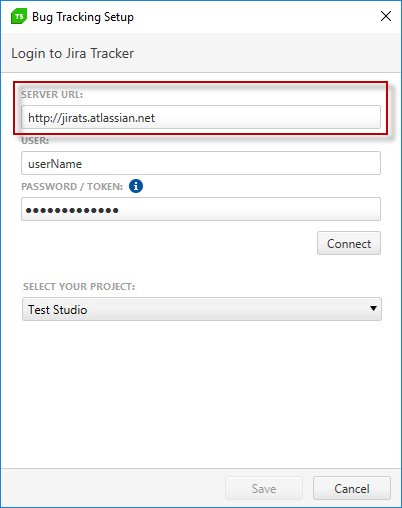
4. Enter your Jira username and for a password use a Jira Token generated for your account - that way Test Studio integration will successfully comply with the two-factor authentication for the Jira cloud server.
The Bug Tracking applications are now properly configured. Select one to be the default and click Save.
Click Advanced Settings  to set whether to attach failure details and/or auto-submit.
Attach failure details - Test Studio will include the bug information as an attachment. For example you will see the bug details as a File Attachment in TFS.
Auto-submit - Everytime a test or step fails within a test list, Test Studio will automatically submit a bug for you. Please make sure that you've set up a default bug tracking tool.
Note: This is Test Studio test list execution feature only! It works for local and remote test list execution from Test Studio. It works also when test list is run through ArtOfTest.Runner or through the scheduling command line client Telerik.TestStudio.CommandLineClient.