Modifying Element's Find Expression
In certain scenarios the automatically generated find expression may be ineffective, because locates multiple elements on the active window, or may use dynamically generated attributes, which are unreliable by the next test execution. In such cases you may require adjusting the find expression manually, so that it reflects the specifics of the application under test.
Edit the Find Expression of an Element
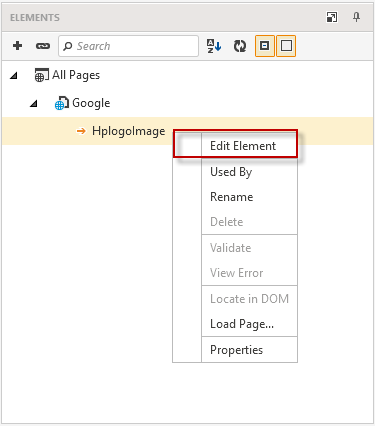
To verify what find expression for an element was automatically generated and edit it, if necessary, use the Element's Explorer context menu or double click on the same element.
 |
 |
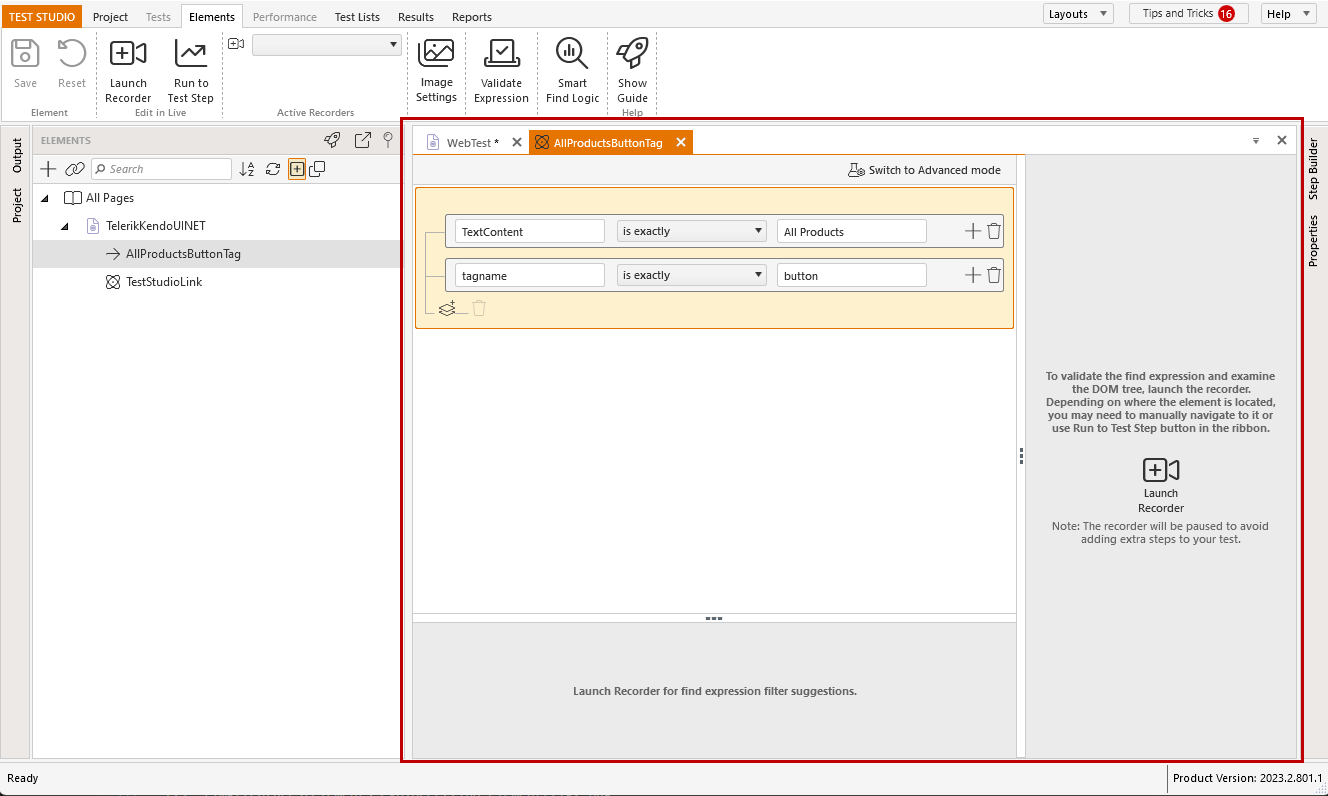
Edit Element Pane
Each element selected for edit will be opened as a separate tab in the test pane. That way you can open multiple elements to edit and compare their attributes and find expressions.
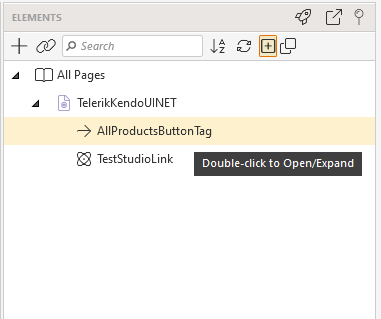
To open another element to edit, select any other element from the Element's Explorer.
Options in Element Pane without Active Recording Session
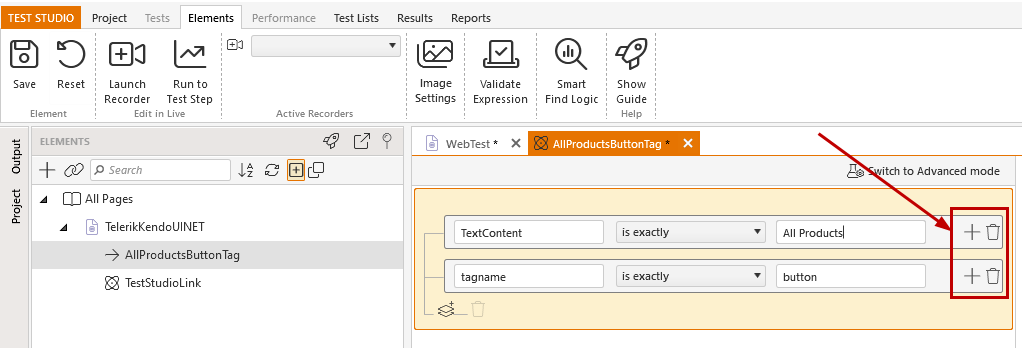
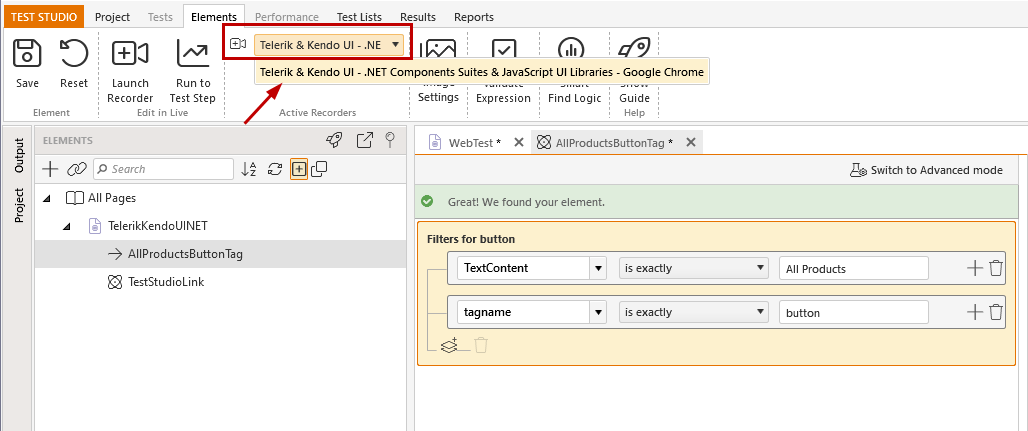
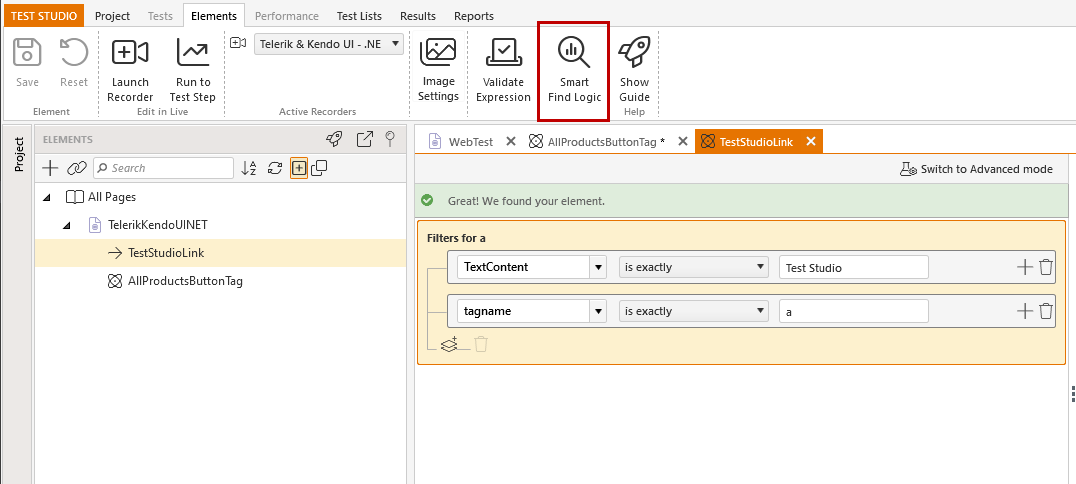
When there is no active recording session, the Edit Element pane displays the currently used find expression for the element and allows you to modify it. However, there are no available suggestions based on the DOM tree and the modified expression cannot be validated.
Save and Reset buttons get enabled once there is any change in the find expression. Once the changes in the element are saved, these cannot be reverted and Reset button gets automatically disabled.

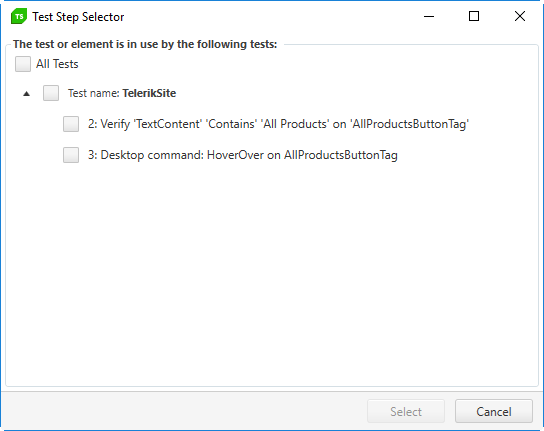
If the modified element is being used from multiple steps, pressing the Save button triggers a dialog to select the tests or steps for which the find expression needs to be changed.
Using the plus sign and recycle bin icons in the find expression field, you can add/delete filters to target different element's properties.
From the Edit Element pane you can start a recording session choosing between:
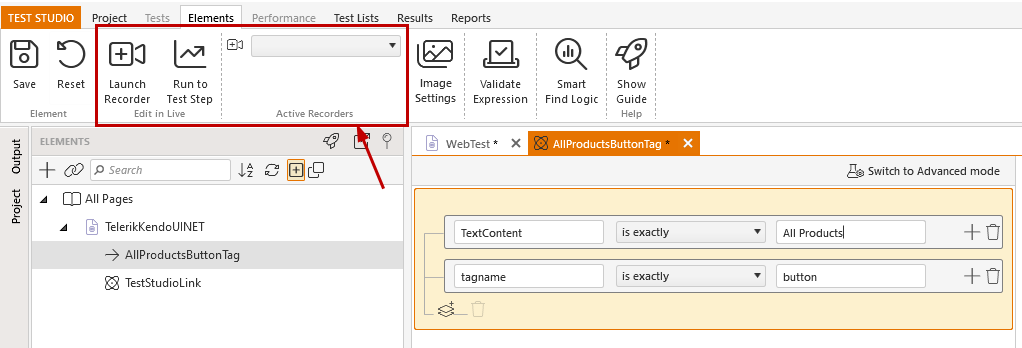
Launch Recorder button - this will navigate to the URL set in the test (using the set preferred browser or will prompt you to choose a browser) or will launch a new instance of the WPF application under test.
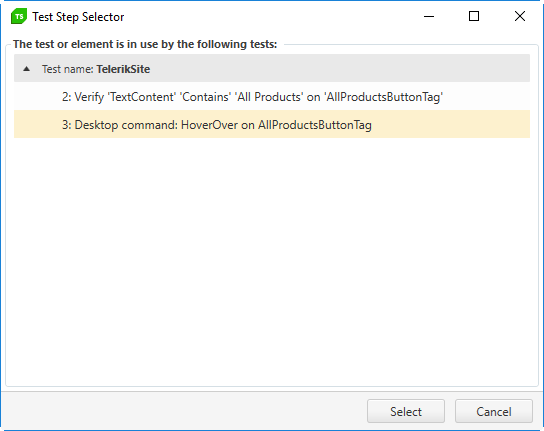
Run to Test Step button - this will execute the test to the step in which the element is being used. If there are multiple steps using the same element, a dialog appears to select the desired step to execute to.
- Choose Active Recorder dropdown - this dropdown will list any browser with active recording session. If this is empty, there is no application started in record mode.
Options in Element Pane with Active Recording Session
If the test was executed to a step, where the element exists on the page, it will be highlighted once the recorder is attached to the browser (the recorder is automatically paused to avoid recording any unnecessary steps).
In the Edit Element pane are listed all properties of the element as suggestions to be added in the find expression and the DOM tree of the currently loaded page.
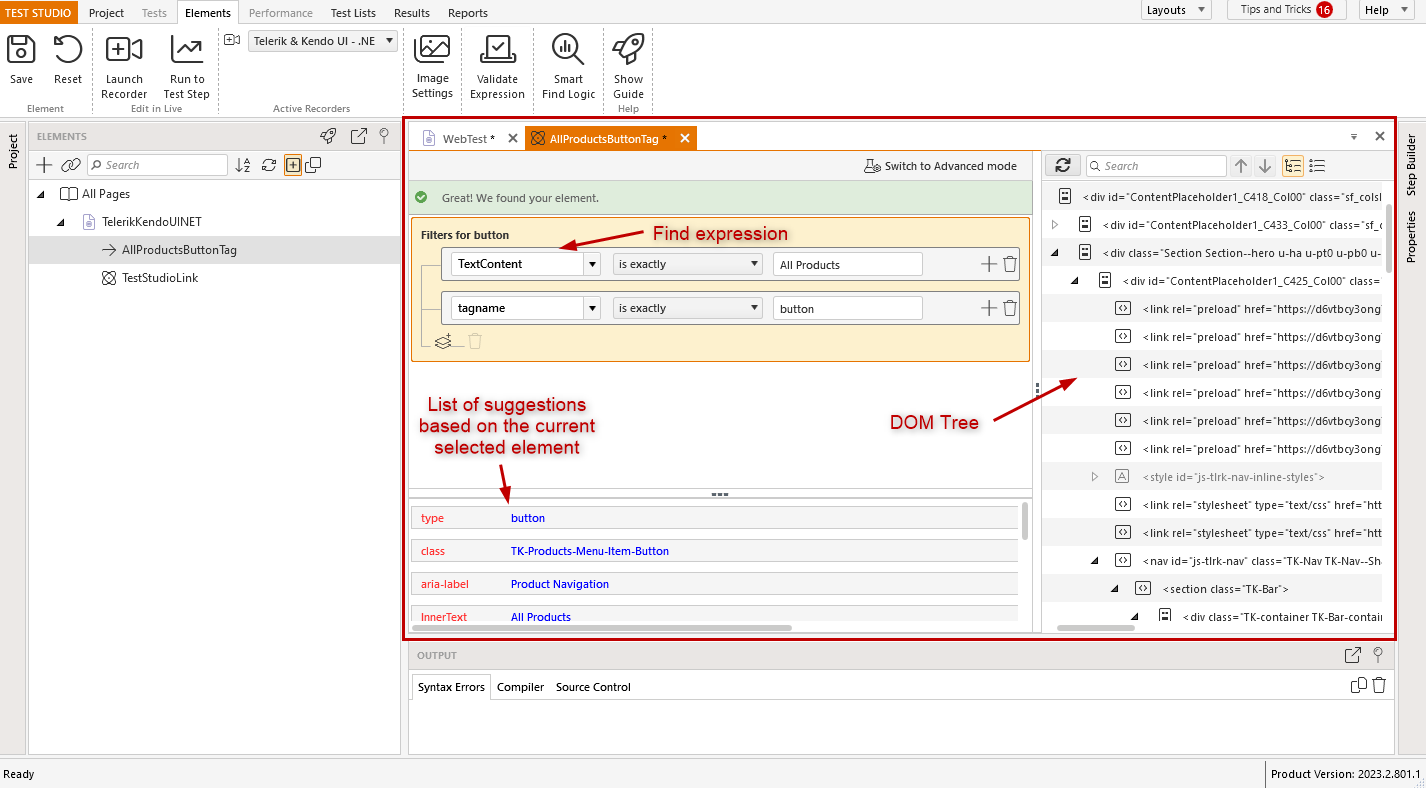
The DOM explorer in the Edit Element pane provides its standard options from the context menu.

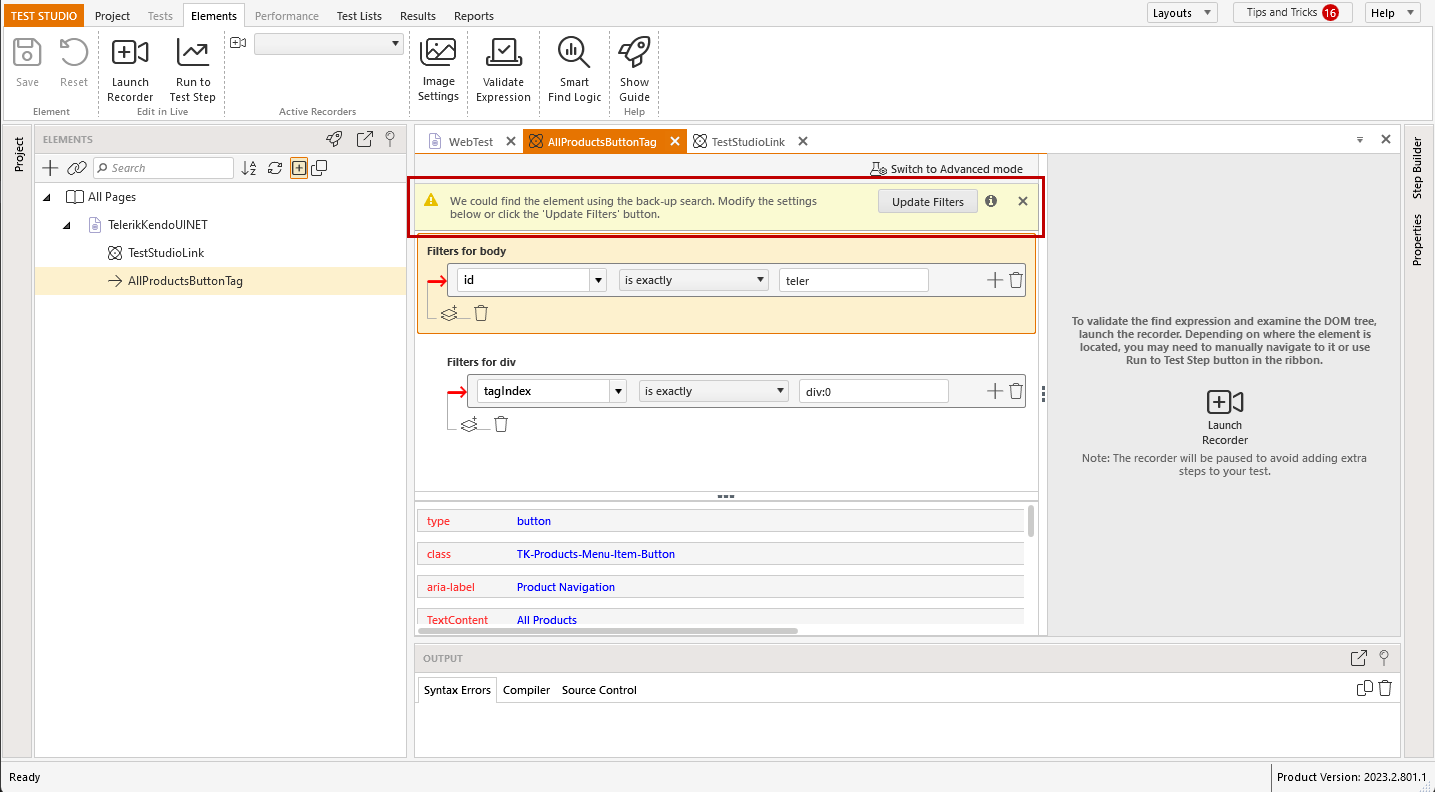
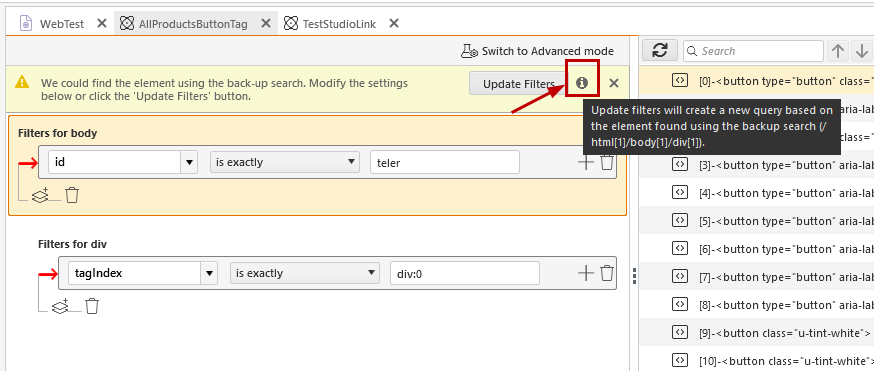
If the elements properties used in the find expression are not pointing to specific element, there will be no suggestions listed. If the element can be found by its backup search, an informational message appears and allow you to update the filters by using that backup search criteria to locate the element and list the filters suggestions based on the element in DOM. Then the filters can be updated from the list.
Hover over the info icon next to the button to see what is the backup search for that element.
If the element cannot be found in the current page with attached recorder, there will be an informational message stating the same. There is no list with suggestions until an actual element from the DOM is selected.
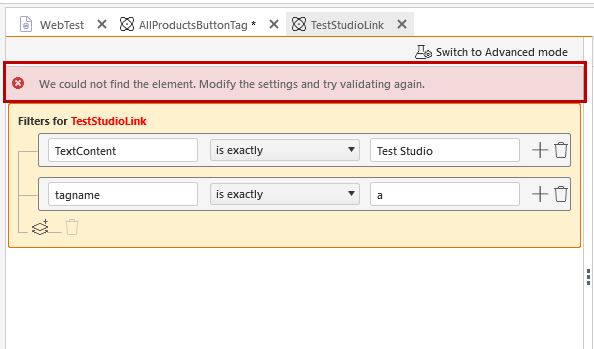
Use the Validate Expression button to validate the changed find expression filters.
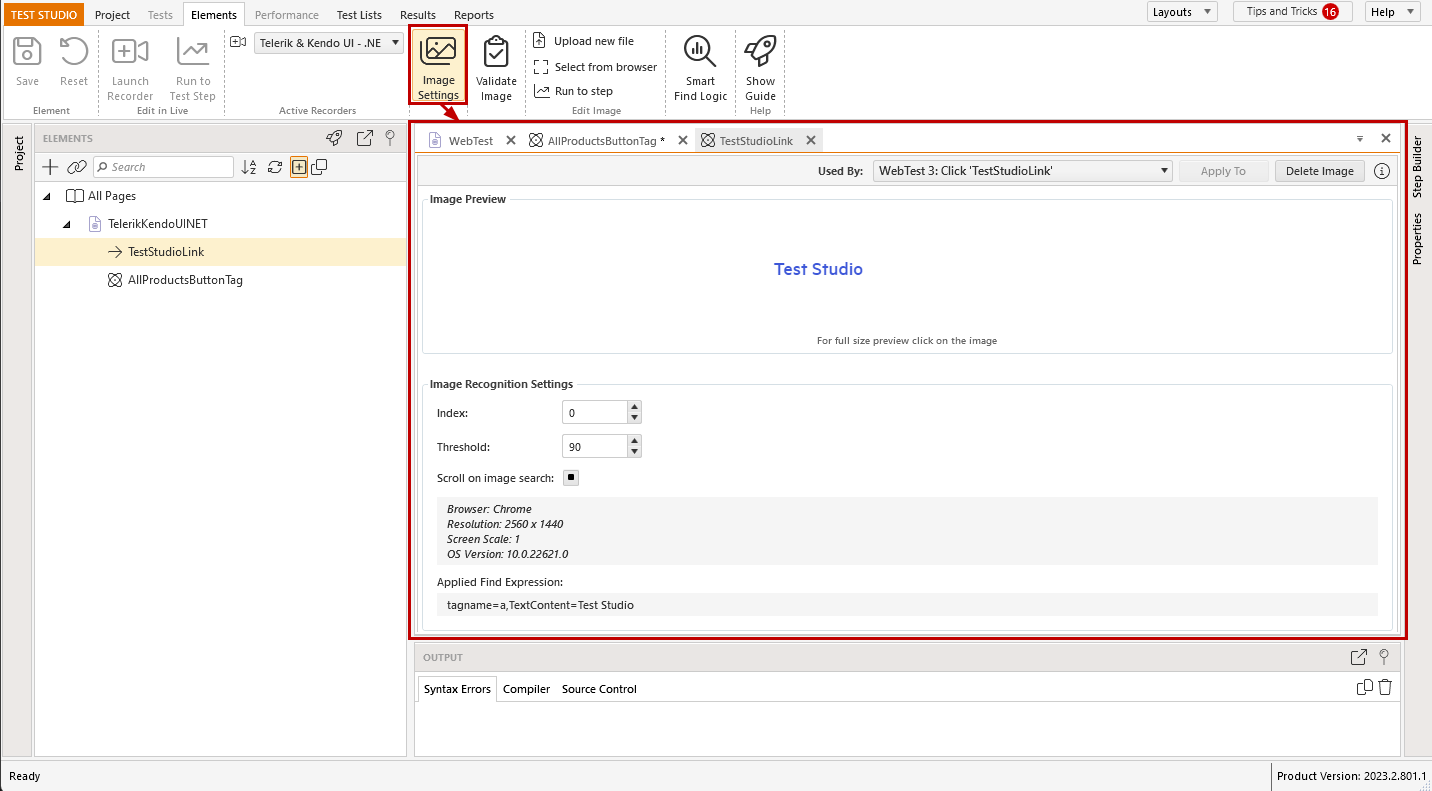
Elements Image Settings
The Image Settings button switches the view in the Elements pane and provides details for the currently recorded image corresponding to that element. Read further details for the Elements Image Settings.
Advanced Mode
Advanced Mode button displays the current find expression in text format and allows you to type in a custom one.
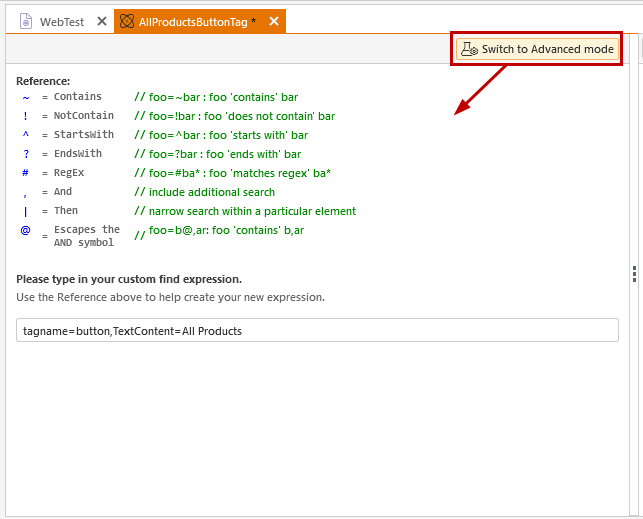
Below is a list of the optional supported operators, when building custom find expressions. Keep in mind that, when used, the operator is always the first character after the equal sign (=). The operator special character can be escaped with preceding apostrophe ('), if it is meant to be interpreted as a literal character.
| Leading character | Example | Description |
|---|---|---|
| ~ | foo=~bar | Find the element where attribute foo 'contains' bar |
| ! | foo=!bar | Find the element where attribute foo 'does not contain' bar |
| ^ | foo=^bar | Find the element where attribute foo 'starts with' bar |
| ? | foo=?bar | Find the element where attribute foo 'ends with' bar |
| # | foo=#ba* | Find the element where attribute foo 'matches the regular expression' ba* - See this link for a description of regular expressions. |
| | | 'id=CenterDiv', '|', 'tagIndex=a:2' | Chains two expressions together. Chained expressions work by finding the element that matches the first expression, then underneath that find the element that matches the next expression. There is no technical limit to how many expressions can be chained together. The example tells Test Studio to find the first element whose ID = CenterDiv and then under that element find the third anchor element (tagIndex is 0 based). |
| ' | textContent=''City | Escape special characters. Find the element whose text = 'City', including the ' characters. |
| + | foo=+ | Find the element that has the specified attribute. Find the element that has the attribute 'foo'. |
| - | foo=- | Find the element that does not have the specified attribute. Find the element that does not have the attribute 'foo'. |
Data Driven Find Expression
The find expression of the elements can be data driven to extend the execution and reuse of tests and elements. To be able to data drive an element, you need to add a data source and bind it to the test, which uses the element.
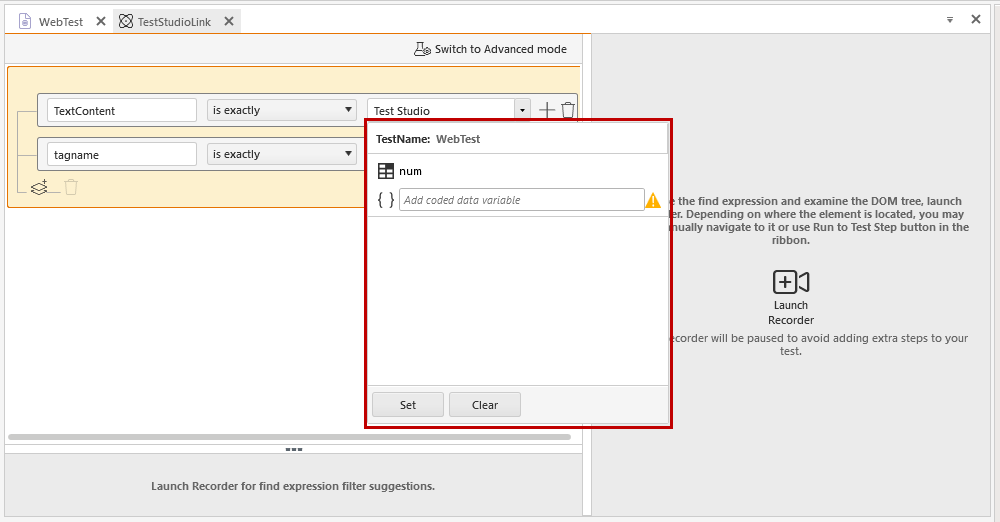
The find expression builder will display the columns of the attached data source in a dropdown of the selected filters for the element. Once a column is selected, click the Set button to set this to be used in the filter.
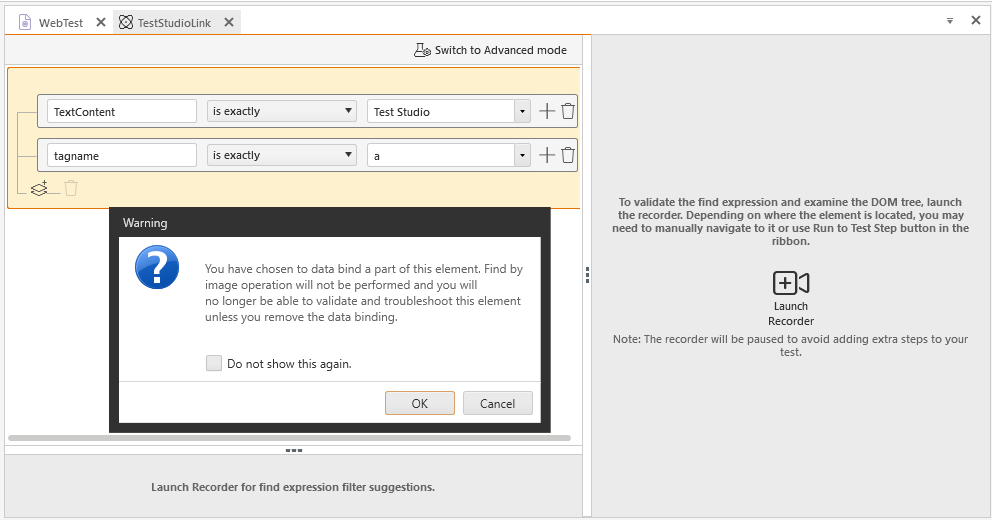
A warning message appears that the find by image operation will not be performed and the element cannot be validated or troubleshoot unless the data binding is removed. To remove the data binding you can delete the data driven filter or re-record the element.
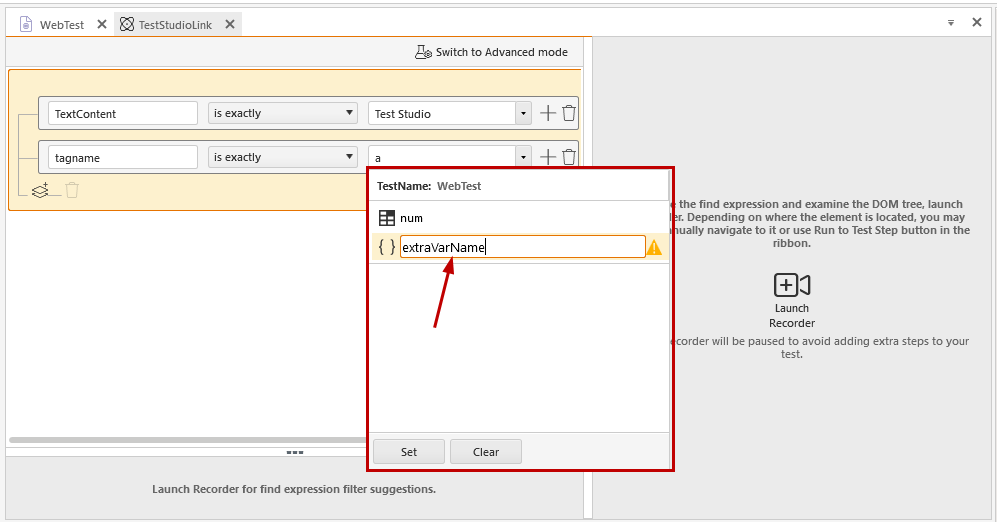
There are few specific scenarios when the names of variables will not be displayed in that view and their names need to be entered manually. These are
a variable extracted either with an extraction step or in code.
a column name from a data source of a parent test - in the cases when the current test is nested as a step and uses the parent test data source (see further details for multi level tests)
To filter an element's find expression using the column name from parent data source or the value of an extracted variable, enter its name in the Add coded data variable field (without the $ notation), click on the brackets and then the Set button.